To store your suction pool cleaner properly in the off-season, start by thoroughly cleaning all parts, including filters, hoses, and the unit itself. Next, flush out water and inspect for any damage or worn components, replacing them as needed. Store the cleaner in a dry, protected spot away from pests and dust, and keep hoses and cables organized. Taking these steps guarantees your cleaner stays in good shape, and you’ll find more tips as you proceed.
Key Takeaways
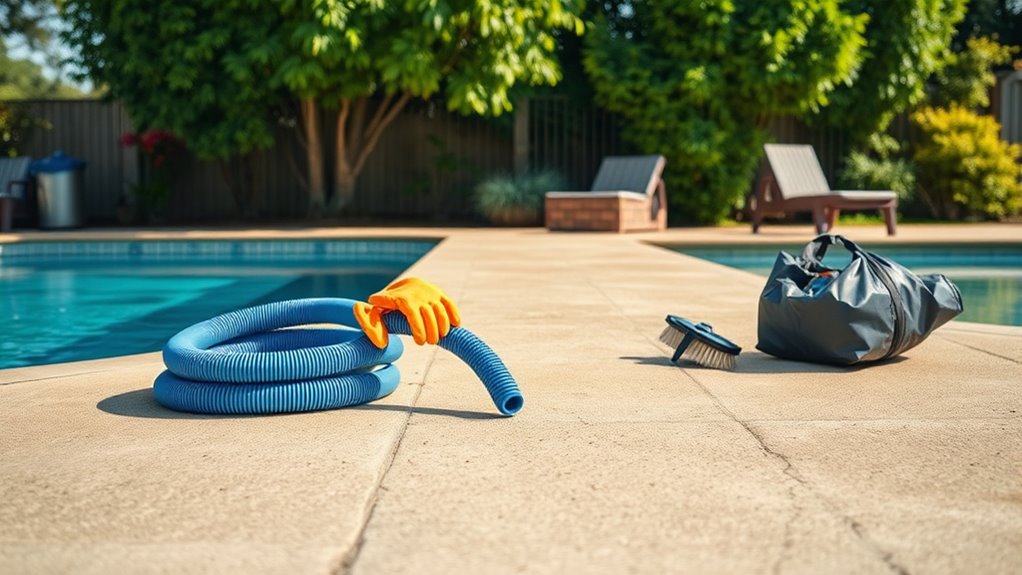
- Thoroughly clean and rinse the cleaner, filters, and hoses to remove dirt and chemicals before storage.
- Completely dry all components to prevent mold, corrosion, and residual moisture damage.
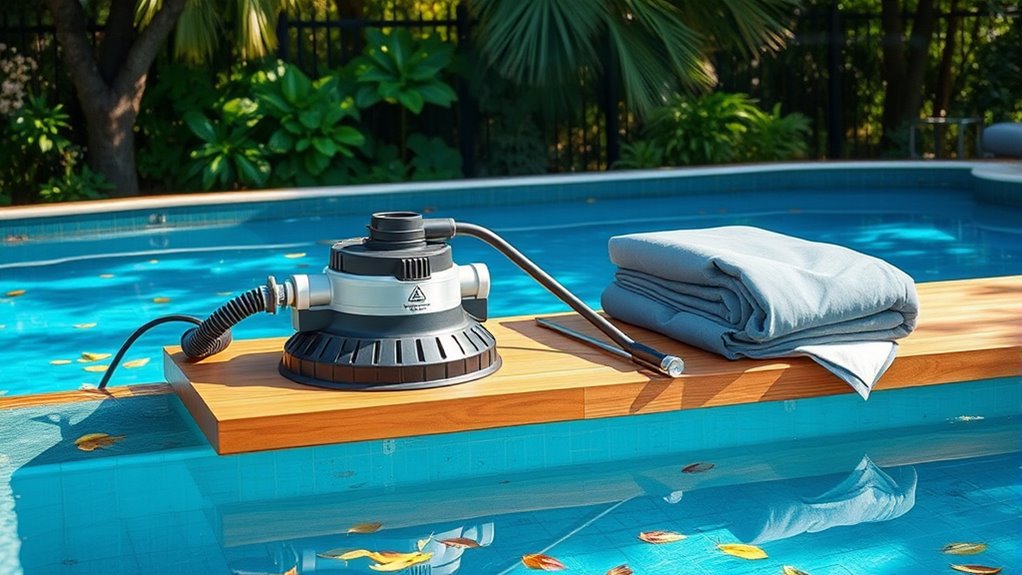
- Store the cleaner in a dry, cool, and protected area away from direct sunlight and extreme temperatures.
- Check and replace worn gaskets, seals, and damaged parts to ensure readiness for the next season.
- Use protective covers or airtight containers to shield the equipment from pests, dust, and humidity.

AF-WAN Robotic Pool Cleaner Cover, Highly Elastic, Dust-proof & Waterproof, Compatible with AIPER Scuba SE/Seagull SE/AIPER Scuba S1
【Waterproof & Dustproof Protection】 – The Robotic Pool Cleaner Cover is designed to provide ultimate protection against dust….
As an affiliate, we earn on qualifying purchases.
As an affiliate, we earn on qualifying purchases.
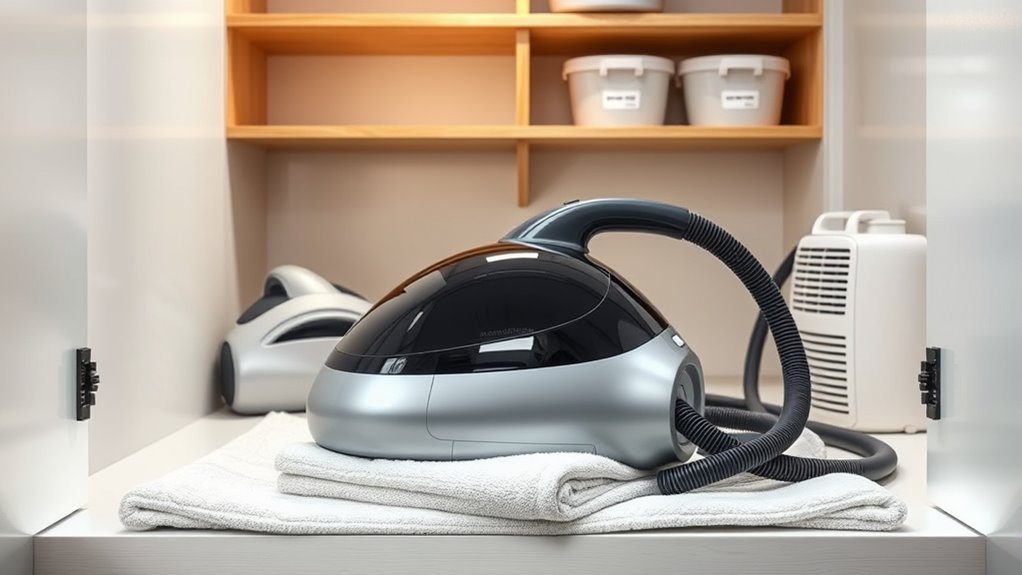
Cleaning Your Pool Cleaner Thoroughly
Regularly cleaning your pool cleaner is essential to keep it functioning effectively, especially as you prepare for seasonal changes. Start by inspecting the cleaner’s components and removing any debris or buildup. Pay close attention to battery maintenance—fully charge the battery if applicable, and ensure it’s stored in a dry, cool place. This prevents corrosion and maintains battery life. Always prioritize electrical safety by unplugging the cleaner before cleaning and avoiding water contact with electrical parts. Use a damp cloth to wipe down the motor and electrical connections, ensuring they’re dry before storage. Proper cleaning and maintenance prevent damage, extend your cleaner’s lifespan, and ensure it’s ready for the next season. Keeping safety and battery care in mind makes seasonal storage easier and more effective. Regular inspections can also help identify any component damage, ensuring your cleaner remains in good condition year-round. Additionally, consulting the manufacturer’s guidelines can provide specific instructions to optimize your cleaning routine and prolong the device’s lifespan. Incorporating automation technology in maintenance routines can further streamline the process and enhance efficiency. Understanding somatic therapy techniques can also help you manage stress related to seasonal changes and pool upkeep. Moreover, leveraging expertise from professional services can ensure your cleaner receives optimal care and maintenance.
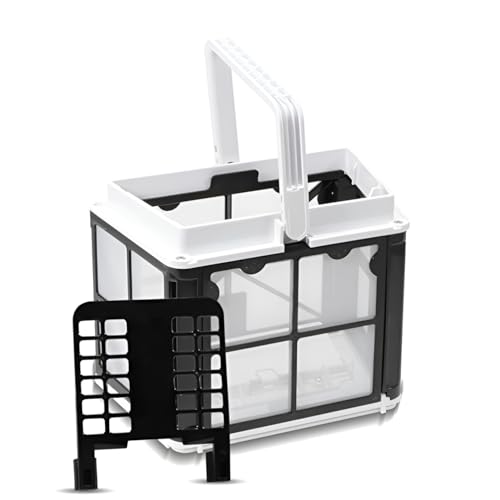
Poolzilla Fine-Filter Basket – Compatible with #9991459-R1, Dolphin Robotic Pool Cleaners – Robotic Pool Cleaner Filter Basket Replacement
💧 【Compatible Models】 This fine filter basket is compatible with part # 9991459-R1, Advantage, Cayman, Echo, Encore, Escape,…
As an affiliate, we earn on qualifying purchases.
As an affiliate, we earn on qualifying purchases.
Removing and Inspecting the Filter Bag or Basket
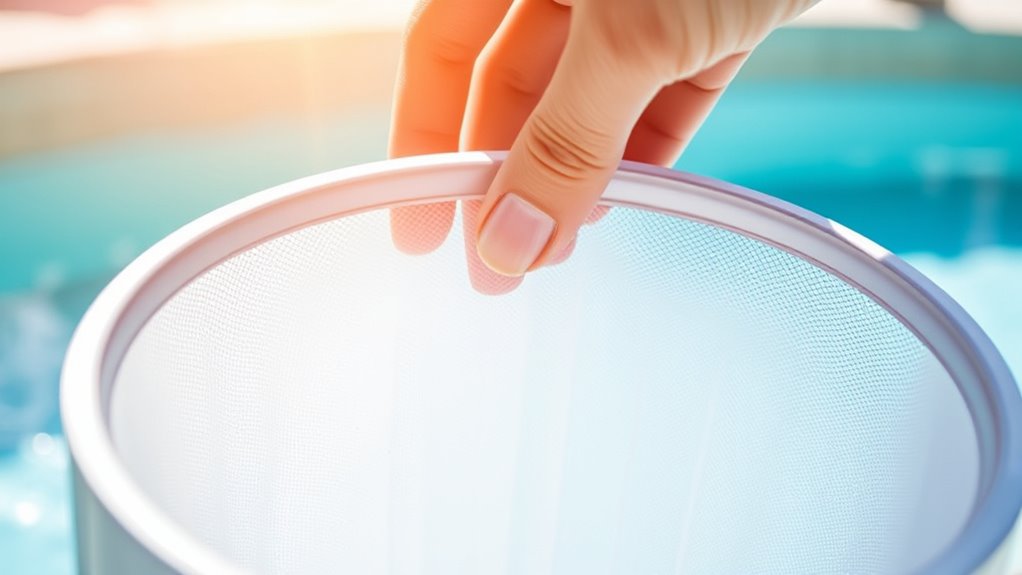
To guarantee your pool cleaner works efficiently, you should start by removing the filter bag or basket and inspecting it for debris or damage. During this bag inspection, check for tears, holes, or signs of wear that may hinder filtration. If the bag appears damaged or overly clogged, consider a filter replacement to maintain ideal suction and cleaning performance. Regularly inspecting your filter ensures it functions properly and prevents debris from bypassing the cleaner. Clean out any debris from the basket or bag, and ensure it’s securely reattached before storing. Proper maintenance of the filter bag or basket not only extends its lifespan but also keeps your pool cleaner operating at peak efficiency during the season. Additionally, ensure that your headphones are compatible with your device to avoid connectivity issues during storage or use. Remember that fuel injection cleaning is essential for optimal engine performance, so keeping your vehicle’s fuel system in top shape can prevent costly repairs. Incorporating preventative maintenance routines can further enhance the longevity and effectiveness of your equipment. Also, checking the store hours of local beauty supply stores can help plan your seasonal shopping trips effectively. Recognizing that Vetted electric bike conversion kits are available can offer alternative options for maintaining your bike’s performance during off-seasons.

Devoko 100 Gallon Waterproof Large Resin Deck Box Indoor Outdoor Lockable Storage Container for Patio Furniture Cushions Garden Tools (100 Gallon, Black)
Chic Design: This all-weather wicker plastic storage box with modern rattan pattern design, which is a great decoration…
As an affiliate, we earn on qualifying purchases.
As an affiliate, we earn on qualifying purchases.
Flushing and Draining Water From the Unit
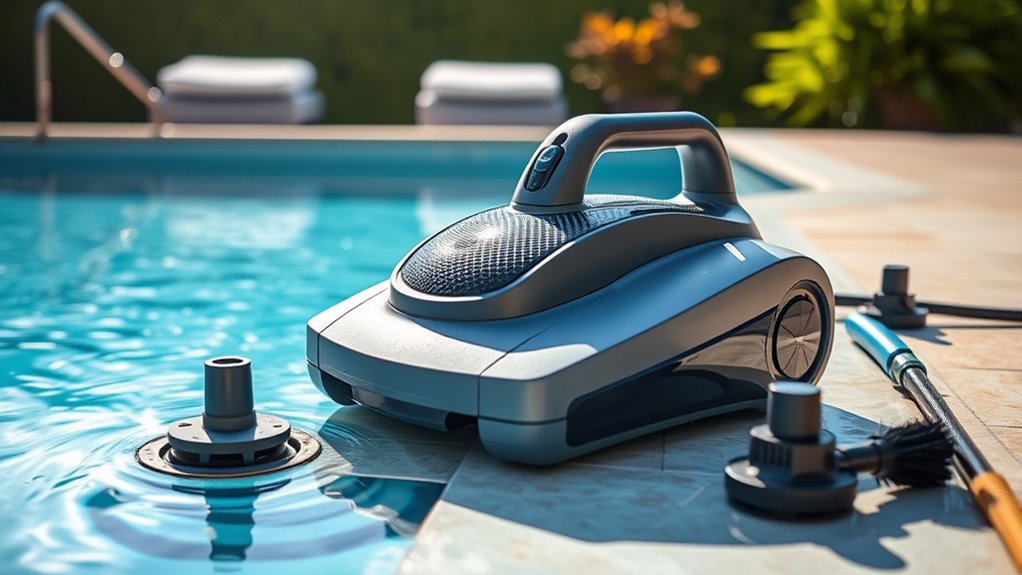
Have you drained all water from your pool cleaner to prevent damage during storage? Proper flushing and draining ensure water quality remains ideal and prevent mold or corrosion. Start by immersing the cleaner in fresh water to flush out debris and residues. Then, tilt or position the unit to drain all remaining water thoroughly. Choose a suitable storage location—dry, cool, and protected from freezing temperatures—to prevent any residual moisture from causing damage. Proper drying also helps eliminate any remaining moisture that could lead to mold growth. Here’s a quick guide:
| Step | Action | Note |
|---|---|---|
| 1. Fill basin | With clean water | For flushing |
| 2. Run cleaner | Briefly to circulate water | Remove debris |
| 3. Drain unit | Tilt or invert | Remove all water |
| 4. Dry thoroughly | Wipe or air dry | Prevent mold |
| 5. Store safely | In a dry, protected spot | Avoid freezing |
Additionally, ensuring all water is removed helps prevent corrosion, which can compromise your cleaner’s effectiveness over time.

Non Rust Pool Pole Hangers – Ideal Pool Fence or Wall Mount Storage Hooks for Pool Equipment, Brush, Vacuum Hose, Skimmer & Garden Tool Organizer Holder -Hardware Included
This came as a set of 1, Come with 1 hooks and R rings and screws and expansion…
As an affiliate, we earn on qualifying purchases.
As an affiliate, we earn on qualifying purchases.
Checking and Replacing Worn or Damaged Parts
Start by inspecting your equipment for cracks or leaks that could cause problems later. Then, test the pump to make sure it runs smoothly and efficiently. If you find worn gaskets or damaged parts, replace them promptly to keep everything working properly. Regularly maintaining your pool equipment can also help prevent issues during the off-season. Incorporating data-driven strategies for your maintenance schedule can further optimize equipment longevity. Additionally, using professional-grade tools can ensure precise repairs and adjustments. Applying automation in maintenance can help streamline inspections and identify potential problems early. Considering tuning options for your equipment can also improve performance and durability over time.
Inspect for Cracks or Leaks
Regularly inspecting your equipment for cracks or leaks is essential to maintaining its efficiency and safety. Over time, material degradation can weaken parts, compromising the structural integrity of your pool cleaner. Look closely at hoses, seals, and the main body for any signs of cracks, splits, or leaks. Even small damage can lead to reduced suction or water bypass, affecting performance. If you spot any cracks or leaks, replace the worn or damaged parts promptly to prevent further deterioration. Use a flashlight for better visibility and feel for soft spots or bulges. Maintaining the integrity of your cleaner’s components guarantees it functions properly when you need it again. Regular checks save you time and money by avoiding more extensive repairs later.
Test Pump Functionality
Is your pool pump functioning properly? To guarantee ideal performance, you need to test its pump functionality regularly. First, check for consistent water flow, which indicates the pump is working efficiently. Second, perform pool chemical testing to confirm water quality isn’t affecting pump operation. Third, monitor water temperature, as fluctuations can signal motor strain or worn parts. If you notice weak circulation or unusual noises, inspect for worn or damaged components like impellers or seals. Replace any faulty parts promptly to prevent further damage. Maintaining proper water temperature also helps reduce stress on the pump. Regular preventive maintenance and timely replacements keep your pump running smoothly, ensuring your pool stays clean and safe during the off-season. Additionally, keeping an eye on pump performance can help identify issues early before costly repairs are needed. Incorporating air quality considerations, such as ensuring proper filtration, can also extend the lifespan of your equipment. Moreover, understanding filter replacement indicators can help you maintain effective filtration and protect your pump from debris damage.
Replace Worn Gaskets
Worn or damaged gaskets can cause leaks, reduce pump efficiency, and lead to more serious equipment issues. Regular seal checking helps identify gaskets that need replacement before problems escalate. If you notice constant leaks or a drop in suction power, it’s time for gasket replacement. When replacing gaskets, ensure the new ones fit snugly and are free of cracks or tears. Use the following table to help you inspect and replace gaskets effectively:
| Inspection Step | Action |
|---|---|
| Seal Checking | Look for cracks, hardening, or deformation |
| Gasket Replacement | Remove old gasket and install a new one |
| Leak Testing | Run the cleaner to verify tight seals |
Always replace worn gaskets promptly to maintain peak performance and prevent costly repairs. Proper gasket maintenance can extend the life of your paint sprayer and ensure consistent results during use. Additionally, inspecting gaskets regularly is a vital part of preventative maintenance, which can help avoid unexpected breakdowns and keep your equipment running smoothly. Incorporating routine inspections into your seasonal care routine can further enhance the longevity of your pool cleaner. Regularly consulting manufacturer guidelines can also ensure you’re following the best practices for gasket care and replacement.
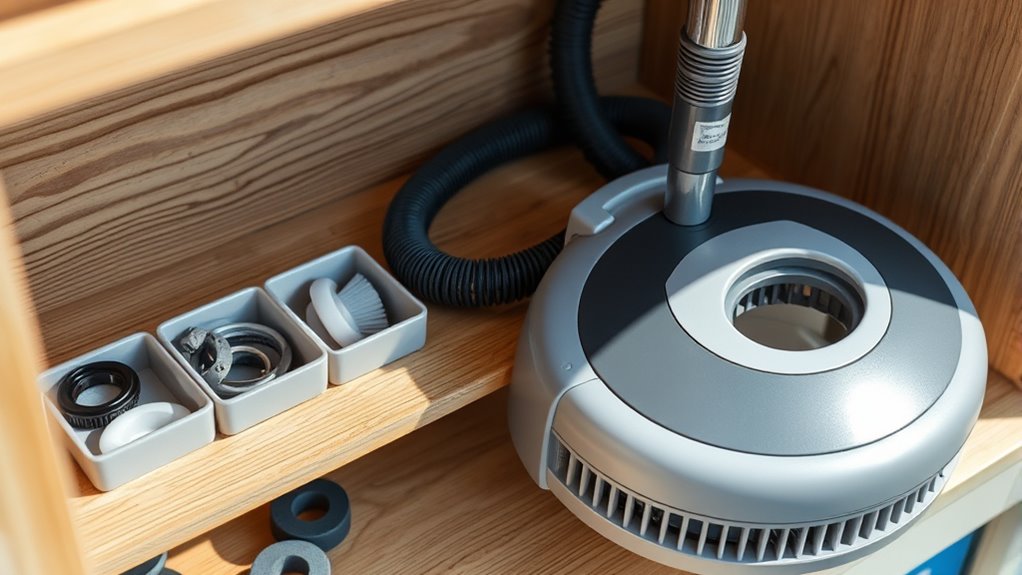
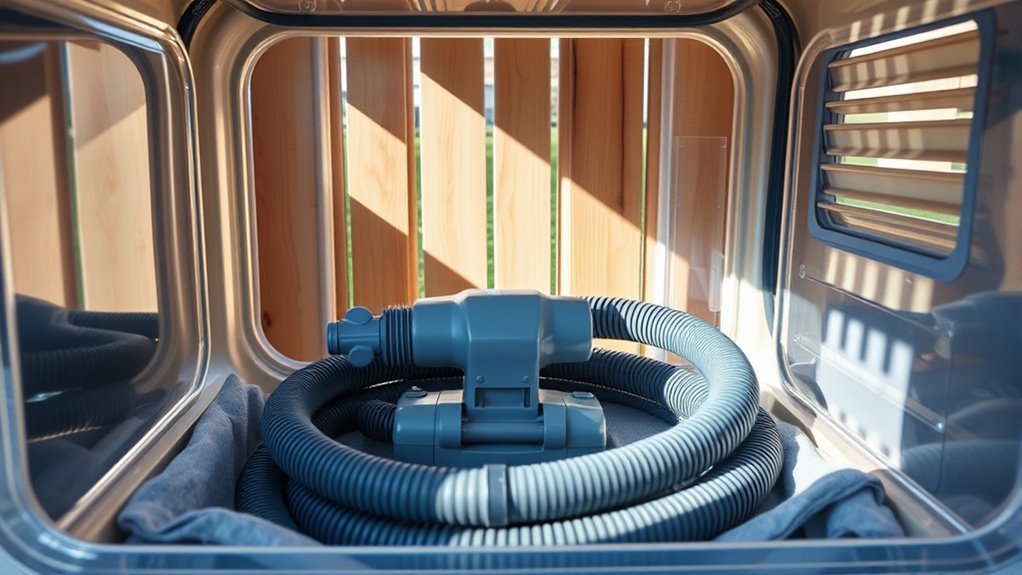
Storing the Cleaner in a Dry, Protected Location
Make sure to store your cleaner in a dry spot to prevent moisture from causing damage. Choosing a protected location keeps it safe from humidity and leaks. Proper storage helps your cleaner work effectively when you need it.
Choose a Dry Spot
Choosing a dry spot to store your cleaner is essential for maintaining its effectiveness and safety. You want a location with an appropriate storage environment that keeps moisture out and prevents damage. Confirm the area has proper ventilation requirements to avoid heat buildup and allow any residual humidity to escape.
Consider these key points:
- Select a cool, dry corner away from direct sunlight and extreme temperatures.
- Ensure the space has adequate airflow to prevent moisture buildup.
- Avoid areas prone to humidity, like basements or enclosed sheds, to keep your cleaner dry and functional.
Prevent Moisture Damage
To prevent moisture damage, it’s crucial to store your cleaner in a dry, protected location that shields it from humidity and condensation. Moisture prevention is essential to avoid rust, mold, or electrical issues. Choose a space with good ventilation or use silica gel packs to absorb excess moisture. Keep the cleaner elevated off the ground to minimize exposure to damp surfaces. Regularly check the storage area for signs of humidity and ensure doors and windows are sealed properly. Using a dehumidifier can help control humidity levels, especially in humid climates. Proper humidity control ensures your suction pool cleaner stays in excellent condition, ready for use when the season returns. Protecting your equipment from moisture prolongs its lifespan and maintains peak performance.
Properly Positioning the Cleaner to Prevent Damage
Properly positioning the cleaner is essential to prevent damage during seasonal care. Correct positioning ensures your device remains in good condition and functions properly when you resume use. Consider these positioning strategies for damage prevention:
- Place the cleaner on a flat, stable surface to avoid unnecessary stress on the body and components.
- Elevate the cleaner slightly off the ground to prevent contact with moisture or dirt.
- Wind the cables and hoses loosely to prevent kinks or stress points that could cause tears or damage.
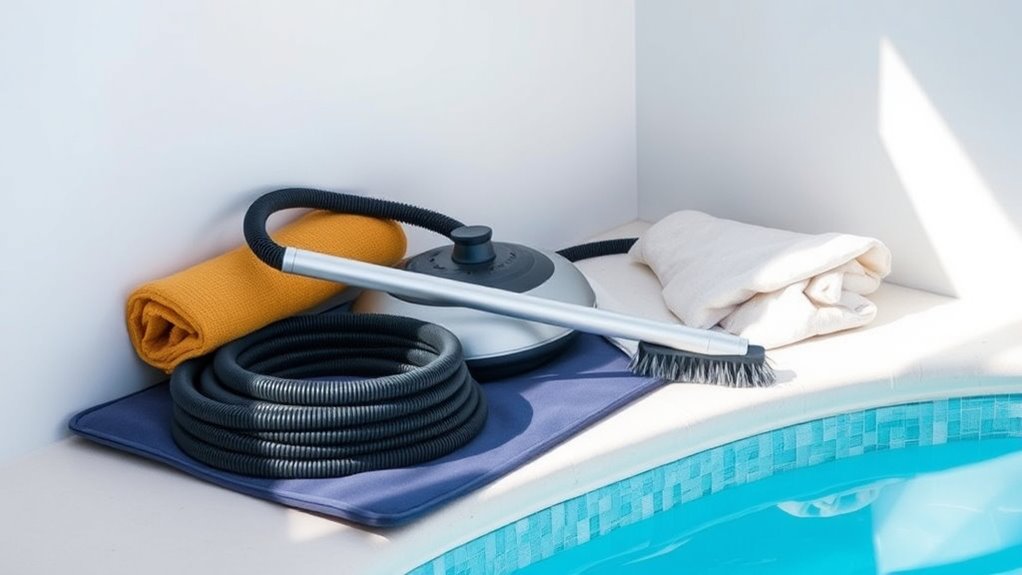
Maintaining the Hoses and Cables
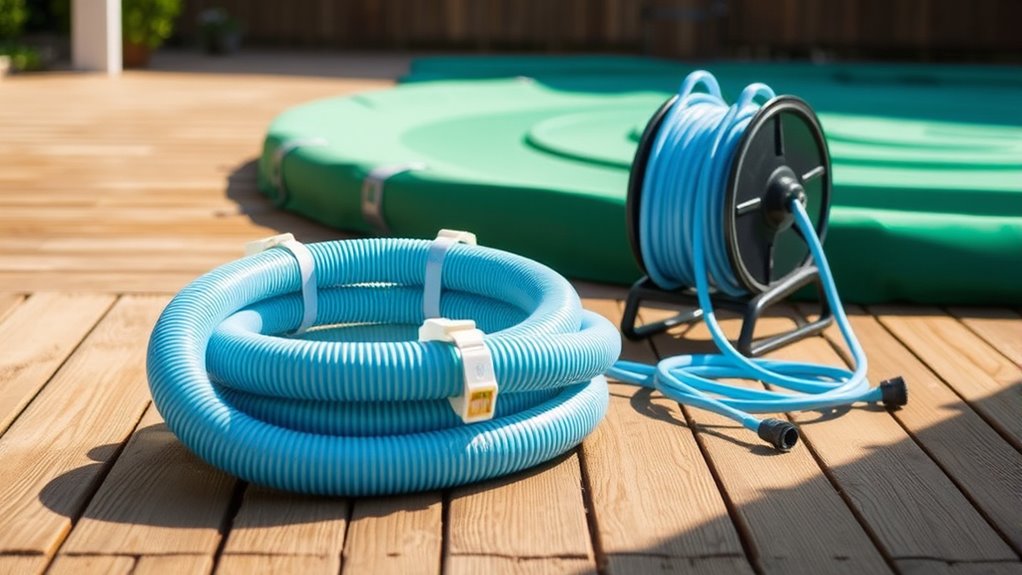
Maintaining your hoses and cables is essential to guarantee their longevity and ideal performance during seasonal care. Proper hose care prevents cracks and leaks, while effective cable management avoids tangles and damage. To keep them in top shape, gently rinse hoses with clean water and allow them to dry completely before storage. Coil cables neatly, avoiding sharp bends that can cause internal damage. Use the following table as a quick reference:
| Hose Care | Cable Management | Storage Tips |
|---|---|---|
| Rinse and dry thoroughly | Coil loosely, avoid kinks | Store indoors, away from sunlight |
| Check for cracks and leaks | Use clips or ties to organize | Keep in a dry, cool place |
| Inspect regularly | Prevent tangling | Protect from pests |
Following these steps ensures your hoses and cables stay flexible and functional for the next season.
Protecting Your Cleaner From Pests and Dust
To protect your cleaner from pests and dust, start by sealing the storage area to block entry points. Use protective covers to keep dust and debris off when you’re not using it. Make sure to keep your cleaner away from pest-prone areas to prevent unwanted visitors from causing damage.
Seal the Storage Area
Sealing your storage area is essential to keep pests and dust out, ensuring your cleaner stays in top condition. Proper sealing protects your investment and simplifies seasonal maintenance. Here are key storage tips to consider:
- Inspect for gaps or cracks and seal them with weatherproof caulk or tape.
- Use airtight containers or storage bins to contain your cleaner and accessories.
- Ensure vents or windows are sealed or screened to prevent pests from entering.
Use Protective Covers
Protecting your cleaner from pests and dust becomes even more effective when you cover it properly. Using high-quality protective covers is a simple yet essential storage solution that keeps debris and critters away. Guarantee the cover fits snugly to prevent dust accumulation and pests from entering. Choose breathable covers to avoid moisture buildup, which can damage internal components. Proper storage solutions extend your cleaner’s lifespan and maintain its performance.
| Protective Covers | Storage Solutions |
|---|---|
| Keep pests out | Shield from dust |
| Fit snugly | Allow airflow |
| Use breathable fabric | Store in dry area |
| Easy to remove | Protect during off-season |
Keep Away From Pests
Pests can quickly damage your cleaner if left unprotected, so taking proactive steps is essential. Proper pest prevention guarantees rodents and insects stay away from your equipment. To safeguard your cleaner, consider these strategies:
- Use rodent deterrents like peppermint oil or commercial repellents around storage areas.
- Store your cleaner in airtight containers or sealed plastic bins to prevent dust and pest infiltration.
- Keep the storage area clean and free of debris, which attracts pests.
Creating a Maintenance Checklist Before Storage
Before storing your seasonal items, it’s essential to create a thorough maintenance checklist to ensure everything stays in top condition. Start by inspecting your suction pool cleaner for any damage or wear, and clean all parts thoroughly. Make sure to remove debris, filter cartridges, and brushes, and check for leaks or cracks. Consider your storage environment; choose a cool, dry place away from direct sunlight and extreme temperatures to prevent damage. Performing seasonal maintenance now will help you identify potential issues before storage, saving you time and money when reassembling next season. Document any repairs needed or parts replaced. This proactive approach guarantees your pool cleaner remains in excellent shape, ready for use when the season starts again.
Preparing Your Pool Area for Next Season
After completing your pool equipment maintenance checklist, it’s time to prepare your pool area for the upcoming season. Start by inspecting your pool deck and surroundings, removing debris, and ensuring proper drainage to prevent damage. Next, review your pool chemical safety; balance the water chemistry and store chemicals securely out of reach of children and pets. Finally, implement equipment maintenance tips by inspecting and servicing your pump, filter, and other accessories to ensure they’re ready for next year.
- Clear the area of debris and check for potential hazards.
- Store chemicals safely, following manufacturer instructions.
- Service your equipment to extend its lifespan and prevent issues.
Proper preparation keeps your pool area safe and ready for the next swim season.
Frequently Asked Questions
How Do I Prevent Mold Growth During Storage?
To prevent mold growth during storage, you should focus on mold prevention by thoroughly cleaning and drying your suction pool cleaner. Follow storage tips like removing any residual water, disassembling parts if possible, and storing it in a dry, well-ventilated area. Regularly inspect your cleaner during the off-season to catch any signs of mold early. Proper storage guarantees your pool cleaner stays in good condition and mold-free.
Can I Store the Cleaner Outdoors Temporarily?
You might find it interesting that storing your suction pool cleaner outdoors temporarily isn’t advisable. While it may seem convenient, outdoor storage exposes it to weather, dirt, and pests, which can damage the equipment. Instead, opt for a sheltered, dry place like a garage or shed. This ensures your cleaner stays in good condition and ready for use when swimming season begins again.
What Disinfectants Are Safe for Storage?
When considering disinfectant compatibility for storage, you should look for safe storage disinfectant options that won’t damage your cleaner. Avoid harsh chemicals that could degrade parts or leave residues. Instead, opt for mild, non-corrosive disinfectants specifically labeled as safe for pool equipment. Always follow manufacturer recommendations to guarantee your suction pool cleaner remains in good condition during off-season storage. Proper disinfectant choice helps prevent mold and bacteria buildup.
How Often Should I Check the Stored Cleaner?
Your stored cleaner is like a ticking time bomb if neglected! You should check it at least once every month. Use a maintenance checklist to inspect for mold, debris, or damage, and verify the parts are dry and properly stored. Regular checks keep your cleaner in top shape, ready for action when swimming season returns. Proper storage tips make all the difference in prolonging its life and performance.
Is It Necessary to Lubricate Moving Parts Before Storage?
You should definitely consider lubrication maintenance before storage. Lubricating moving parts helps prevent rust and corrosion, ensuring your cleaner stays in good condition. Proper storage preparation includes applying a suitable lubricant to key components, which makes it easier to operate later. Skipping this step could lead to parts sticking or wearing out prematurely. So, take a few minutes to lubricate your suction pool cleaner before storing it for the off-season.
Conclusion
By thoroughly cleaning and properly storing your pool cleaner, you’ll extend its lifespan and make certain it’s ready to go when pool season returns. Remember, a stitch in time saves nine—taking these simple steps now prevents bigger problems later. Keep it dry, protected, and well-maintained, and you’ll enjoy hassle-free pool care year after year. Trust me, a little effort today pays off with a cleaner, happier pool tomorrow.