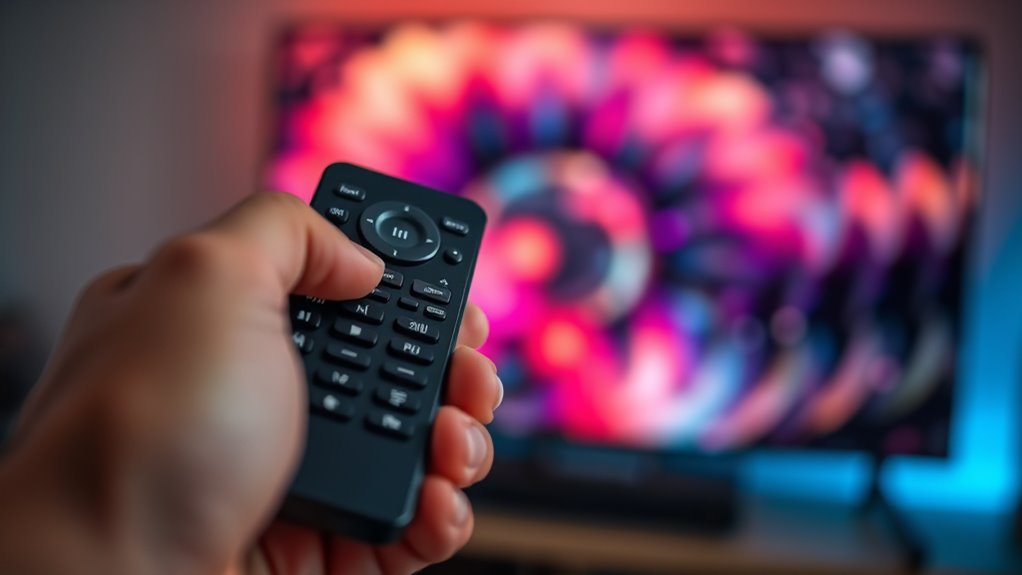

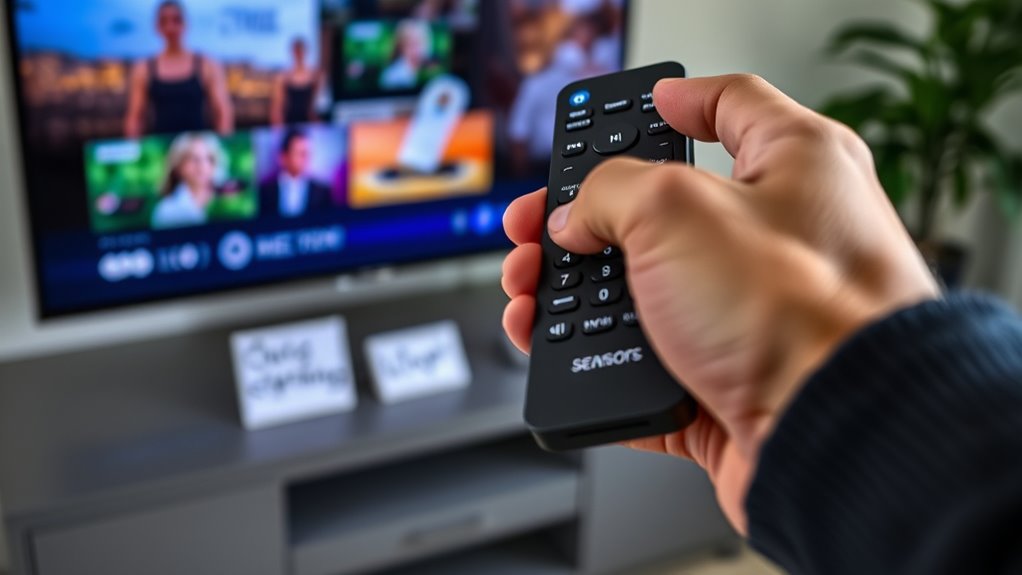
If you’re facing sound issues with your TV, the remote trick can often fix them quickly. Start by pressing a specific button or combination, like the sound mode or reset, to restore your audio settings to default. Make sure the volume isn’t muted and that external devices are properly connected and switched on. Power cycling your TV and remote can also help clear glitches. To uncover all the simple steps and tips, keep exploring the full solution.
Key Takeaways
- Use the remote to access the TV’s sound reset or default sound settings via specific button combinations or menu options.
- Perform a remote-controlled power cycle by turning off the TV, unplugging it, then turning it back on to reset audio.
- Use the remote to navigate to sound or audio settings and select reset or restore default configuration.
- Check for remote button sequences that trigger hidden sound reset options, often resolving common audio issues.
- Ensure remote batteries are fresh and responsive to prevent miscommunication during sound troubleshooting steps.
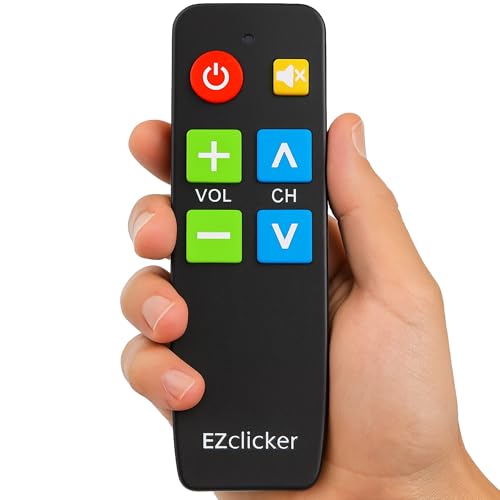
EZclicker TV Remote for Seniors, Extra Simple Big Button Remote (Black) Works with Major TV Brands, NOT for Streaming (2xAAA Batteries Not Included)
Easy Big Button Design: The remote includes specialized features like big button universal controls, and tactile feedback, catering…
As an affiliate, we earn on qualifying purchases.
As an affiliate, we earn on qualifying purchases.
Check Your TV’s Audio Output Settings
If your TV’s sound isn’t working properly, the first step is to check its audio output settings. Sometimes, the audio output may be set incorrectly, preventing sound from reaching your speakers or external devices. Access your TV’s menu and navigate to the sound or audio settings. Look for options labeled “audio output,” “sound output,” or similar. Make sure it’s set to the correct source, such as “TV speakers,” “external speakers,” or “audio system,” depending on your setup. If you’re using a soundbar or external device, confirm it’s selected as the output. Adjusting these sound settings can resolve many basic audio issues, ensuring your TV sends sound to the right device and that the volume is properly configured. Additionally, verifying the audio configuration on your TV can help identify if a setting change is necessary for optimal sound performance.

Line Level Volume Control Box, Remote Audio Controller for TV and DVD Players, RCA Input/Output
VOLUME CONTROL: Line level volume control device designed to regulate audio output levels between source devices and speakers…
As an affiliate, we earn on qualifying purchases.
As an affiliate, we earn on qualifying purchases.
Adjust the Volume and Mute Controls
Sometimes, the issue with your TV’s sound can simply be as straightforward as the volume being turned down or muted. To fix this, check your remote control ergonomics—make certain your hand comfortably reaches the volume and mute buttons without accidental presses. Make sure the volume control is calibrated correctly; sometimes, the remote’s sensitivity or button response may be off, causing inconsistent volume changes. Adjust the volume gradually, listening carefully to confirm it’s at a comfortable level. If you’ve been using the mute button, verify that it’s fully disengaged. Taking a moment to familiarize yourself with the remote’s layout can prevent accidental muting or volume adjustments. Clear, deliberate presses help ensure your sound settings match your preferences.

Universal-TV-Remote-Control Compatible with Samsung/LG/Vizio/Hisense/Sony/Philips/Onn/Sharp/RCA/Element/Westinghouse/Sanyo/Emerson TV and More Brand Smart TVs
【Compatible Devices】Universal replacement remote control is compatible with TV brands for Samsung, LG, Vizio, Sony, Hisense, Onn, Sharp,…
As an affiliate, we earn on qualifying purchases.
As an affiliate, we earn on qualifying purchases.
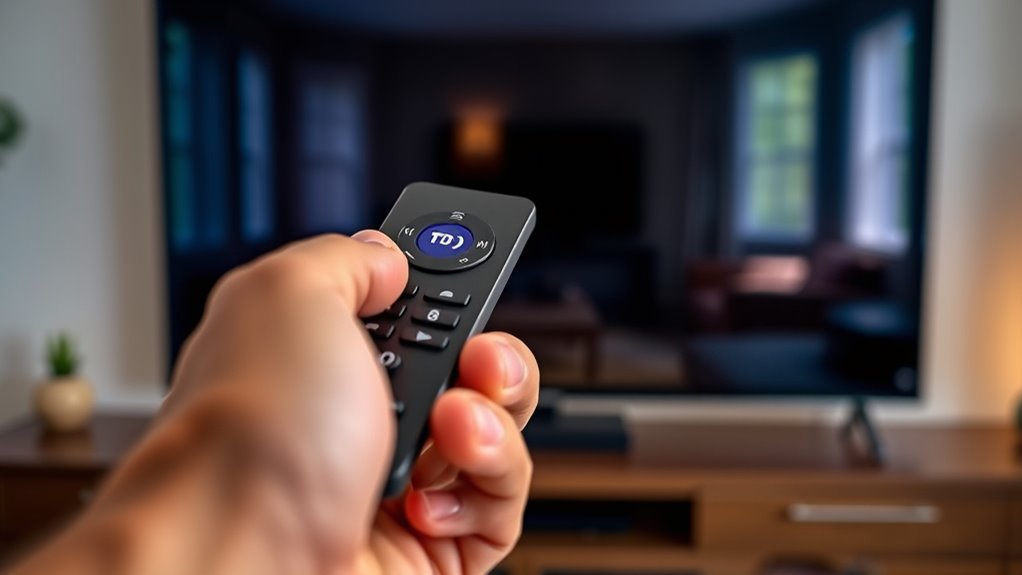
Use the Remote’s Sound Mode or Audio Preset Buttons
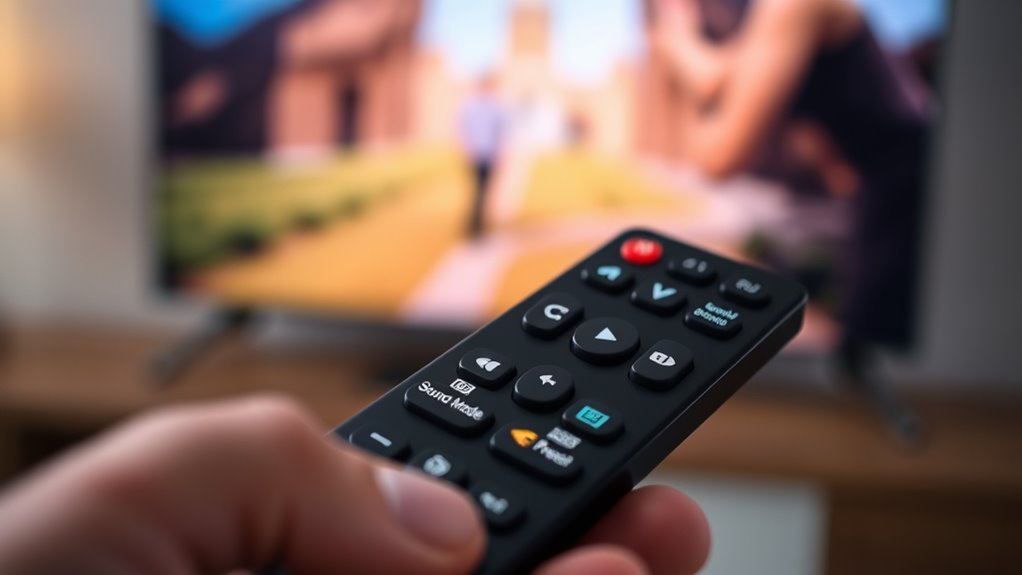
Most remotes have a sound mode or audio preset button you can easily find. Pressing it allows you to cycle through different audio settings tailored for movies, music, or dialogue. Using these presets helps you optimize your sound for whatever you’re watching, making the experience clearer and more enjoyable. Additionally, adjusting the wall organization or surrounding decor can also improve sound quality by reducing echo and noise.
Find Sound Mode Button
To find the sound mode button on your remote, look for a button labeled “Sound,” “Audio,” or “Sound Mode.” These buttons are typically grouped with other media controls or arranged in a row of preset options. Once located, you can quickly switch between different audio presets to improve sound clarity. Visualize this process:
- The button might be a dedicated toggle with an icon resembling a speaker or sound waves.
- It could be part of a cluster, alongside volume or input buttons.
- Pressing it cycles through options like “Standard,” “Cinema,” or “Music.”
Using the correct sound mode or audio preset can dramatically enhance your listening experience, ensuring clearer dialogue and richer sound. Finding and utilizing this button streamlines troubleshooting sound issues and optimizes your TV’s audio performance. Understanding audio presets can help you choose the best setting for your environment.
Cycle Through Audio Presets
Once you’ve located the sound mode or audio preset button on your remote, cycling through different options is straightforward. Pressing this button switches your TV among various audio presets designed to enhance sound quality for different content types. These audio presets or sound modes include options like Standard, Cinema, Music, or Sports, each tailored to optimize audio output. If you’re experiencing sound issues or want a different listening experience, try cycling through these presets. Usually, a single press will change the mode, and a small indicator on your screen will confirm the current setting. Experiment with different sound modes until you find the one that provides the clearest, most satisfying audio for your viewing.
Optimize for Content Type
After cycling through different audio presets, you can further enhance your listening experience by selecting the sound mode best suited for your current content. Using your remote’s sound mode or audio preset buttons helps optimize audio enhancement and improves your soundbar setup. For example, choosing the “Movie” mode enhances dialogue and bass for cinematic content, while “Music” emphasizes clarity and stereo separation. Here’s how to decide:
- Select “Game” mode for clearer sound effects and immersive experience.
- Switch to “News” mode to prioritize voice clarity.
- Use “Sport” mode for balanced sound with emphasis on commentary and crowd noise.
- Experiment with different beach destinations to find relaxation and entertainment options that match your preferences.
Adjusting these settings guarantees your audio matches your content, making every scene more engaging and clearer. This simple step maximizes your soundbar’s potential and enhances overall audio quality.
Reset the Sound Settings to Default
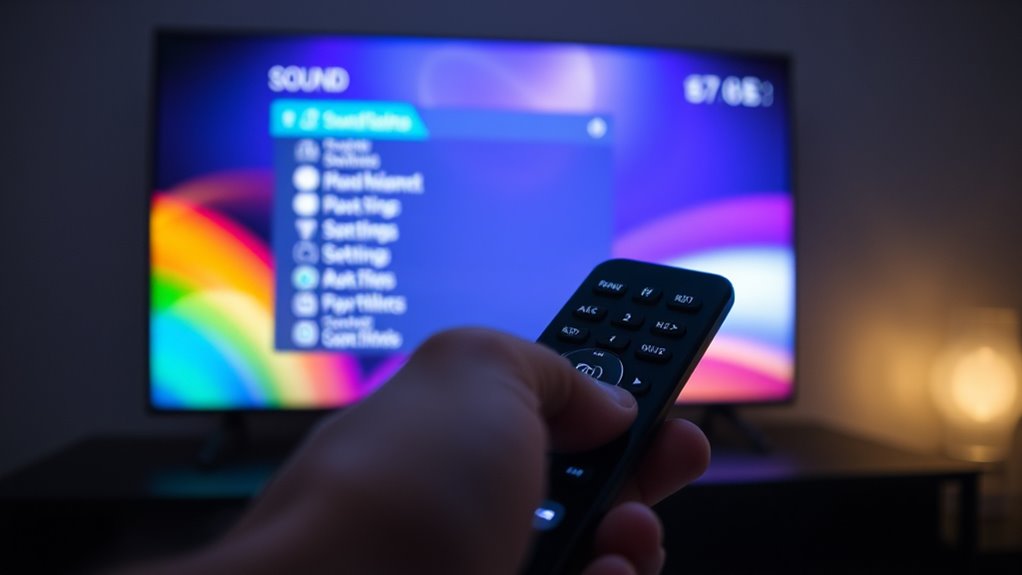
To reset your sound settings to default, start by accessing the sound menu on your TV. Next, select the option to restore or reset to factory settings, and confirm your choice. Once done, check if the sound has improved to guarantee everything is set correctly. Being aware of local resources and tools can also help if sound issues persist.
Accessing Sound Settings
Have you ever experienced sound issues on your TV that just won’t go away? Accessing sound settings is your first step to fix this. To do it easily, follow these steps:
- Press the “Menu” or “Settings” button on your remote.
- Navigate to the “Sound” or “Audio” menu.
- Select “Sound Settings” to view options like audio input and speaker placement.
- Proper maintenance of your TV’s audio system can prevent many common sound problems and ensure optimal performance.
Once there, you can check if the audio input is correctly set or adjust speaker placement for ideal sound. Sometimes, sound problems are caused by incorrect audio input selection, or speakers being blocked or misaligned. Accessing these settings is quick and helps you identify if adjustments are needed before trying more complex fixes.
Restoring Default Options
Sometimes, sound settings can become misconfigured, causing audio issues that are tough to fix manually. Restoring default options reestablishes your TV’s sound settings to their original state, often resolving these problems. To do this, navigate to your sound menu and select the reset or restore option. This step is especially helpful if you’ve adjusted audio calibration or changed your soundbar connection settings, but things still sound off. Resetting clears any custom adjustments and can fix synchronization issues or distorted audio. After restoring defaults, you may need to reconfigure your soundbar connection or fine-tune your audio calibration. This quick reset often clears up most sound problems, saving you time and effort compared to manual adjustments. It’s a simple, effective way to ensure your sound settings are optimized. Additionally, understanding the latest technology private placement investments trends can help you stay ahead of emerging solutions that enhance audio and visual experiences.
Confirming Sound Reset
After resetting your TV’s sound settings to their default, it’s important to confirm that the process was successful. First, listen for clear audio from your soundbar, ensuring it’s properly positioned for ideal sound. Second, check the speaker calibration settings—adjust if necessary—to verify they reflect the default configuration. Third, navigate to your sound options menu and run a quick test tone or sound check. If the sound is balanced and the soundbar’s positioning isn’t causing muffled or distorted audio, then the reset worked. Confirming these steps helps prevent ongoing sound issues and ensures your speaker setup is properly configured for the best audio experience. Additionally, understanding the importance of contrast ratio can help you optimize your home cinema setup for clearer, more vibrant images.
Power Cycle Your TV and Remote
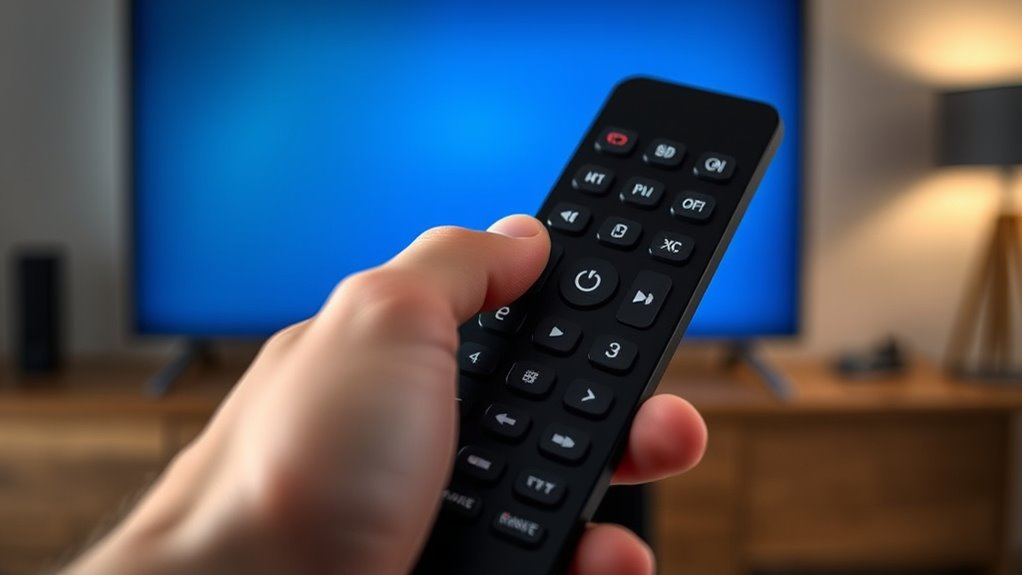
Power cycling both devices can often fix the problem. Turn off your TV and remote, unplug the TV from the power source, and remove the remote’s batteries. Wait for about a minute, then reconnect and turn everything back on. This resets internal electronics, resolving minor glitches affecting remote control ergonomics and TV soundbar compatibility. Regularly maintaining your devices can help prevent these issues from recurring.
Ensure the Remote’s Batteries Are Fresh and Working Properly
Start by checking if your remote’s batteries are still providing enough power. If they look old or are running low, replace them with fresh ones to guarantee proper operation. Then, test the remote to see if it responds correctly to your TV or other devices.
Check Battery Power
Have you checked whether your remote’s batteries are still strong enough to work? Performing a battery check is simple and can save you time. First, look at the power indicator—many remotes have a small LED that blinks or stays solid when batteries are low. Second, remove the batteries and inspect them for corrosion or leaks. Third, test the batteries with a battery tester or replace them with fresh ones to ensure they’re not weak. If the remote still doesn’t respond, even with new batteries, it might be time to replace them again. Remember, fresh batteries are key to consistent performance. Understanding how remotes work can help you troubleshoot more effectively. Keeping your batteries in good shape prevents frustration and ensures your remote functions smoothly.
Test Remote Functionality
After confirming your batteries are fresh and properly installed, it’s time to test whether your remote is functioning correctly. Hold the remote control comfortably, paying attention to its ergonomics — how it feels in your hand. Use the remote control design as a guide to ensure buttons aren’t sticking or unresponsive. To test its functionality, point the remote at your TV and press a few buttons, like volume up or menu. If the TV responds, the remote works fine. If not, check for obstructions or consider replacing the batteries again. Remember, a well-designed remote control should feel intuitive and easy to operate. Use this table to keep track of your tests and notes:
| Test Step | Result |
|---|---|
| Check button response | Yes/No |
| Observe remote ergonomics | Comfortable/Uncomfortable |
| Confirm no obstructions | Clear/Blocked |
| Replace batteries if needed | Done/Not needed |
Additionally, remote troubleshooting can help identify other issues affecting functionality.
Synchronize the Remote With Your TV
To guarantee your remote works seamlessly with your TV, you need to synchronize them properly. This process, called remote pairing, ensures your remote communicates effectively, including audio synchronization. Here’s how to do it:
Ensure seamless TV control and audio sync by properly pairing your remote with the TV.
- Turn on your TV and hold the remote close.
- Follow your TV’s on-screen instructions, which typically involve pressing and holding specific buttons for a few seconds.
- Wait for a confirmation message or a blinking light indicating the remote is paired.
- Ensure your remote’s firmware is up to date, as firmware updates can improve compatibility and performance.
Once paired, your remote will control the TV more reliably, reducing sound issues caused by miscommunication. Proper synchronization helps align audio with picture, ensuring smooth sound performance. If issues persist, repeat the pairing process to refresh the connection.
Use the Remote to Access and Toggle External Audio Devices
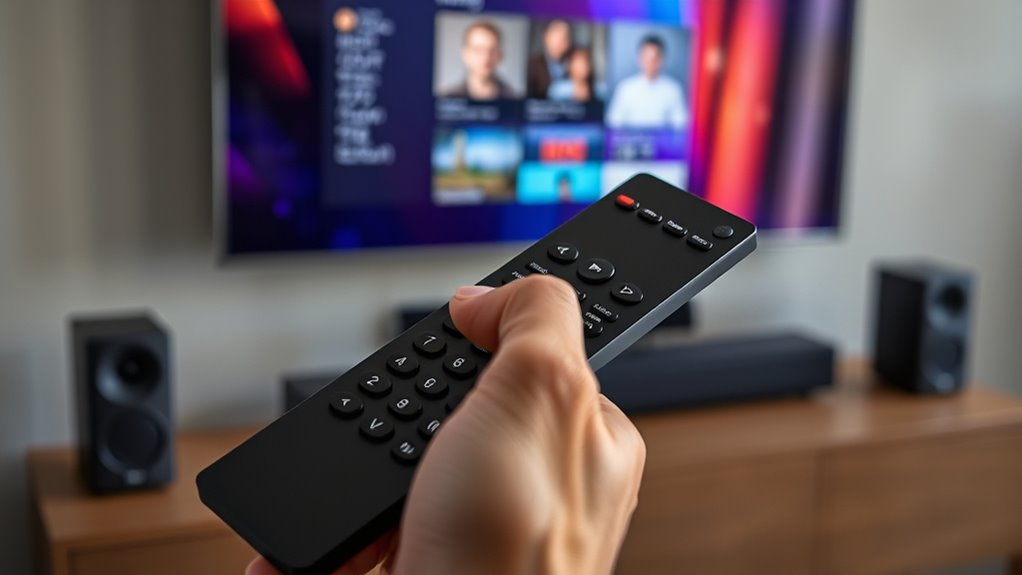
Using your remote to access and toggle external audio devices allows you to seamlessly switch between speakers, soundbars, or home theater systems without needing multiple remotes. Many modern TVs support external audio connection options like HDMI ARC, optical, or Bluetooth, which can be controlled directly through your remote. To do this, check your remote control compatibility with your TV and audio devices; many remotes now feature dedicated buttons or menus for audio output. Simply press the audio or input button, navigate to the external audio device menu, and select the desired system. This quick access guarantees you’re always in control of your sound setup, reducing frustration and improving your viewing experience. Utilizing external audio connection options makes managing multiple sound sources even more straightforward. Using your remote this way simplifies managing multiple audio sources effortlessly.
Check for Software or Firmware Updates via Remote Control
Checking for software or firmware updates on your TV is essential to guarantee you have the latest features and security enhancements. Using your remote control, you can easily access the update menu. Typically, follow these steps:
- Press the menu or settings button on your remote.
- Navigate to the “Support” or “About” section.
- Select “Software Update” or “Firmware Update” to check for available updates.
Updating your remote software and firmware ensures compatibility with new apps and fixes sound-related bugs. Firmware updates often include improvements that optimize audio performance. Staying current with technology updates can prevent sound issues and improve overall TV functionality. Be sure to stay current, as outdated firmware can cause sound issues or reduce overall functionality. Regular updates are a simple yet effective way to keep your TV running smoothly and sound clear.
Troubleshoot Common Remote Control Issues Related to Sound
Sound issues with your remote control can disrupt your viewing experience, but many problems are easy to troubleshoot. Start by checking the remote’s button layout; verify you’re pressing the correct buttons for volume and mute controls. Poor remote ergonomics can cause accidental presses or difficulty reaching buttons, so adjust your grip if needed. Confirm the remote is pointed directly at the TV sensor, with no obstructions. Replace the batteries if the sound controls respond intermittently. Sometimes, the remote’s sound buttons are in a different location than expected, so consult your user manual. If your remote has dedicated sound buttons, test them to see if they work. Addressing button placement and remote ergonomics helps improve control and eliminates common sound-related remote issues. Additionally, ensuring your remote’s batteries are fresh can significantly improve responsiveness and reduce sound control problems.
Frequently Asked Questions
Can Changing the Remote’s Language Settings Affect Sound Function?
Changing the remote’s language settings doesn’t directly affect the sound function. However, adjusting the remote language or audio language can change the audio output language on your TV, which might lead to confusion. If you notice sound issues after changing the remote language, double-check your audio language settings on the TV itself. Ensuring both remote and TV audio language settings match helps maintain proper sound function.
How Do I Program My Universal Remote for Specific Audio Devices?
In an age where remotes are as essential as a pocket watch, you can program your universal remote for specific audio devices by entering the correct pairing codes. First, find the device compatibility list in your remote’s manual. Then, press and hold the setup button, enter the pairing code, and test the controls. This guarantees seamless operation and a harmonious audio experience with your devices.
Will Resetting the Remote Erase Custom Sound Configurations?
Resetting your remote will erase custom sound configurations, as it restores the remote to factory settings. Before doing this, make sure your remote battery is fresh to prevent any interruptions during the reset process. Also, updating or resetting the remote firmware might be necessary if sound issues persist. Keep in mind that after a reset, you’ll need to reprogram your remote for specific audio devices to regain personalized settings.
Can Remote Control Placement Impact Sound Quality or Volume?
Think of your remote control as the maestro conducting your TV’s sound symphony. Poor remote placement can cause remote interference, disrupting sound quality and causing volume fluctuations. Keep the remote clear of obstacles and away from electronics that emit interference to guarantee consistent volume and crisp audio. Proper placement allows your remote to communicate seamlessly, preserving the harmony of your viewing experience without frustrating sound issues.
Are There Specific Remote Features for Adjusting Audio Delay Settings?
Yes, some remotes have specific features for adjusting audio delay settings, often accessed via menu options or dedicated buttons. To guarantee ideal performance, you should check Bluetooth pairing capabilities if your remote supports wireless audio controls, and verify the IR sensor alignment to prevent signal issues. Proper pairing and sensor positioning help fine-tune audio delay, reducing lip-sync problems and enhancing your viewing experience.
Conclusion
Now that you know these simple remote tricks, your sound problems might just disappear. But what if the issue isn’t with your remote or settings? Sometimes, the solution is closer than you think—hidden behind a small firmware update or a forgotten connection. Keep exploring, stay curious, and don’t give up. The secret to perfect sound could be just one more tap away. Are you ready to uncover it?