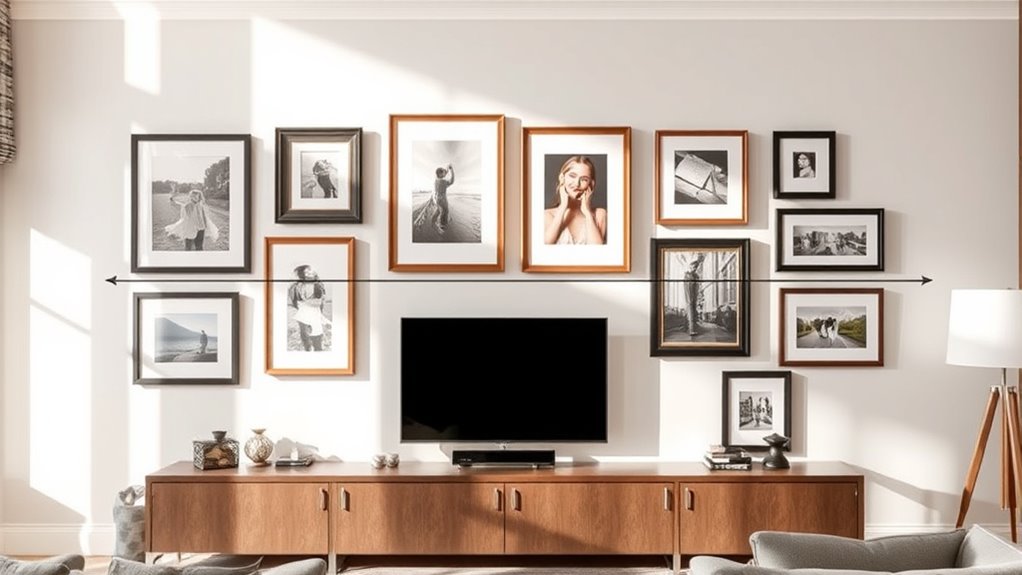
To create a compelling photo gallery at eye level, start by measuring 57-60 inches from the floor for the center of each piece, ensuring consistent spacing for visual harmony. Use painter’s tape and a level to outline your layout before hanging, and choose frames that complement your space. Proper lighting and secure hooks keep your gallery looking polished. Want to know how to make the perfect arrangement? Keep exploring for all the tips you need.
Key Takeaways
- Measure 57-60 inches from the floor to position the center of each photo at eye level.
- Plan your layout using painter’s tape and a level before hanging to ensure proper alignment.
- Choose consistent frame styles and spacing to create visual harmony and balance in the gallery.
- Use appropriate lighting to highlight the photos without causing glare or shadows.
- Securely hang frames with sturdy hooks or cables, regularly inspecting and maintaining for safety.

Hicarer 12 Pcs Adjustable Hooks for Gallery Picture Hanging System Picture Rail Hooks Picture Rail Hangers for Pictures Exhibition Art Gallery Supplies, Silver
Hook Applicable Sizes: these adjustable picture hangers for gallery rail are designed with a hole diameter of 0.14…
As an affiliate, we earn on qualifying purchases.
As an affiliate, we earn on qualifying purchases.
Understanding the Importance of Eye-Level Placement
Have you ever noticed how photos at eye level immediately catch your attention? That’s because art placement at this height aligns with your viewer perspective, making the images more engaging. When you hang photos at eye level, you create a natural flow that guides the eye smoothly across your gallery wall. This placement ensures you see each piece clearly without craning your neck or straining your eyes. It also helps establish a cohesive visual balance, making your collection feel intentional and inviting. Understanding the importance of eye-level placement means recognizing how it enhances the overall impact of your gallery. By considering viewer perspective, you make your photos more accessible and compelling, transforming a simple wall into a captivating display. Additionally, visual balance plays a crucial role in creating harmony within your gallery arrangement.

Feekoon Glazier Point Driver, Glazier Setting Tool with 100 Push Points, Glazing Push Point Driver Tool for Framing Glass Picture Cross Stitch(Green)
Package Includes: You will receive a glazier point driver tool and 100 glazier points. Sufficient quantity to meet…
As an affiliate, we earn on qualifying purchases.
As an affiliate, we earn on qualifying purchases.
Measuring and Marking Your Gallery Wall
Start by selecting the perfect wall space where your gallery will stand out. Use a measuring tape and painter’s tape to mark the layout, ensuring each piece is evenly spaced. Keep in mind that balancing the arrangement will make your gallery look cohesive and visually appealing. Additionally, consider retail hours today to plan your shopping for framing supplies or artwork when stores are open.
Choosing the Right Space
Before hanging your gallery wall, you need to identify the perfect space by measuring and marking carefully. Choose an area with good lighting, considering natural and artificial sources, to highlight your artwork effectively. Think about artistic spacing—leaving enough room between pieces for visual balance without overcrowding. Use the table below to plan your layout, ensuring each piece complements the space and lighting:
| Aspect | Tips |
|---|---|
| Wall Height | Keep gallery at eye level for maximum impact |
| Lighting | Avoid glare; choose spots with even, soft light |
| Space Between Art | Maintain consistent spacing for harmony |
| Overall Size | Match gallery size to wall dimensions |
Smart planning guarantees your gallery looks cohesive and inviting.
In addition, understanding alimony laws can help you plan your space effectively, especially if you are considering the emotional and financial aspects of display choices during transitions.
Marking for Balance
Once you’ve chosen the perfect space and considered the lighting and spacing, it’s time to mark your wall for a balanced gallery layout. Start by measuring the overall width and height where you want your gallery. Use a level and painter’s tape to outline the arrangement, ensuring the pieces are evenly spaced for visual harmony. Pay attention to color coordination; group similar hues or contrasting shades to create a cohesive look. Consider lighting effects when placing frames—position lighter or reflective pieces where natural light hits to enhance their impact. Mark key points with a pencil or masking tape, so you can adjust easily before hanging. This careful measurement process guarantees your gallery feels balanced, visually engaging, and harmonious with the room’s lighting and color scheme. To achieve a truly professional appearance, deep product research can help you choose the best frames and artwork for your space.
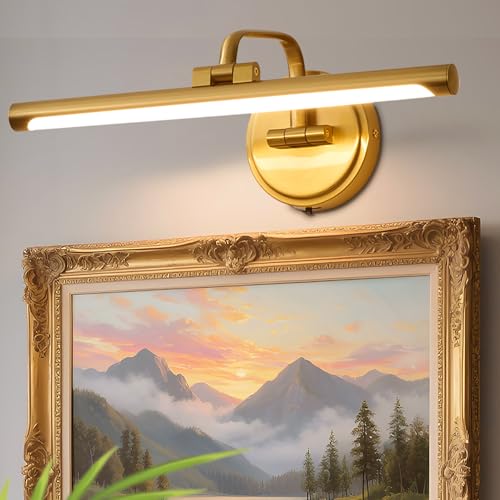
Hard-Wired Picture Light for Wall,16'' Inch Modern Brass Metal Body Dimmable Frame Light with Adjustable Swing Arm 3CCT LED Art Display Light for Paintings Gallery 6W Wall Light, Hallway Vanity Light
Long-Lasting & Easy Installation: Hardwired picture lights use your existing wires and 120V AC power (no batteries required),…
As an affiliate, we earn on qualifying purchases.
As an affiliate, we earn on qualifying purchases.
Selecting the Right Height for Different Spaces
When choosing the right height for your photo gallery, consider the wall height and how people will view the artwork. Standard eye level is typically around 57 to 60 inches from the floor, but this can vary based on space and ceiling height. Modify your gallery placement to ensure it looks balanced and feels natural in each room. Additionally, paying attention to wall surfaces and finishes can help you select complementary framing and lighting to enhance your displayed artwork.
Wall Height Considerations
Choosing the right wall height for your photo gallery is essential to creating a balanced and visually appealing display. You should consider how artistic framing complements the space and guides viewers’ eyes. If your walls are high, hanging artwork slightly lower can prevent the display from feeling top-heavy, enhancing the overall harmony. For smaller rooms, placing images closer to eye level ensures they remain focal points without overwhelming the space. Lighting techniques also influence wall height choices; proper lighting can highlight artwork and create depth, so position your gallery to maximize these effects. Keep in mind that consistent spacing and proportional placement help maintain visual flow, no matter the wall height. Additionally, understanding wall height considerations can help you determine the optimal placement for your pieces, ensuring they are displayed at the most flattering and accessible levels. Adjusting your gallery’s height thoughtfully ensures each piece can be appreciated at its best.
Eye Level Standards
Selecting the right height for your artwork is essential to creating an engaging and harmonious display. Eye level standards provide a reliable guideline, typically placing the center of the artwork around 57 to 60 inches from the floor. This height encourages viewers to connect with your artistic expression naturally. When considering different spaces, think about color coordination; lighter walls might call for artwork hung slightly higher to balance visual weight, while bold colors can be centered lower for emphasis. Adjusting height based on the room’s function and existing decor guarantees your gallery feels cohesive and inviting. Remember, the goal is to make each piece accessible and impactful, allowing viewers to appreciate the details and message without strain. Additionally, incorporating preventive measures for scratches can help maintain the gallery’s furniture and fixtures in pristine condition.

Bewinner Picture Hanging Tool with Built in Level, Precision Marking,Alignment Ruler for Photo Frames, Wall Decor, Mirrors, ABS Wall Friendly DIY Hanger
Precision Hanging Tool: This frame hanging level tool ensures accurate positioning for picture frames, allowing you to mark…
As an affiliate, we earn on qualifying purchases.
As an affiliate, we earn on qualifying purchases.
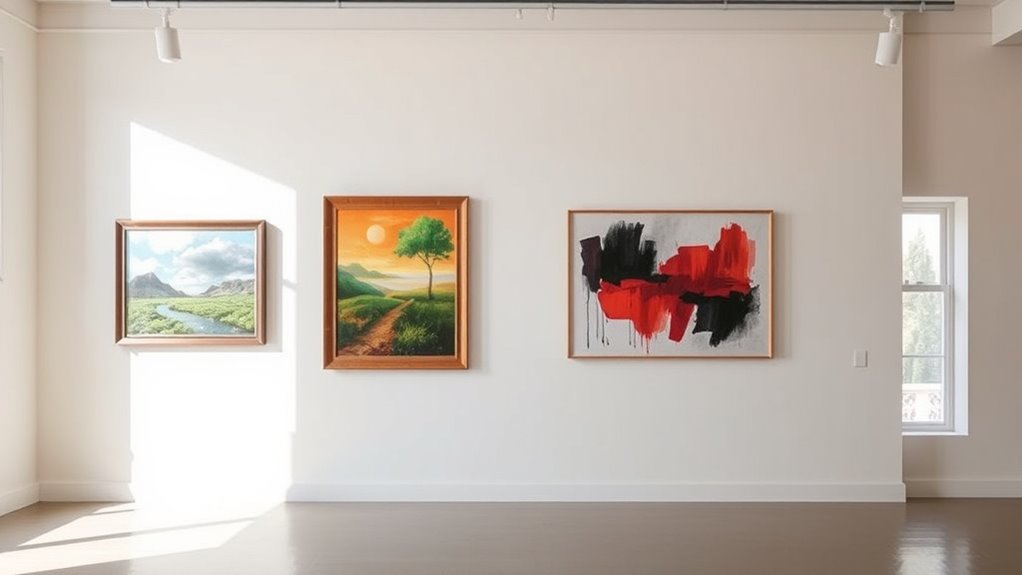
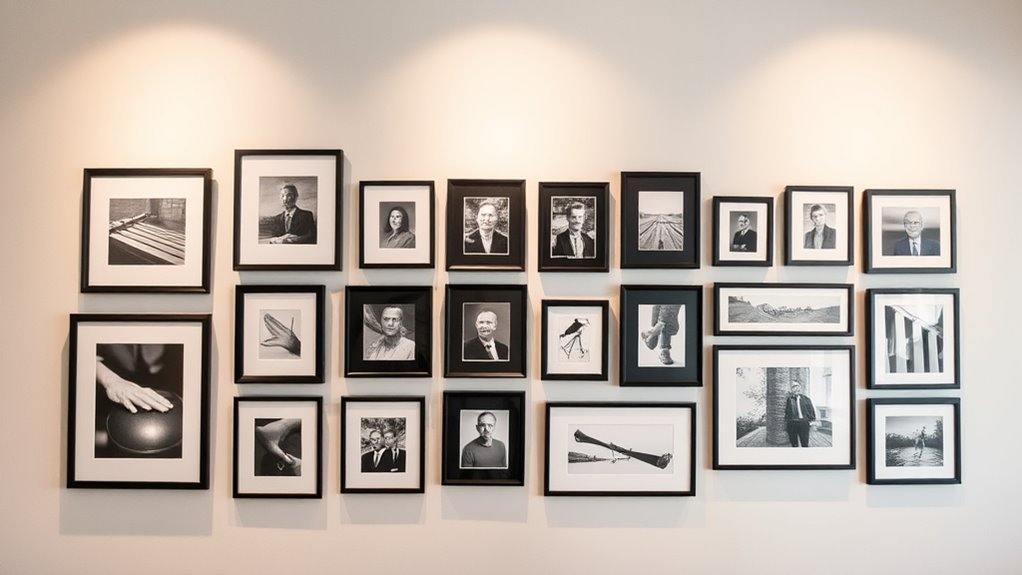
Planning Your Layout: Grid vs. Salon Style
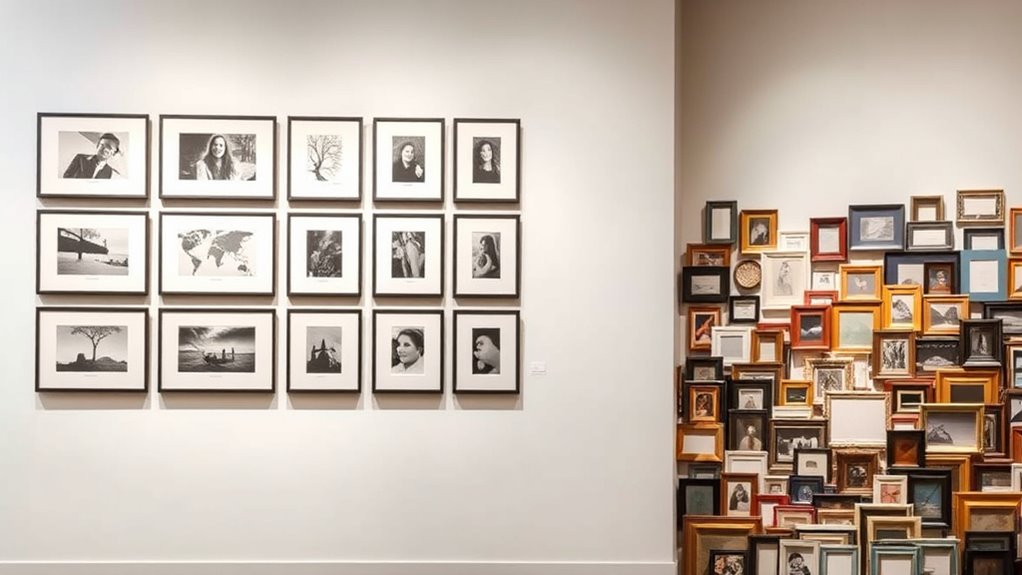
Deciding between a grid and salon style layout depends on how you want viewers to experience your photo gallery. A grid creates a clean, organized look, emphasizing uniformity in color schemes and lighting considerations. It’s perfect if you want a sleek, modern feel. Salon style, on the other hand, arranges photos more freely, allowing for varied sizes and spontaneous groupings, which can evoke a more dynamic atmosphere. Use the table below to help visualize the differences:
| Aspect | Grid Style | Salon Style |
|---|---|---|
| Visual impact | Orderly, structured | Eclectic, lively |
| Space utilization | Efficient, consistent spacing | Flexible, varies with photo size |
| Lighting & color | Uniform, controlled lighting & schemes | Varying lighting & diverse schemes |
Additionally, considering space maximization can help you decide which layout best utilizes your available wall area.
Choosing the Optimal Frame Size and Style
The size and style of your frames play a crucial role in highlighting your photos and shaping the overall gallery atmosphere. When choosing frame styles, consider how they complement your artwork and match your decor. Classic wood frames add warmth, while sleek metal frames offer a modern touch. Frame sizes should enhance each photo without overpowering it; larger frames create emphasis, while smaller ones provide subtle accents. Keep in mind that consistent frame styles and sizes can create visual harmony, especially in a unified gallery. Conversely, mixing different styles and sizes can add visual interest, but should be done thoughtfully. Ultimately, selecting the right combination depends on your aesthetic goals and the space’s vibe, ensuring your photos stand out at eye level. Cybersecurity vulnerabilities during outages highlight the importance of robust security measures to protect digital assets and personal data.
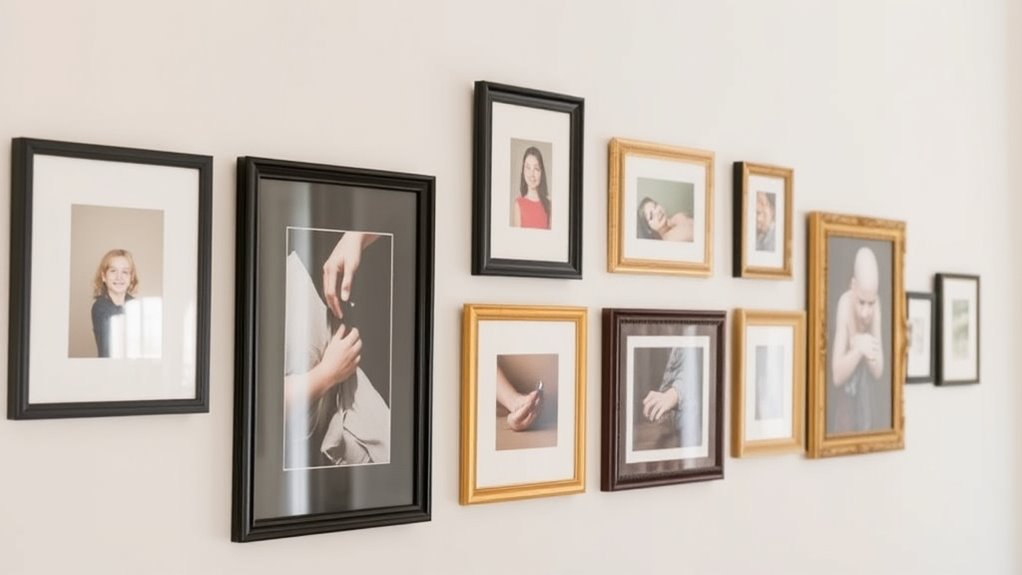
Arranging Your Photos for Visual Balance
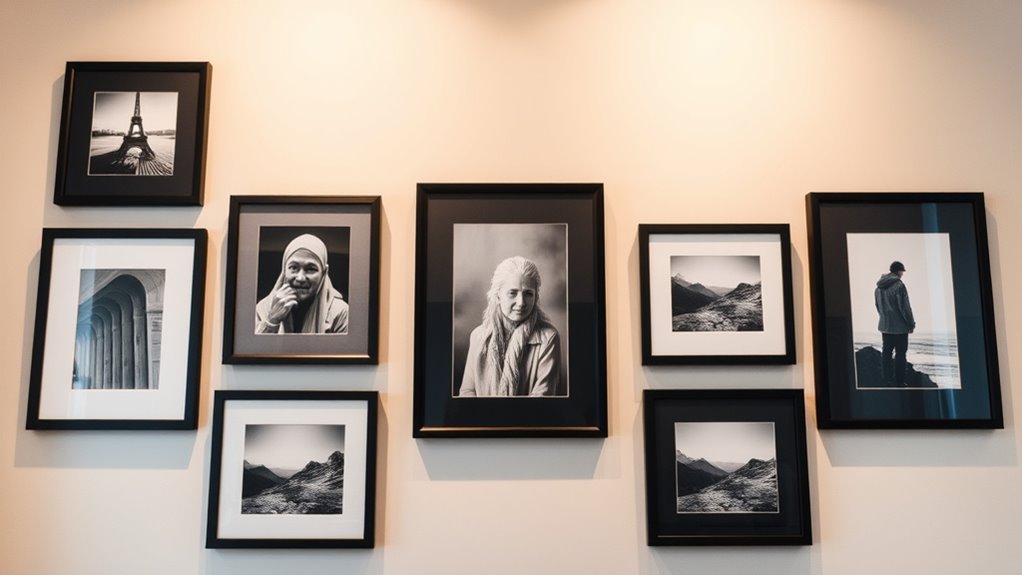
Creating a balanced photo arrangement at eye level involves more than just hanging pictures randomly; it requires thoughtful placement to achieve harmony. Focus on color coordination to create visual flow—group photos with complementary or similar tones. Lighting considerations are also key; guarantee each piece is well-lit to highlight details without glare or shadows. To help visualize your layout, consider this arrangement:
| Photo 1 | Photo 2 | Photo 3 |
|---|---|---|
| Photo 4 | Photo 5 | Photo 6 |
| Photo 7 | Photo 8 | Photo 9 |
| Photo 10 | Photo 11 | Photo 12 |
Adjust spacing for balance, keeping larger pieces centered or at eye level, and maintain consistent spacing to avoid clutter. Incorporating spatial audio principles from sound design can also help in visualizing how to distribute elements evenly. With mindful placement, your gallery will feel cohesive and inviting.
Installing Your Gallery Securely and Accurately

To guarantee your gallery stays securely on the wall, it’s essential to use the right hardware and installation techniques. Choose sturdy hooks or gallery cables that match your frame materials, ensuring they can support the weight. Use a level to align each piece accurately at eye level, preventing crooked displays. Proper gallery lighting enhances the visual impact, so plan for fixtures that illuminate your photos evenly without causing glare or heat damage. When hanging, avoid overloading hooks or nails, especially with heavier frames, to prevent accidents. Measure carefully, mark the wall precisely, and double-check your placement before drilling. Securing your gallery with reliable hardware and precise measurements keeps it safe and visually appealing over time.
Tips for Maintaining and Updating Your Gallery Over Time
Regularly inspecting your gallery helps catch any loose hooks, crooked frames, or dust buildup before they become bigger issues. Keep an eye on your gallery lighting to guarantee it’s evenly illuminating your photos without causing fading. Adjust or replace bulbs as needed to maintain ideal brightness and prevent damage. For photo preservation, clean glass or acrylic fronts gently to avoid scratches. Update your gallery over time by rotating images to keep it fresh and relevant. Use the table below as a quick reference:
| Maintenance Task | Frequency | Tips |
|---|---|---|
| Check hooks and frames | Monthly | Tighten or replace if loose |
| Dust surfaces | Weekly | Use a soft cloth to prevent dust buildup |
| Adjust gallery lighting | Every 3-6 months | Ensure even lighting, avoid UV exposure |
| Clean glass or acrylic | As needed | Use gentle cleaner, avoid scratches |
| Rotate or update photos | Every 6-12 months | Refresh the display to keep it engaging |
Frequently Asked Questions
How Do I Choose the Best Lighting for My Gallery?
You should choose lighting that highlights your photos without causing glare or shadows. Use natural light during the day for soft, even illumination, but consider studio lighting for consistent results. Position your gallery to maximize natural light, and supplement with adjustable studio lights as needed. This combination guarantees your artwork is well-lit, vibrant, and engaging, drawing viewers in and enhancing the overall experience.
Can I Mix Different Frame Styles in One Gallery?
Sure, go ahead and mix styles—who says uniformity is necessary? Embrace the chaos of frame variety; it actually adds character and visual interest to your gallery. Just keep some harmony in color or material to avoid a cluttered look. Mixing styles can showcase your personality and make the display more dynamic. So, break the rules and have fun with your gallery’s design—after all, it’s your space!
What Tools Are Recommended for Precise Hanging?
You should use a level, a tape measure, and a pencil for precise hanging. These tools help you maintain consistent gallery wall spacing and guarantee your frames are straight. Opt for reliable picture hanging hardware like hooks or nails suited to your wall type. With these tools, you can easily align your artwork at eye level, creating a polished, professional look for your gallery wall.
How Often Should I Update or Rotate My Gallery?
You should update or rotate your gallery every 3 to 6 months to keep it fresh and engaging. Regular gallery maintenance and seasonal updates help you showcase new artwork or photos, maintain visual appeal, and prevent clutter. By staying consistent with these updates, you guarantee your gallery remains a dynamic focal point. Adjust the frequency based on your collection size and personal preference, but regular refreshes keep your space lively and inviting.
What Are Common Mistakes to Avoid When Arranging Photos?
You should avoid hanging photos too close together, which creates a cluttered layout and makes the gallery overwhelming. Make certain proper hanging spacing so each piece has room to breathe and stands out. Don’t place images at inconsistent heights, as this disrupts the visual flow. Keep a balanced arrangement, and steer clear of overcrowding walls. Thoughtful spacing and a clean layout enhance your gallery’s eye-level appeal.
Conclusion
By following these steps, you’ll create a stunning, eye-level gallery that feels balanced and personal. For example, imagine transforming your living room into a mesmerizing display, just like Sarah did—she measured carefully and chose frames that complemented her space. With a little planning and attention to detail, your gallery will become a focal point that reflects your style and stories, making your home more inviting and uniquely yours.