
To create accessible bathroom layouts, guarantee doorways are at least 32 inches wide with smooth swing options and clear pathways of at least 36 inches, ideally 42 inches for extra space. Allocate a 36-inch wide pathway and a 60-inch turn radius to allow wheelchair maneuverability comfortably. Proper fixture placement and avoiding obstruction are key. Keep safety features like grab bars and lighting in mind. Continue exploring to discover more tips for designing safe, functional accessible bathrooms.
Key Takeaways
- Maintain a minimum 36-inch wide pathway for easy wheelchair navigation throughout the bathroom.
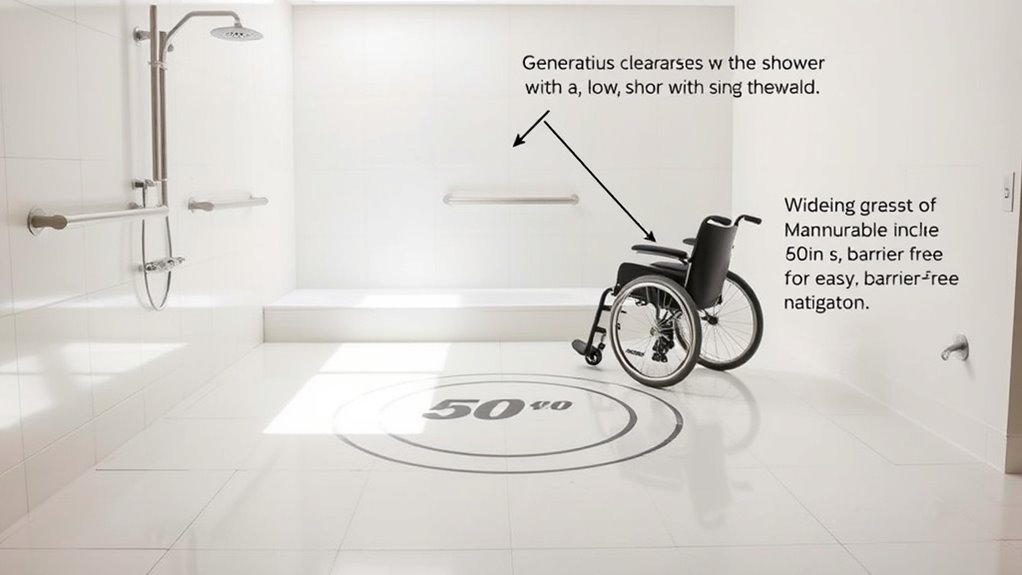
- Ensure at least a 60-inch turning space, such as a circle or square, for comfortable 180-degree turns.
- Provide unobstructed 36-inch wide doorways with proper clearance to facilitate accessible entry.
- Arrange fixtures to avoid congestion, supporting smooth movement and safe maneuvering around the space.
- Incorporate clear, well-lit pathways with appropriate lighting to enhance safety and visibility during movement.

Grab Bar Bundle – ADA Compliance – 1.5" Diameter – 18", 36", 42" Lengths – Pack of 3 – Brushed Stainless, Toilet Grab Bars for Commercial Restrooms and Grab Bars for Shower
ADA COMPLIANT GRAB BAR SET: This bundle includes three handicap grab bars in 18", 36", and 42" lengths…
As an affiliate, we earn on qualifying purchases.
As an affiliate, we earn on qualifying purchases.
Understanding Space Requirements for Accessibility
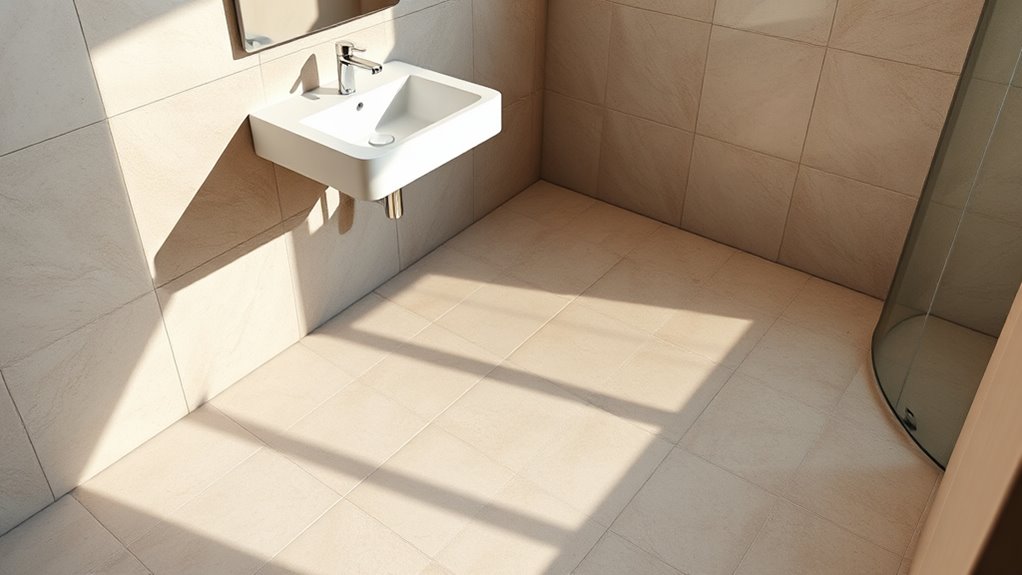
To guarantee an accessible bathroom, you need to understand the space requirements that accommodate all users comfortably and safely. Proper bathtub placement is critical; position the tub to allow easy entry and exit, ideally near a clear pathway for wheelchairs or walkers. Confirm there’s enough room around the tub for transfer and maneuvering, minimizing obstacles. Lighting considerations also play a essential role in accessibility—use bright, even lighting to eliminate shadows and enhance visibility, especially in areas like the bathtub. Install switches at reachable heights and consider motion-activated lights for convenience. By thoughtfully arranging the bathtub and optimizing lighting, you create a safer, more functional space that meets diverse needs and promotes independence for all users. Incorporating space planning principles can further improve overall accessibility and safety.

QJ&XY Bathroom Sink with Wood Cabinet Ada Compliant Resin Stone Modern Floating Vanity, Grab Bar for Elderly Seniors Handicap & Disabled — Wheelchair Accessible
【ADA – Compliant Design】Engineered for wheelchair users and those with limited mobility. The sink’s height, reachable handles, and…
As an affiliate, we earn on qualifying purchases.
As an affiliate, we earn on qualifying purchases.
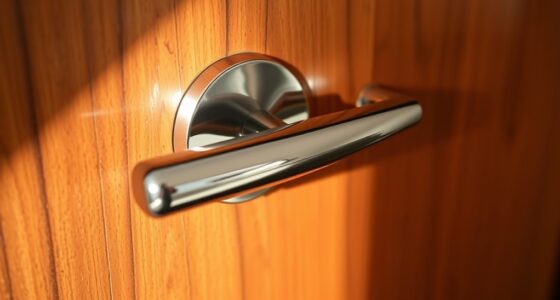
Standard Clearances for Bathroom Doors and Entrances
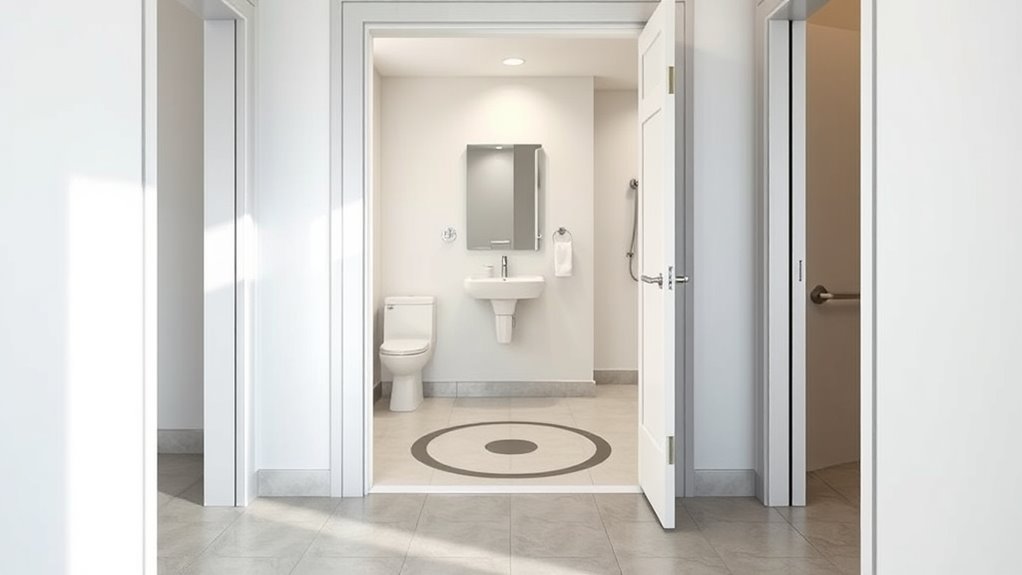
Ensuring that bathroom doors and entrances have proper clearances is essential for accessibility and ease of use. You should allow at least 32 inches of clear width for doorways to accommodate wheelchairs comfortably. This clearance guarantees easy navigation over bathroom flooring without obstruction. When selecting bathroom flooring, choose slip-resistant materials to enhance safety, especially near doorways. Keep lighting fixtures positioned so they don’t interfere with door openings or clearances, and ensure switches are reachable from a seated position. Swings or pocket doors can save space and improve access, but always verify that the doorway width meets the standard clearance requirements. Maintaining these clearances helps create a bathroom that’s functional, safe, and welcoming for everyone. Additionally, understanding home theatre projector features can assist in designing spaces that optimize visibility and comfort.

YDKGL Non Slip Bath Mat, Rubber Backing Ultra Thin Bathroom Rugs Fit Under Door Quick Dry Super Absorbent Washable Bath Rug Shower Mat for Bathroom Floor Bathtub Shower Sink, Easy Care Gray 16"x 24"
Please Note: This is a thin-profile non-slip bath mat with a rubber base, measuring 16×24 inches and approximately…
As an affiliate, we earn on qualifying purchases.
As an affiliate, we earn on qualifying purchases.
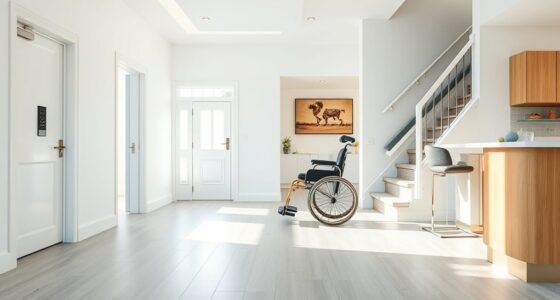
Minimum Widths for Accessible Pathways
To guarantee smooth movement, you need to meet standard clearance requirements for accessible pathways. This means providing enough space for maneuvering wheelchairs and other mobility aids. By understanding these minimum widths, you can create a bathroom layout that’s both functional and inclusive. Ensuring compliance with accessibility standards helps promote safety and independence for all users.
Standard Clearance Requirements
Have you ever wondered what the minimum width for accessible pathways should be? Generally, a clear width of at least 36 inches is required to guarantee smooth navigation. This space allows you to move comfortably and access essential features like grab bar placement without obstruction. When planning your bathroom, consider lighting considerations too; proper illumination helps you navigate safely and identify grab bars easily. If space allows, increasing the width to 42 inches provides even more comfort and flexibility. Remember, the goal is to create a layout that supports independent use while maintaining safety and accessibility. Meeting these standard clearance requirements ensures your bathroom is both functional and compliant with accessibility guidelines. standard clearance requirements
Space for Maneuvering
Adequate space for maneuvering is essential to guarantee safe and comfortable movement within an accessible bathroom. Making certain proper minimum widths for pathways allows you to navigate easily, especially when using assistive devices. When planning your layout, consider:
- The placement of grab bars to avoid obstructing clear pathways and ensure safe transfer areas
- Lighting considerations that enhance visibility without creating glare or shadows, aiding safe movement
- Maintaining a minimum width of 36 inches for primary pathways, and at least 60 inches in turning areas for wheelchair maneuverability
- Incorporating accessible design principles to optimize safety and functionality throughout the bathroom space

AUVON Plug-in LED Backlit Night Light with Motion Sensor & Dusk to Dawn Sensor, Dimmable Warm White Nightlight with 1-50 lm Adjustable Brightness for Bedroom, Bathroom, Stairs, Hallway (4 Pack)
Diffuse Backlit Design: AUVON backlit night light features 16 LED bulbs with uniform luminescence and produces diffuse backlight…
As an affiliate, we earn on qualifying purchases.
As an affiliate, we earn on qualifying purchases.
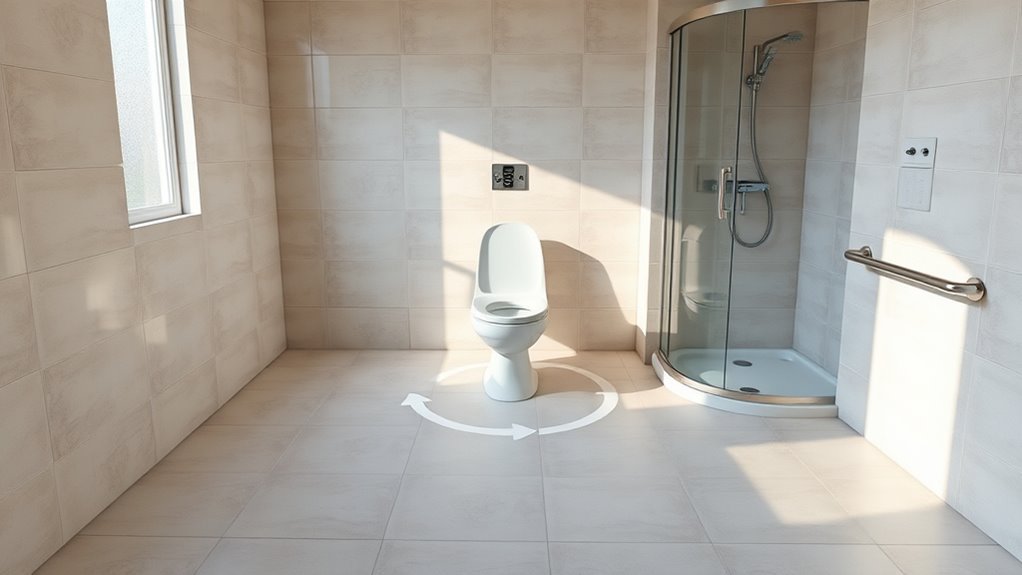
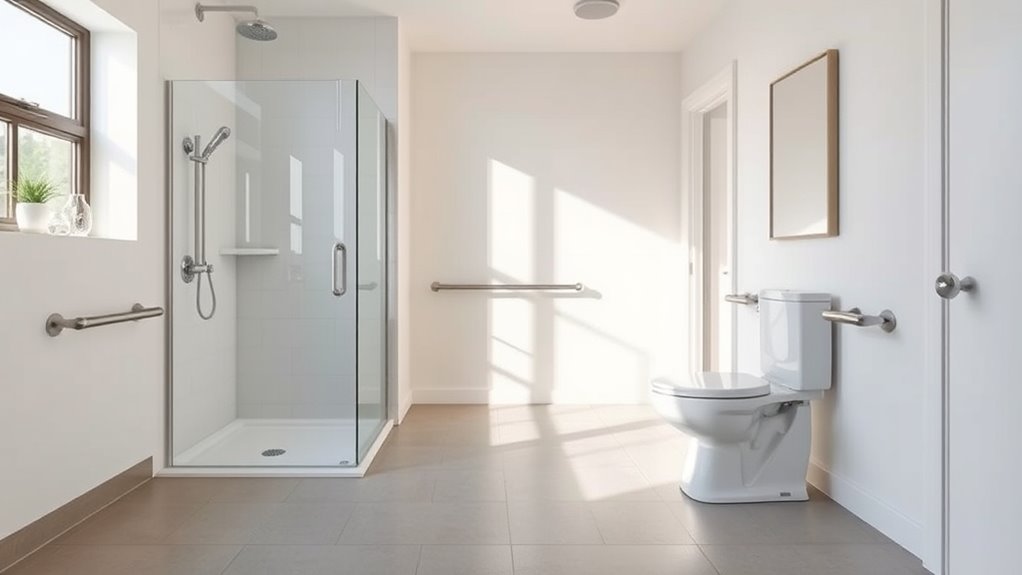
Turning Radius and Space for Wheelchair Maneuverability
Ever wondered how much space a wheelchair needs to turn comfortably? The key is adequate maneuvering space, typically a 60-inch diameter circle for full wheelchair turning. This turning radius guarantees you can navigate tight corners without difficulty. When designing a bathroom, aim for at least a 5-foot by 5-foot clear area to allow smooth wheelchair turning and easy access to fixtures. Proper clearance not only improves safety but also enhances independence. Keep in mind that the turning radius should give enough space for a wheelchair to complete a 180-degree turn without obstruction. By ensuring sufficient space for wheelchair turning, you create a more accessible, functional bathroom that meets your needs and promotes confidence in everyday movements.
Designing for Safe and Easy Transfers

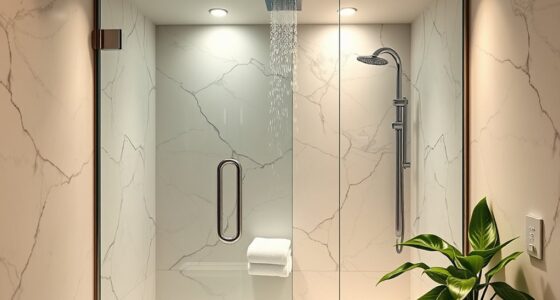
Ensuring safe and easy transfers between a wheelchair and bathroom fixtures requires thoughtful design. Proper planning makes tasks safer and more comfortable. Focus on bathtub accessibility by choosing low-threshold or roll-in designs that minimize barriers. Carefully consider grab bar placement to provide support during transfers, ideally placing bars near the bathtub edge and along the wall for stability. To enhance safety and ease, you should:
- Install grab bars at strategic heights and locations for secure gripping
- Use non-slip mats inside and outside the bathtub
- Ensure enough clear space around fixtures for smooth wheelchair transfers
- Incorporate space optimization techniques to create enough room for maneuvering.
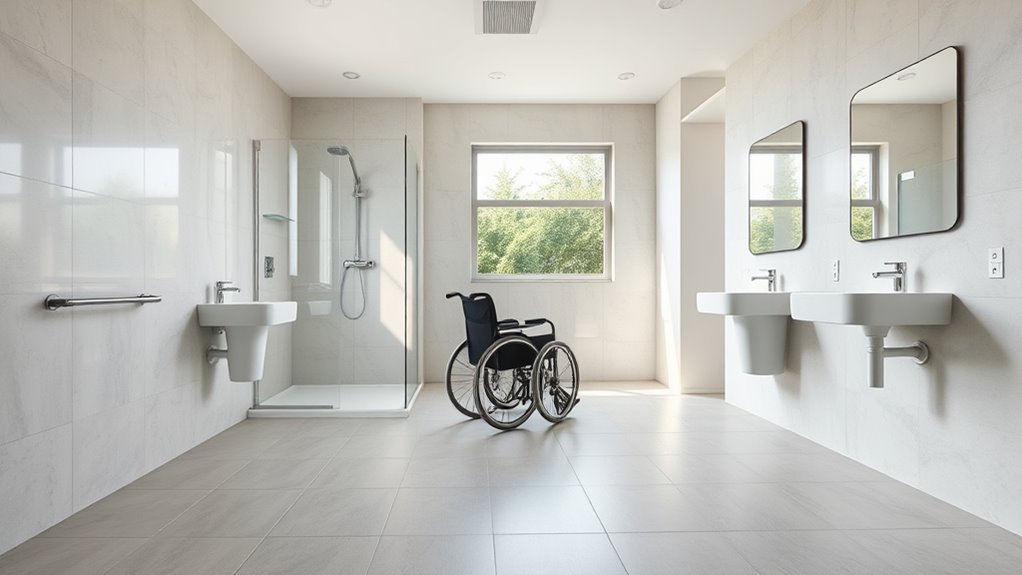
Layout Considerations for Sinks and Vanities
When planning your sink and vanity layout, consider placing the sink at an accessible height so it’s easy to reach from a seated position. Make sure there’s enough clear space underneath for wheelchair users and make certain the vanity is close enough to doorways for easy access. Taking these points into account helps create a bathroom that’s both functional and welcoming for everyone. Additionally, understanding market trends and insights can inform you about innovative fixtures and designs that enhance accessibility.
Accessible Sink Height
An accessible sink height is essential for allowing all users, including those with mobility challenges, to comfortably reach and use the vanity area. The ideal sink height for accessibility is typically between 30 to 34 inches from the floor, ensuring ease of use without straining. Consider these key points:
- Adjustable or lowered sink height enhances faucet accessibility for wheelchair users.
- Clear space beneath the sink allows for wheelchair approach and easy transfer.
- Lever-style faucets improve usability for individuals with limited hand strength or dexterity.
- Incorporating crochet techniques or other adaptive design features can further improve accessibility and customization options.
Maintaining proper sink height guarantees everyone can comfortably wash and perform daily routines. Prioritizing faucet accessibility and sufficient clearance helps create an inclusive bathroom environment that meets ADA standards.
Clear Under-Storage Space
A clear under-storage space beneath sinks and vanities is essential for creating accessible bathrooms. It allows wheelchair users to approach and use the sink comfortably without obstruction. Opt for under storage solutions that maximize open space, such as open shelves or pull-out drawers, to avoid clutter. Avoid deep or enclosed cabinets that restrict legroom or make it difficult to maneuver. Hidden compartments can be useful for discreetly storing items, but they shouldn’t hinder easy access or reduce the available clearance. Ensure there’s enough knee space—at least 27 inches high and 30 inches wide—to accommodate different users. Properly designed under-storage promotes independence and safety, making the bathroom more functional for everyone. Incorporating professional equipment ensures the quality and accessibility of the space.
Proximity to Doorways
Placing sinks and vanities close to doorways guarantees smooth access and easy movement within the bathroom. Make certain the doorway width allows enough clearance space for a wheelchair or walker to pass comfortably. When positioning fixtures near doorways, consider the following:
- Maintain at least 18 inches of clearance space in front of sinks for easy navigation.
- Keep the vanity within a few inches of the doorway to avoid obstructing the pathway.
- Verify that door swings won’t interfere with the placement of sinks or vanities, preserving unobstructed access.
- Additionally, incorporating self-watering plant pots into bathroom decor can improve air quality and add a touch of nature, enhancing the overall accessibility experience.
Proper proximity to doorways minimizes obstacles, making the bathroom more accessible. Adequate doorway width and clearance space are essential for comfortable, safe use, especially for individuals with mobility aids. Thoughtful placement ensures seamless entry and exit, promoting independence.
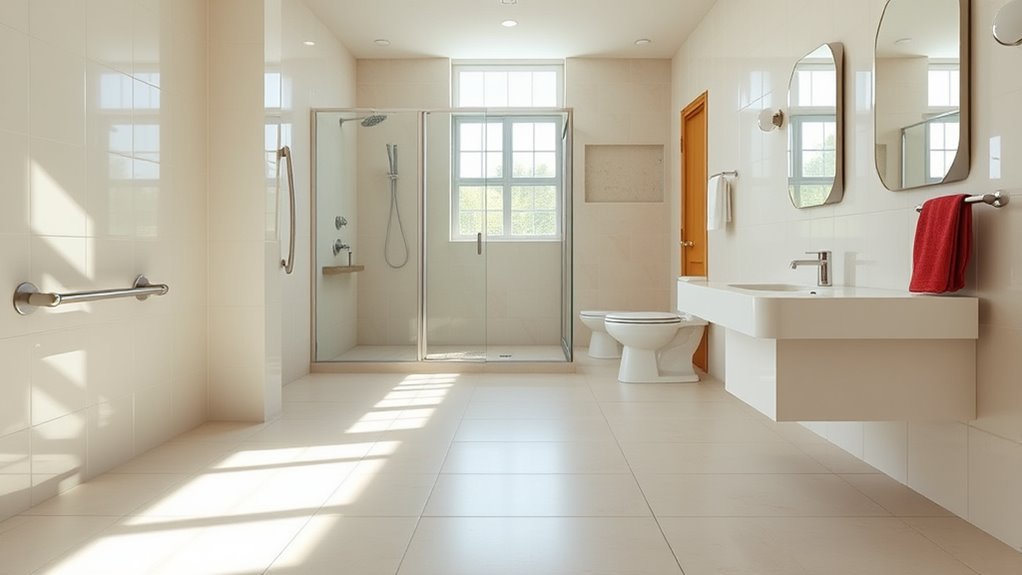
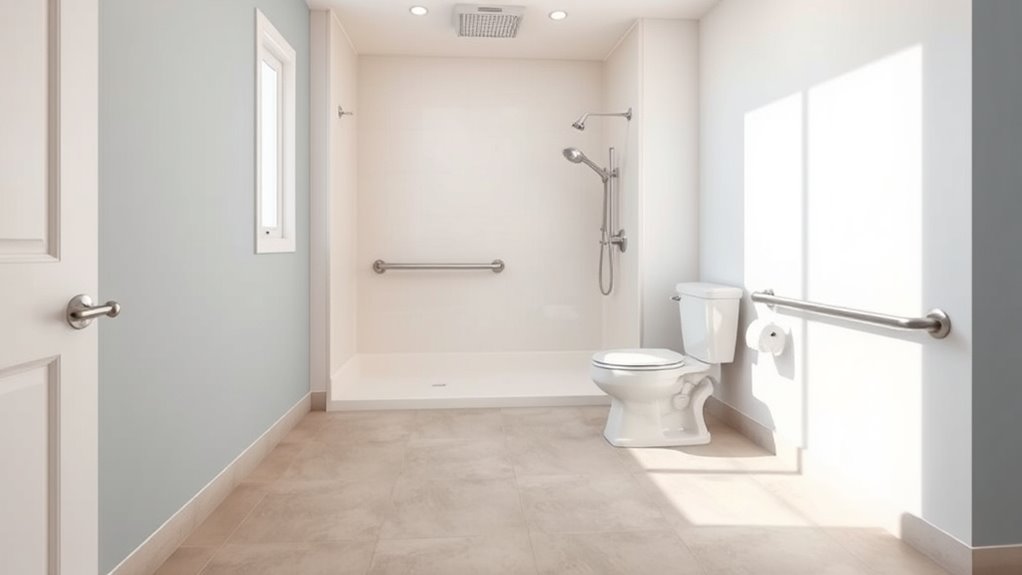
Placement of Fixtures to Maximize Space Efficiency
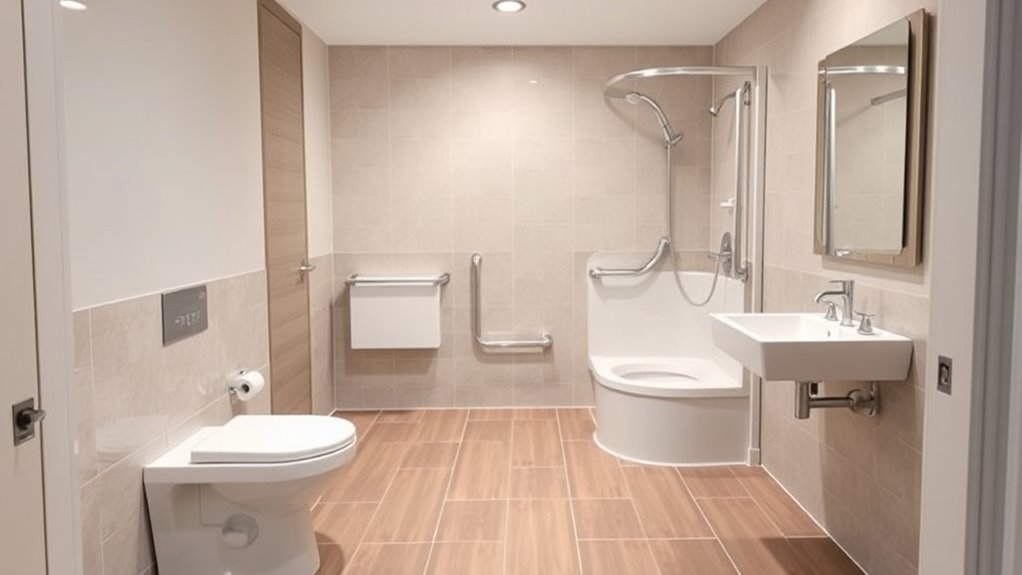
To maximize space efficiency in an accessible bathroom, carefully consider the placement of fixtures to create a logical and unobstructed flow. Proper fixtures placement assures you have enough room to move comfortably and safely. Position the toilet, sink, and shower or tub to avoid congestion and allow easy access. Keep frequently used fixtures close to each other for convenience but avoid crowding. Storage organization is also key—incorporate wall-mounted shelves or recessed cabinets to save floor space. Place these storage solutions where they won’t interfere with maneuvering clearances. By thoughtfully arranging fixtures and integrating smart storage, you create a functional, open layout that promotes ease of use while maintaining ample space for movement and accessibility.
Common Layout Mistakes to Avoid
Many common layout mistakes can hinder accessibility and compromise safety in a bathroom. One mistake is poor bathtub placement, which can block pathways or reduce maneuvering space. Make certain tubs are positioned to allow easy access without obstructing doorways or fixtures. Lighting considerations are often overlooked; inadequate lighting can create hazards and make navigation difficult. Avoid dim or uneven lighting that hampers visibility, especially near the toilet or sink. Additionally, neglecting clearances around fixtures can lead to cramped spaces. Keep pathways wide enough for a wheelchair or walker and avoid clutter. To prevent these issues, plan your layout carefully, prioritizing proper bathtub placement, sufficient lighting, and ample clearances to maximize safety and accessibility.
Tips for Customizing Bathroom Spaces for Special Needs
Customizing bathroom spaces for special needs requires thoughtful planning to guarantee safety, comfort, and independence. To create an accessible environment, focus on ideal bathroom lighting and ventilation solutions. Proper lighting ensures visibility, reducing fall risks, while good ventilation minimizes moisture and mold. Consider the following setup:
| Feature | Description |
|---|---|
| Adjustable Lighting | Bright, glare-free lights with dimming options |
| Ventilation Fans | Quiet, powerful fans for fresh airflow |
| Non-slip Flooring | Secure footing for safety |
| Accessible Storage | Easy-to-reach shelves and grab bars |
This layout helps you visualize how to adapt your bathroom effectively, combining safety features with user-friendly design for those with special needs.
Frequently Asked Questions
How Can I Modify a Bathroom for Multiple Users With Different Needs?
To modify a bathroom for multiple users with different needs, you should focus on multi-user accessibility and adaptable bathroom design. Install larger clearances and turning spaces, ensuring wheelchair access and ease for mobility aids. Incorporate adjustable fixtures, such as shower heads and height-adjustable sinks, and use lever handles instead of knobs. This approach creates a versatile, inclusive environment that caters to diverse requirements and promotes independence for all users.
What Materials Are Best for Slip-Resistant Bathroom Flooring?
Imagine walking on a gentle, textured surface that keeps you steady—this is what slip-resistant bathroom flooring offers. You should choose non-slip tiles with textured surfaces, engineered to grip your feet even when wet. These materials provide safety and durability while preventing slips and falls. Opt for options like rubber, textured porcelain, or safety vinyl, ensuring your bathroom remains secure and accessible for everyone, regardless of their mobility needs.
Are There Specific Lighting Requirements for Accessible Bathrooms?
You should guarantee your accessible bathroom meets lighting standards that provide bright, even illumination without glare. Use adjustable lighting options to accommodate different needs, making it easier for everyone to see clearly. Incorporate visual aids like contrast-colored fixtures and tactile indicators, which help those with visual impairments navigate safely. Proper lighting enhances safety, complies with regulations, and makes the space more usable for all users.
How Can I Incorporate Emergency Assist Features Effectively?
You can incorporate emergency assist features effectively by installing accessible emergency alarms that are easy to reach and hear, placing assist rails near toilets and showers for stability, and ensuring clear pathways for quick access. Use visual cues alongside audible alarms, maintain proper heights for controls, and regularly test these features. These steps help create a safe, supportive environment where users feel confident and secure in emergencies.
What Are Cost-Effective Ways to Retrofit Existing Bathrooms for Accessibility?
To retrofit your bathroom affordably, start by installing grab bars near the toilet and shower for safety. Widen doorways where possible to improve access, which often costs less than full remodels. You can also replace existing fixtures with more accessible options and use portable ramps if needed. These small changes enhance safety and usability without breaking the bank, making your bathroom more accessible for everyone.
Conclusion
Did you know that proper bathroom design can improve independence for up to 70% of users with mobility challenges? By understanding clearances, turning spaces, and fixture placement, you create a safer, more accessible environment. Remember, small adjustments in layout can make a big difference—so plan carefully. Prioritizing accessibility not only benefits those with special needs but also enhances safety for everyone. Your thoughtful design can truly transform daily routines.