To troubleshoot your suction pool cleaner, start by checking the power source and hose connections for secure fittings and leaks. Inspect for blockages in the hose and verify the pump is functioning properly. Examine wheels, tracks, and the diaphragm for damage or obstructions. Adjust floats and weights for better movement, and clean or replace brushes as needed. For more tips on fixing common issues, follow this guide to keep your cleaner running smoothly.
Key Takeaways
- Check power connections, circuit breakers, and remote batteries to ensure the cleaner is receiving proper power.
- Inspect hoses for leaks, cracks, and proper attachment; run pump with disconnected hose to identify leaks.
- Clean or replace brushes, wheels, and tracks to prevent debris blockages and ensure smooth movement.
- Verify water level, skimmer basket, and valve adjustments for optimal suction and flow.
- Regularly inspect mechanical parts for wear, damage, and debris, performing routine maintenance for peak performance.
Checking the Power Source and Hose Connections
Before troubleshooting your suction pool cleaner, make sure it’s properly connected to a power source. Check that the power cord is securely plugged into an outlet and that any extension cords are rated for outdoor use. If your cleaner has a rechargeable battery, perform battery maintenance by ensuring it’s fully charged and properly seated. Many models include a remote control for operation; verify the remote’s batteries are fresh and functioning. Sometimes, the remote helps start or reset the cleaner, so confirm it communicates correctly with the device. Also, inspect the hose connections for tight seals and leaks. Properly maintaining your battery and ensuring remote control functionality can prevent many power issues, saving you time and frustration during pool cleaning. Incorporating mindfulness techniques during troubleshooting can help reduce frustration and improve your focus on resolving issues efficiently. Additionally, understanding the power source and how it interacts with your equipment can help identify potential electrical issues early on, especially considering the electrical safety precautions necessary for outdoor devices. Regularly checking your electrical connections can also help prevent unexpected malfunctions and extend the lifespan of your equipment. Being familiar with cookie management can also be beneficial if troubleshooting involves online or app-based controls, ensuring smooth operation.
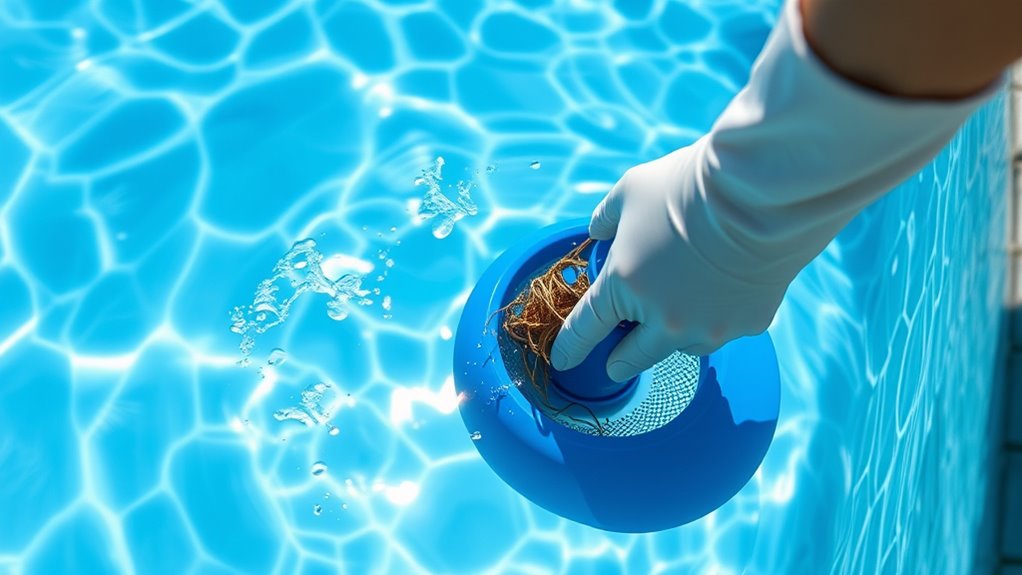
Inspecting for Blockages in the Pool Cleaner and Hose

Even if your pool cleaner is connected properly and has a strong power source, blockages in the cleaner or hose can still cause operational issues. Start by inspecting the hose for clogs or twists, paying attention to hose material, as some materials are more prone to kinks or debris buildup. Check the cleaner design for obstructions, especially around intake ports or brushes. Use a stiff brush or a garden hose to clear debris from the hose and cleaner components. Ensuring the proper maintenance of your pool cleaner can help prevent many common issues related to blockages. Regularly inspecting and keeping components clean can also extend the lifespan of your pool cleaning system and improve its efficiency. Additionally, understanding the signs of blockages can help you diagnose problems early and maintain optimal performance. Maintaining clean and well-functioning parts is essential for effective operation and energy-efficient cleaning. Being aware of blockage symptoms can further help in troubleshooting and quick recovery of your cleaner’s performance.
Ensuring Proper Suction Pressure and Pump Functionality

Start by checking that your pump is powered on and running correctly, as this is vital for proper suction. Then, inspect the suction lines for any leaks or blockages that could reduce pressure. Additionally, make sure the pool valves are adjusted properly to maintain ideal flow and suction strength. Proper tuning techniques can also optimize your pool cleaner’s performance, ensuring it operates efficiently. Regularly monitoring refrigerant levels and system pressure can help prevent efficiency losses and maintain optimal pump function. Ensuring that essential oils are not present in your pool system is also important, as certain substances can interfere with mechanical components. Furthermore, implementing AI safety measures can assist in diagnosing and preventing equipment failures, enhancing overall reliability. Finally, reviewing your privacy policy can help ensure your data collection practices are transparent, especially if you’re using online troubleshooting guides.
Check Pump Power
Is your suction pool cleaner not working effectively? The first step is to check the pump power. Make sure the pump is plugged in securely and that the circuit breaker hasn’t tripped due to a power outage or overload. If you suspect a power issue, reset the breaker and verify the outlet’s functionality with another device. Regular pump maintenance is essential—clean the pump strainer and impeller to prevent blockages that reduce suction. If the pump still doesn’t turn on, examine the power cord and switch for signs of damage. Confirm the pump’s control settings are correct. Addressing these issues ensures proper suction pressure and pump operation, helping your cleaner work efficiently. Proper power supply and maintenance are key to reliable pool cleaning. Additionally, understanding industry trends can help you stay ahead of common equipment issues and improve troubleshooting. Staying informed about lifecycle maintenance can also prolong the lifespan of your pool equipment and prevent unexpected failures. Monitoring technological advancements in pool cleaning tools can offer insights into more efficient and reliable solutions. Regularly reviewing equipment manuals can also provide valuable troubleshooting tips specific to your model. Moreover, considering appliance testing and compatibility can prevent potential safety hazards or operational problems with your pool equipment.
Inspect Suction Lines
Inspecting the suction lines is crucial to guaranteeing your pool cleaner operates effectively. You want to check for any cracks, leaks, or blockages that could diminish suction pressure. Make sure hoses are securely connected and free of debris. Remember, proper pool chemistry helps prevent buildup that can clog lines, so maintain balanced water pH and sanitizer levels. Before inspecting, follow safety precautions by turning off the pump and disconnecting power to avoid accidents. Keep an eye out for any signs of wear or damage, as compromised lines can hinder the cleaner’s performance. Clear suction lines ensure ideal pump functionality, which is essential for effective cleaning. Regular inspections not only improve suction but also extend the lifespan of your pool equipment.
Adjust Pool Valves
Adjusting your pool valves is essential to maintaining proper suction pressure and ensuring your pump works efficiently. Correct pool valve operation involves fine-tuning your valve adjustment techniques to optimize flow. First, identify the main valves controlling suction and return lines. Next, follow these steps:
- Turn off the pump before adjusting valves to prevent water backflow.
- Slowly open or close the valves to increase or decrease suction as needed.
- Check the pressure gauge to monitor changes and avoid over-pressurizing.
- Test the pool cleaner’s performance after each adjustment, making small tweaks if necessary.
- Remember that proper valve operation can help prevent issues like improper suction pressure, which may lead to equipment strain. Being familiar with modern pool equipment can further improve maintenance and troubleshooting efforts. Additionally, understanding how pool system components interact can aid in more precise adjustments.
Proper valve operation guarantees balanced suction and prevents strain on your pump. Mastering valve adjustment techniques keeps your pool cleaner working smoothly while prolonging your equipment’s lifespan.
Examining the Cleaner’s Wheels and Tracks for Obstructions
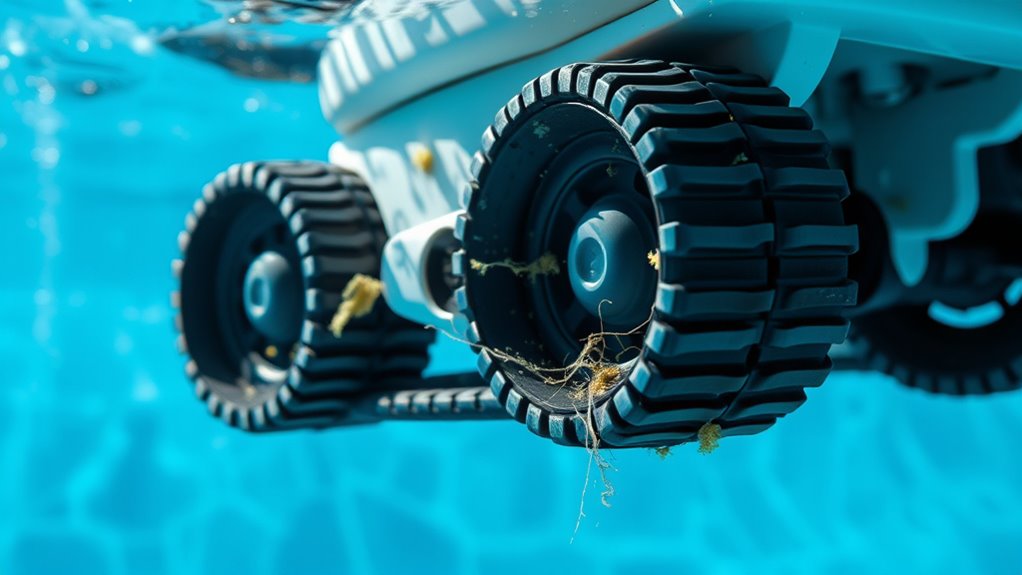
Start by checking the wheels and tracks for any debris that could block movement. Make sure the wheels turn smoothly and aren’t stuck, and clear any obstructions in the tracks. This simple step can often resolve issues with the cleaner’s mobility. Additionally, inspecting the robotic components for wear or damage can help ensure optimal performance and prevent future malfunctions. Recognizing the importance of fatherly guidance can also inspire patience and careful maintenance of your equipment, ensuring it runs smoothly for years to come.
Check for Debris
Have you checked the wheels and tracks for debris that might be blocking your suction pool cleaner? Debris accumulation can hinder movement and reduce cleaning efficiency. Start by inspecting for large debris like leaves or twigs that can cause filter clogging or jam the tracks. Next, look for small particles that may have built up around the wheels. Then, clear any stubborn dirt or algae that could restrict rotation. Finally, examine the filter area for clogs caused by debris, which can decrease suction power. Regularly removing debris ensures smooth operation and prevents filter clogging, which directly impacts cleaning performance. Keeping the wheels and tracks free of obstructions helps maintain ideal suction and prolongs your cleaner’s lifespan. Additionally, inspecting for signs of Kia Tuning modifications can help identify if any aftermarket parts are affecting the cleaner’s movement or performance.
Inspect Wheel Rotation
To guarantee your suction pool cleaner moves smoothly, you need to examine its wheels and tracks for obstructions. Check for proper wheel alignment, ensuring they spin freely and stay aligned with the track. Misaligned wheels can cause uneven movement or sticking. Inspect for excessive tread wear, which can reduce traction and hinder proper cleaning. Worn-out treads may slip or fail to grip the pool surface, affecting navigation. Remove any debris or obstructions caught around the wheels or tracks, as these can block rotation. Confirm that the wheels are securely attached and spin smoothly without wobbling. Addressing wheel alignment issues and replacing worn treads will help your cleaner operate efficiently, providing consistent cleaning coverage across your pool.
Clear Track Obstructions
Are debris and obstructions blocking your cleaner’s wheels or tracks? If so, it can disrupt track alignment and hinder movement. First, inspect the tracks closely for leaves, hair, or debris that may be caught. Second, check for any buildup or damage that could cause misalignment. Third, ensure the tracks are properly lubricated; lack of lubrication can lead to slipping or sticking. Fourth, verify that the tracks are aligned correctly on their rollers and guides. Remove any debris, realign the tracks if needed, and apply track lubrication to keep them moving smoothly. Regularly inspecting and maintaining proper track alignment and lubrication helps your pool cleaner operate efficiently and prevents future obstructions.
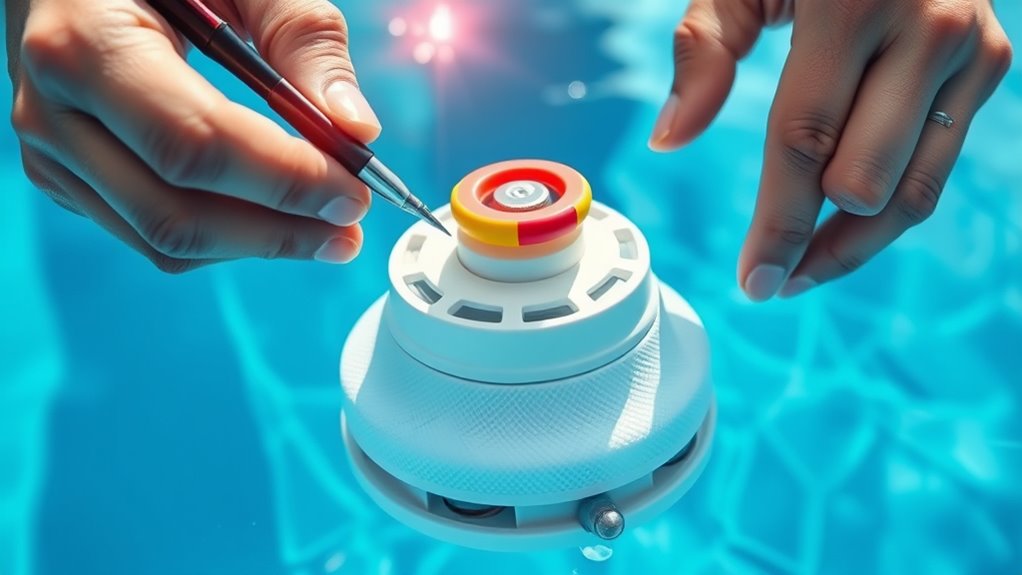
Verifying the Condition of the Pool Cleaner’s Diaphragm or Flapper
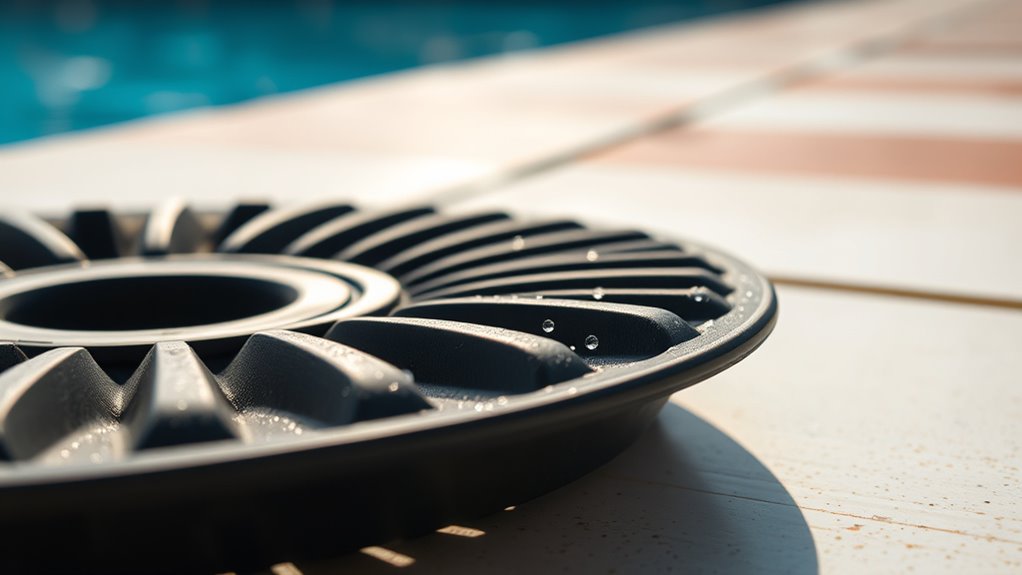
The diaphragm or flapper is a critical component that controls the suction and movement of your pool cleaner. To guarantee it’s functioning correctly, start with a thorough diaphragm inspection. Look for cracks, tears, or warping that could impair its sealing ability. A damaged flapper may cause inconsistent suction, making the cleaner less effective. If you notice any signs of wear or damage, a flapper replacement is necessary. Removing the old flapper is usually straightforward, but follow your manufacturer’s instructions for proper installation. Keep in mind that a faulty diaphragm or flapper can considerably impact your cleaner’s performance, so addressing issues promptly helps maintain ideal operation. Regular inspection prolongs the life of the component and keeps your pool cleaner working smoothly.
Assessing the Pool’s Water Level and Skimmer Basket
Start by checking if your pool’s water level is high enough for proper suction. Next, inspect the skimmer basket for debris that could obstruct water flow. Finally, adjust the water flow if needed to ensure your cleaner operates smoothly.
Check Water Level
Have you checked the pool’s water level lately? An ideal water level is essential for your suction cleaner to work properly. Low water levels often result from pool evaporation, which can cause the cleaner to lose suction. To guarantee proper operation, consider these steps:
- Observe if the water level is below the skimmer opening, indicating it’s too low.
- Adjust the water level to about halfway up the skimmer opening if needed.
- Regularly monitor for signs of ongoing water loss due to evaporation, especially during hot weather.
- Top off the pool water to maintain consistent water levels, preventing the suction cleaner from losing grip.
Proper water level helps maintain suction power and keeps your cleaner functioning efficiently.
Inspect Skimmer Basket
If you’ve confirmed the water level is correct but your suction cleaner still isn’t performing well, inspecting the skimmer basket is a good next step. Remove the skimmer basket and check for debris accumulation. A clogged basket restricts water flow, reducing suction and impairing the cleaner’s performance. Clear out any leaves, dirt, or other debris that may be blocking the flow. Make sure the basket is seated properly when you reinstall it. A clean skimmer basket ensures suitable water flow into the skimmer, helping your suction pool cleaner operate efficiently. Regularly inspecting and cleaning the skimmer basket prevents blockages that can cause suction loss and keeps your pool cleaner working smoothly.
Adjust Water Flow
Ensuring proper water flow is essential for your suction pool cleaner to work effectively, and evaluating the pool’s water level is a key step. If the level is too low, the cleaner may lose suction; if too high, water flow can be compromised. To optimize flow, consider these steps:
- Check that the pool water chemistry is balanced, as imbalances can affect circulation.
- Ensure the skimmer and pump baskets are clear of debris to maintain steady flow.
- Confirm the cleaner installation is correct, with hoses properly connected and free of leaks.
- Adjust the water level to reach the recommended height—usually halfway up the skimmer opening—helping the cleaner operate smoothly. Proper water level and clean skimmer baskets ensure consistent water flow, improving cleaner performance.
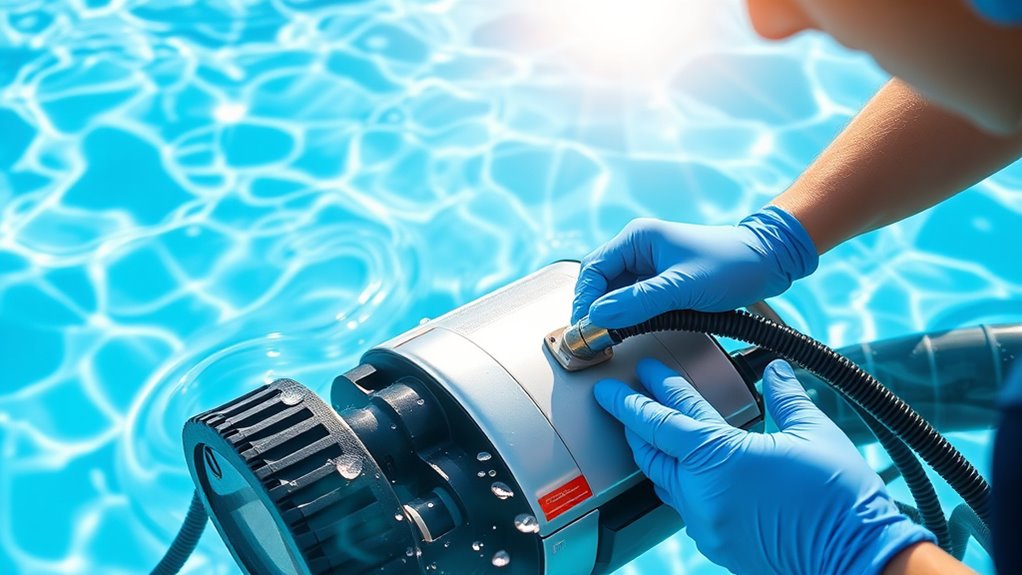
Testing for Leaks in the Hose and Connections
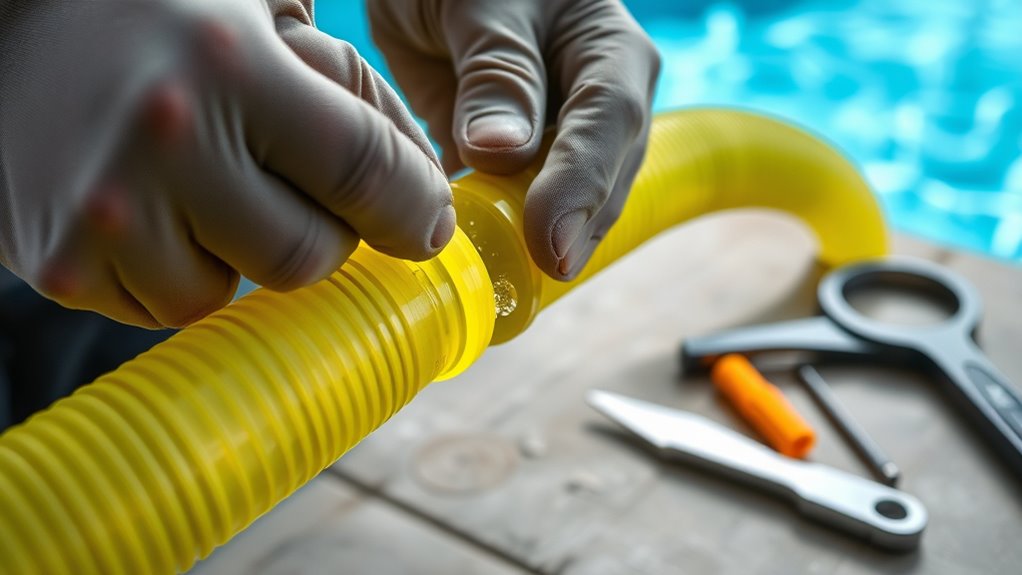
Wondering how to identify leaks in your suction pool cleaner’s hose and connections? Start by inspecting the hose material for any cracks, holes, or worn spots. Flexible hoses made of rubber or vinyl are common, so look closely at these areas for signs of damage or brittleness. Next, check the connection fittings where the hose attaches to the cleaner and skimmer. Ensure fittings are tightly secured and free of cracks or corrosion. You can also run the pump with the cleaner submerged and listen for hissing sounds or observe for water leaks around the connections. If you notice air bubbles escaping from the hose or fittings, it indicates a leak that needs repair or replacement. Proper inspection guarantees your cleaner maintains ideal suction and performance.
Cleaning or Replacing the Pool Cleaner’s Brushes or Sweeper
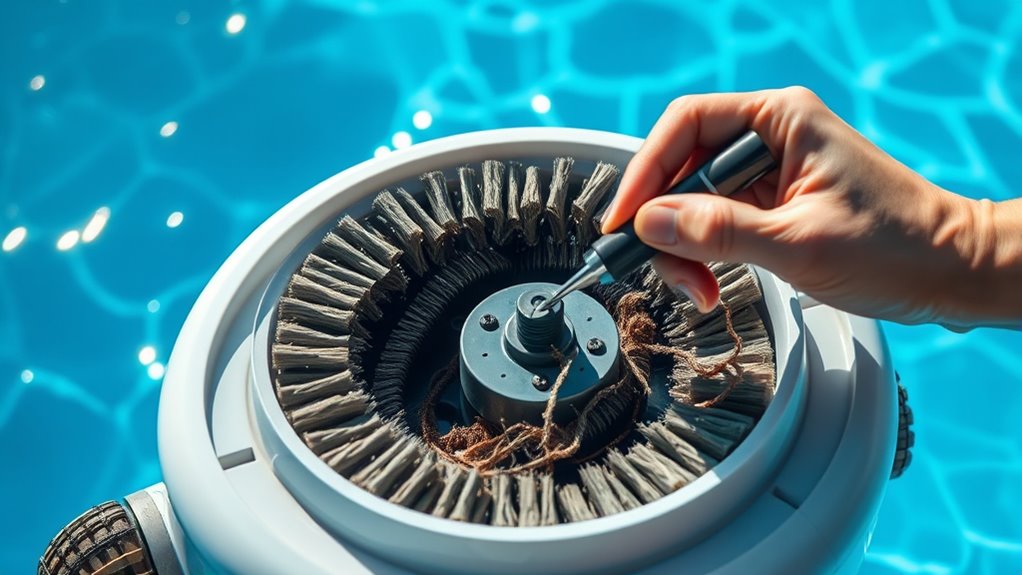
Regularly inspecting and maintaining your pool cleaner’s brushes or sweeper is essential for ideal performance. Over time, debris buildup or wear can hinder cleaning efficiency, making cleaning or replacing brushes a key part of pool cleaner maintenance. To do so effectively:
- Remove the brushes or sweeper according to your model’s instructions.
- Clean them thoroughly with a brush and water, removing any debris or algae.
- Check for signs of wear or damage, like cracks or missing bristles.
- Use proper brush replacement techniques to install new ones securely.
This process ensures your cleaner functions smoothly, maintaining excellent suction and cleaning power. Regular maintenance prevents blockages and prolongs the lifespan of your equipment, saving you time and money in the long run.
Adjusting the Cleaner’s Float and Weight Settings
Adjusting the float and weight settings on your pool cleaner is essential for peak coverage and suction. The floating mechanism helps the cleaner stay at the correct depth, while proper weight distribution ensures it moves efficiently across the pool surface. To fine-tune these settings, check if the float is too high or low and adjust accordingly. Similarly, reposition or add weights to balance the cleaner’s weight distribution, preventing it from sticking or missing spots. Use the table below as a guide:
| Adjustment Area | What to Do | Effect |
|---|---|---|
| Floating mechanism | Raise or lower floats | Improve surface contact |
| Weight placement | Add or shift weights | Balance movement and coverage |
| Float height | Adjust float position | Optimize depth and suction |
| Weight distribution | Distribute weights evenly | Prevent sticking or missing spots |
| Overall balance | Test and refine settings | Maximize cleaning efficiency |
Confirming Compatibility With Pool Size and Surface Conditions
Ensuring your pool cleaner is compatible with your pool’s size and surface conditions is key to achieving ideal cleaning performance. Proper cleaner compatibility depends on matching the cleaner’s design to your pool surface and size.
Choosing the right pool cleaner for your surface and size ensures optimal, damage-free cleaning performance.
Consider these factors:
- Pool surface type – smooth surfaces like vinyl or fiberglass need gentle cleaners, while rough surfaces like concrete require more durable ones.
- Pool size – larger pools may need more powerful or longer-running cleaners to cover the area effectively.
- Cleaner capacity – verify the cleaner’s size and debris capacity suit your pool’s debris load.
- Manufacturer recommendations – always verify that the cleaner’s specifications align with your pool’s surface and size for optimal performance.
This guarantees your cleaner works efficiently without damage or missed spots.
Frequently Asked Questions
How Can I Tell if the Cleaner’s Motor Is Functioning Properly?
To determine if your cleaner’s motor is working properly, start with a motor assessment. Listen for unusual noises or a lack of sound when it’s supposed to be running. Perform electrical testing by checking the power supply and connections for continuity and proper voltage. If the motor doesn’t respond or shows irregularities during testing, it may need repair or replacement. Regular maintenance helps guarantee your motor stays efficient and functional.
Why Is My Pool Cleaner Not Turning or Changing Direction?
They say “a chain is only as strong as its weakest link,” and the same applies to your pool cleaner’s movement. If your cleaner isn’t turning or changing direction, check for pool debris blocking the brushes or wheels. Also, guarantee your water chemistry isn’t causing buildup that hampers movement. Regularly clean and inspect parts to keep your cleaner working smoothly and avoid those stubborn spots.
What Should I Do if the Cleaner Is Missing Parts or Damaged?
If your pool cleaner is missing parts or damaged, start with a damage assessment to identify the issues. Check for broken or worn components, and determine if any parts need replacement. For missing parts, consult the manufacturer for compatible replacements. Perform part replacement carefully, ensuring everything fits securely. Regularly inspecting your cleaner helps catch damage early, keeping it functioning smoothly and extending its lifespan.
How Often Should I Replace the Cleaner’s Hoses or Parts?
You should replace the hoses or parts of your pool cleaner based on their durability and usage. Typically, inspect hoses every few months and replace them when they show signs of cracking, wear, or leaks. Regular hose replacement ensures peak performance and prevents damage to the cleaner. Keep an eye on wear and tear, and don’t wait too long—timely hose replacement maintains efficient operation and extends the life of your pool cleaner.
Can I Use the Cleaner on Different Pool Surface Types?
You can generally use your pool cleaner on different surface types, but it’s important to check pool surface compatibility first. Some cleaners have adjustable settings to optimize cleaner surface adjustment for various surfaces like tiles, fiberglass, or vinyl. Always review your device instructions to verify it’s suitable for your pool surface, and adjust the cleaner accordingly to maximize efficiency and prevent damage. Proper surface adjustment helps your cleaner work effectively across multiple pool types.
Conclusion
Regularly troubleshooting your suction pool cleaner can save you time and money—did you know that improper maintenance causes up to 70% of pool cleaner failures? By checking connections, removing blockages, and ensuring proper settings, you’ll keep your cleaner running efficiently. Taking these simple steps helps extend its lifespan and keeps your pool sparkling. Stay proactive, and you’ll enjoy hassle-free cleaning all season long!