To replace parts on your suction pool cleaner, start by inspecting for worn or damaged components like hoses, brushes, or seals. Turn off the unit before removing and swapping out these parts, guarantee proper fit and secure connections. Check the drive belt, wheels, and filters, replacing them if worn or broken. Proper reassembly and testing are key to restoring performance. For detailed tips on each step, keep exploring to ensure your cleaner works like new.
Key Takeaways
- Turn off and unplug the cleaner before inspecting or replacing any parts for safety.
- Identify and remove damaged hoses, brushes, or seals, then install new components securely.
- Check and replace worn drive belts, wheels, or scrubbing attachments following manufacturer instructions.
- Ensure all fittings, seals, and connections are tight to prevent leaks and maintain efficiency.
- Test the cleaner after reassembly to confirm proper operation and address any issues before regular use.

POOLWHALE Vacuum Hose/Replacement Pool Hose -1.5” 8 Hoses for Pool,Spa
Automatic cleaner hose with mould cuffs – Dia.1-1/2 X 1m
As an affiliate, we earn on qualifying purchases.
As an affiliate, we earn on qualifying purchases.
Identifying Worn or Damaged Parts

To keep your suction pool cleaner working effectively, you need to recognize when parts are worn or damaged. Start by inspecting the cleaner regularly, especially after heavy use or storms. Check for cracks, tears, or warping in hoses, brushes, and seals. Damaged parts can affect pool chemistry by allowing debris to bypass the cleaner, leading to imbalanced water. Always follow safety precautions—turn off the pump and disconnect the cleaner before inspection. Look for signs of reduced suction or strange noises, which indicate wear. Missing or brittle parts should be replaced promptly to prevent further damage. Proper maintenance ensures your cleaner performs efficiently, keeps your pool clean, and maintains safe water conditions. Recognizing early signs of wear saves you time and money in the long run. Regular assessments can also help you implement space and organization strategies that streamline maintenance routines. Additionally, staying informed about vetted replacement parts ensures you select high-quality components that enhance your cleaner’s performance. Being aware of wear indicators can help you catch issues early before they lead to more costly repairs. Regularly checking the suction system components can further prevent sudden breakdowns and maintain optimal cleaning. For instance, considering the use of HEPA filtration or other advanced components can improve filtration efficiency and prolong the lifespan of your equipment.

Mifyca 360/380 Pool Cleaner Belts Replacement Kit 9-100-1017 Small and Large Belt Compatible with Pol-aris 360 380 Automatic Pool Cleaners Parts
Package Includes: 9-100-1017 Belt Replacement Kit includes 1 small and 1 large belt. Meets or exceeds manufacturer standards,…
As an affiliate, we earn on qualifying purchases.
As an affiliate, we earn on qualifying purchases.
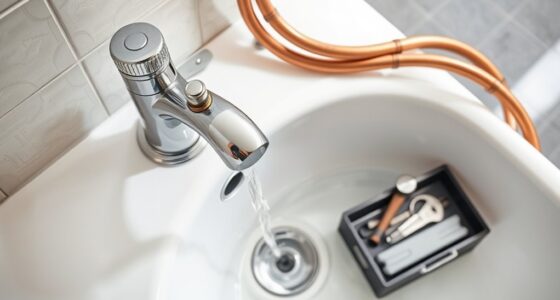
Replacing the Pool Cleaner’s Hose or Tube
When your pool cleaner’s hose or tube shows signs of wear or damage, replacing it promptly is essential for maintaining peak cleaning performance. Hose replacement ensures debris is effectively transported from the pool to the filter, preventing clogs and inefficiencies. To start, disconnect the damaged hose or tube from the cleaner and pool fittings. Inspect the connections and seals for cracks or deterioration, replacing any worn parts. When installing the new hose or tube, secure all fittings tightly to prevent leaks and maintain proper suction. Regular tube maintenance, such as cleaning and checking for cracks, extends its lifespan and keeps your cleaner running smoothly. Using proper replacement parts designed for your pool cleaner can further enhance its longevity and efficiency. Additionally, understanding the shelf life of pool chemicals can help you store replacement parts properly to avoid deterioration. Remember, a well-maintained hose or tube not only improves cleaning results but also prolongs the device’s overall lifespan.

Sepetrel Deluxe Swimming Pool Cleaning Kit with Spa Jet Vacuum Cleaner,Brush, Semi-deep Skimmer Net & Adjustable 57.5-inch Pole,Ideal for Cleaning Above Ground,Inflatable Pools
This kit includes spa jet vacuum cleaner,a 13.5-inch pool brush,a semi-deep skimmer net and a 57.5-inch pole
As an affiliate, we earn on qualifying purchases.
As an affiliate, we earn on qualifying purchases.
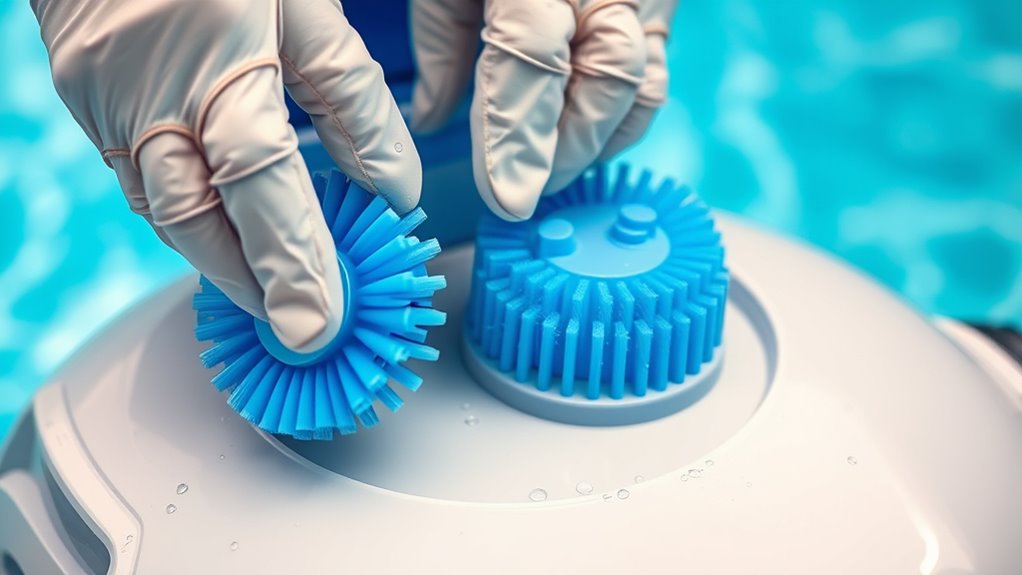
Swapping Out the Brushes and Scrubbing Attachments
Replacing your brushes and scrubbing attachments is simple when you know what to look for. You’ll want to choose the right size and type to match your cleaner, and learn proper removal techniques to avoid damage. Regular maintenance and care will help your cleaner perform at its best and last longer. Incorporating goal setting into your maintenance routine can also motivate you to stay consistent with upkeep. Paying attention to sound healing science principles, such as using specific frequencies or mindful routines, can make your maintenance more effective and enjoyable. Remember that consistent fatherhood support and attentiveness can enhance your overall pool care routine, making maintenance more manageable and effective. Additionally, focusing on vibrational energy during your maintenance can help you align with positive outcomes and improve your pool’s performance. Understanding animated movies and their emotional depth can indirectly inspire a more thoughtful approach to routine tasks like pool maintenance, making the process feel more meaningful.
Selecting Replacement Brushes
Choosing the right replacement brushes is essential for maintaining your suction pool cleaner’s efficiency. Proper brushes ensure thorough cleaning and extend the life of your device. When selecting new brushes, consider these key factors:
- Match the brush type to your pool’s needs—stiff for stubborn dirt, soft for delicate surfaces.
- Ensure compatibility with your cleaner model to prevent damage and save time.
- Prioritize safety precautions by handling brushes carefully, especially if your pool chemistry involves chemicals that can corrode or weaken materials.
- Regularly inspecting and replacing worn brushes can prevent toilet functionality issues and ensure optimal performance. Additionally, understanding glycolic acid benefits can help you choose materials that resist degradation over time.
Using the correct brushes not only keeps your pool spotless but also protects everyone’s safety. Always inspect brushes regularly and replace them when worn to avoid inefficient cleaning and potential hazards. Proper maintenance boosts your pool’s cleanliness and your peace of mind.
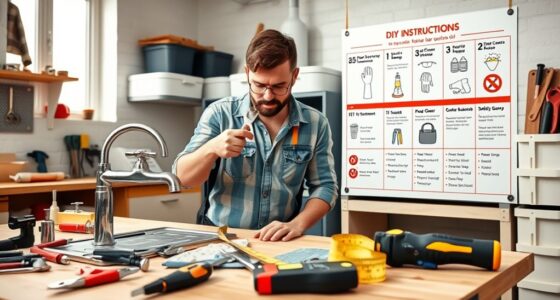
Proper Removal Techniques
To swap out brushes and scrubbing attachments effectively, start by turning off your pool cleaner and unplugging it if applicable. Make sure the pool water is at a safe temperature, as extreme heat or cold can make parts brittle or difficult to remove. Carefully examine the attachment points, and gently release any clips or latches securing the brushes. Be mindful of residual pool chemicals, which can cause skin irritation or affect the integrity of plastic parts. Use a soft brush or cloth if needed to clear debris or buildup around the connection areas. Avoid forcing parts, as this could damage clips or the attachment itself. Once removed, inspect the area for corrosion or wear before installing new brushes, ensuring a secure fit and most advantageous cleaning performance. Regular maintenance of pool cleaning parts can also improve overall home cleaning efficiency, and understanding the components of a pool cleaner can help in troubleshooting issues more effectively. Additionally, consulting the manufacturer’s instructions can provide specific guidance tailored to your model, ensuring proper replacement procedures.
Maintenance and Care Tips
Regular maintenance of your suction pool cleaner’s brushes and scrubbing attachments is essential to guarantee ideal performance and longevity. By swapping out worn brushes, you ensure effective cleaning while maintaining safe pool chemistry. Always follow safety precautions to prevent injuries and protect your equipment. Proper color accuracy in your cleaner’s components can help improve its overall effectiveness and lifespan. Here are three tips to keep your cleaner in top shape: 1. Inspect brushes regularly for wear and replace them promptly to avoid dirt buildup and inefficient cleaning. 2. Clean attachments with fresh water after use to prevent algae and mineral deposits, especially if your pool chemistry fluctuates. 3. Store your cleaner in a shaded area to prevent damage from UV rays and ensure easy access for routine maintenance. Staying proactive with maintenance keeps your pool pristine and safe for everyone.
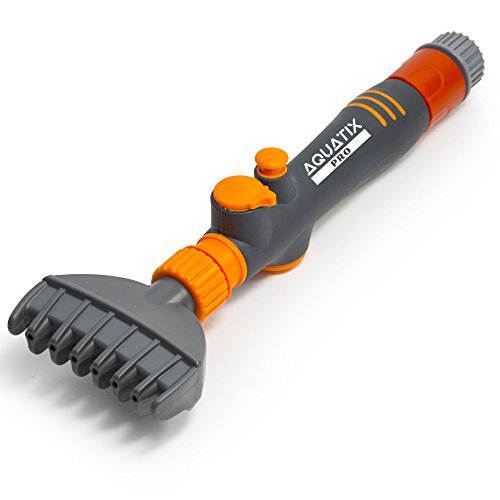
Aquatix Pro Premium Pool & Spa Filter Cartridge Cleaner, Removes Debris & Dirt from Pool Filters in Seconds, Heavy Duty & Durable Pool Cartridge Filter Cleaner, for a Clean Flow of Water Today! (1)
SAVE TIME: Pool cleaning can be a real chore! Aquatix Pro Premium Cartridge Cleaner removes debris and dirt…
As an affiliate, we earn on qualifying purchases.
As an affiliate, we earn on qualifying purchases.
Installing a New Filter or Bag
When installing a new filter or bag, it’s important to select the right one for your cleaner. Next, carefully remove the old filter to prevent any debris from spilling. Proper part compatibility ensures optimal performance and longevity of your suction pool cleaner. Additionally, regularly inspecting and replacing filters can prevent trust issues that may arise from neglect. Ensuring your equipment uses advanced automation can also help maintain consistent cleaning efficiency. Finally, fit the new filter securely in place to guarantee peak performance and easy operation.
Choosing the Correct Filter
Have you ever wondered how to guarantee your suction pool cleaner works efficiently? Choosing the right filter is key. First, explore your filter options—there are cartridge, mesh, and DE filters, each offering different cleaning power and ease of maintenance. Second, consider how often you’ll need filter maintenance, since some filters require more frequent cleaning to keep your cleaner running smoothly. Third, ensure the filter fits your model perfectly; an improper fit can reduce suction and efficiency. Additionally, understanding filter compatibility can help prevent issues with your pool cleaner’s performance. Moreover, selecting a filter that aligns with modern AI-driven security systems can further enhance your pool area’s safety. By selecting the correct filter, you’ll enjoy a cleaner pool and less hassle. Remember, regular filter maintenance extends the lifespan of your cleaner and keeps your pool sparkling. Incorporating efficient filter systems can also improve overall cleaning performance. Staying informed about AI security vulnerabilities can help you choose filters that are not only effective but also secure against potential breaches. Make the right choice today, and your pool will thank you!
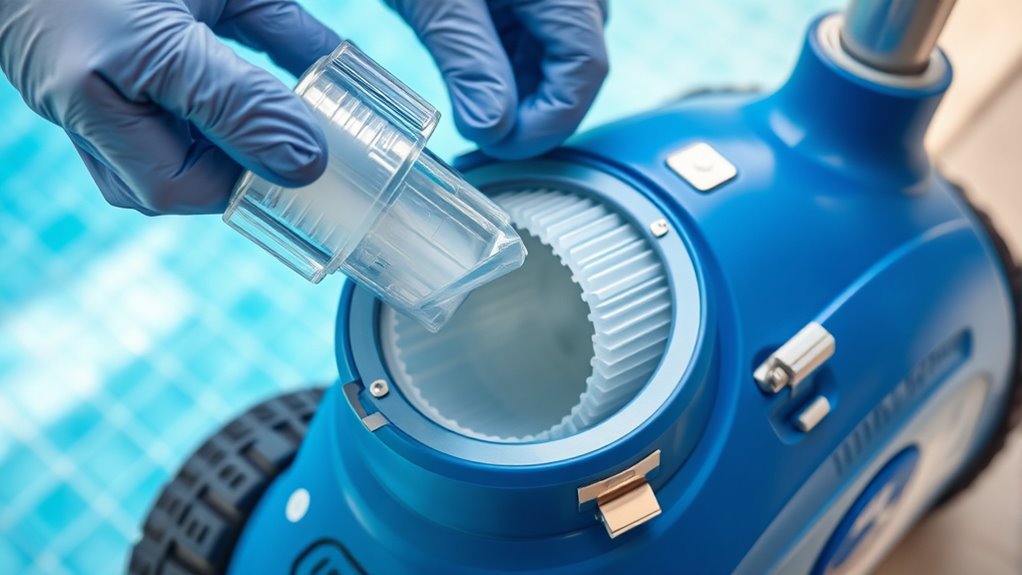
Removing the Old Filter
Before installing a new filter or bag, you need to remove the old one carefully to prevent damage and guarantee proper function. During filter maintenance, take your time to avoid tearing or dislodging any components. Follow the replacement procedures outlined in your cleaner’s manual, ensuring you handle the filter gently. Remove the filter from its housing by releasing any clips or latches and lifting it out with care. Inspect the area for debris or damage that might affect the new filter’s fit. Proper removal prevents dirt from contaminating the new filter and helps maintain ideal suction power. Once the old filter is out, clean the surrounding compartment if needed before proceeding to install the new filter. Proper removal is essential for effective filter maintenance and smooth replacement. Additionally, understanding the filter types used in suction pool cleaners can help ensure you select the right replacement parts.
Installing the New Filter
To guarantee your suction pool cleaner operates effectively, carefully install the new filter or bag following the manufacturer’s instructions. Proper filter maintenance ensures peak performance and extends the life of your cleaner. Before installation, double-check that the filter is clean and free of debris.
Here are three steps to help you succeed:
- Securely fit the new filter in its designated slot, ensuring all clasps or latches click into place.
- Inspect for any gaps or misalignments that could cause filter troubleshooting issues.
- Test run the cleaner briefly to confirm proper operation and that the filter stays in position.
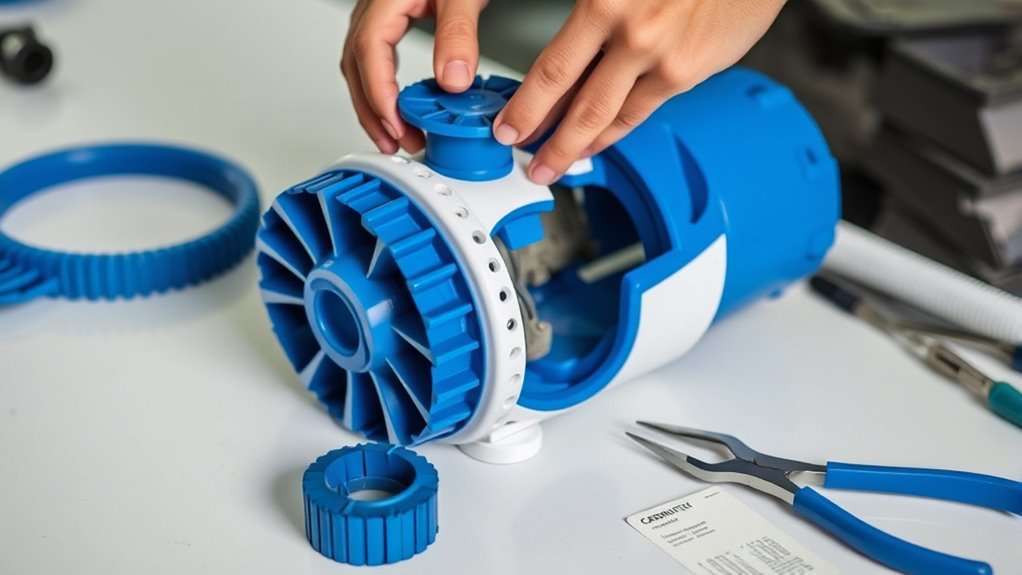
Replacing the Drive Belt or Wheel Components
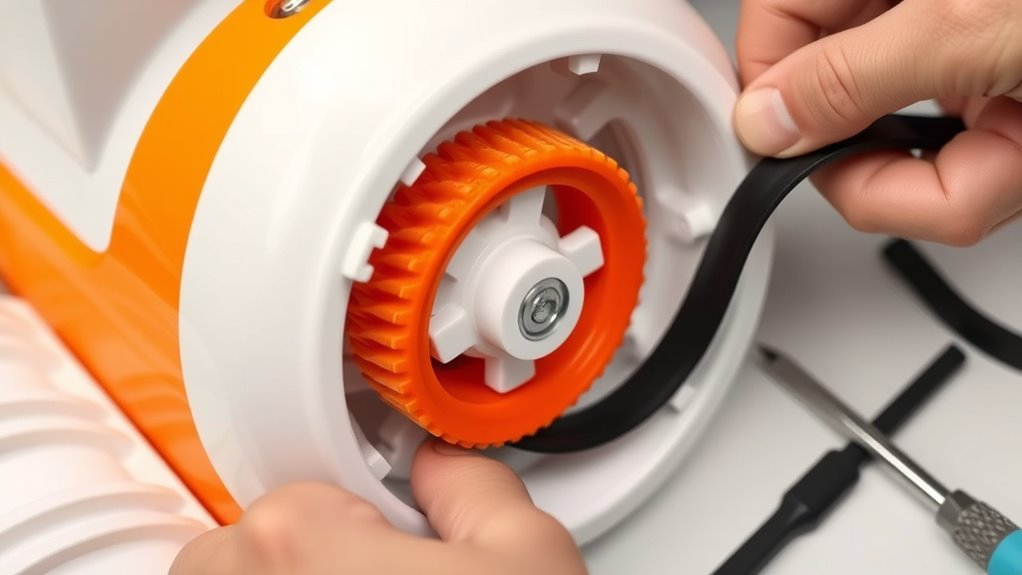
Replacing the drive belt or wheel components on your suction pool cleaner is a straightforward process that can restore peak performance. To start, turn off the cleaner and unplug it. Remove the housing cover to access the drive belt and wheel assembly. For drive belt replacement, carefully detach the old belt, noting its routing, then install the new belt, ensuring it’s taut and properly aligned. During wheel component repair, detach the worn or damaged wheel, then reattach or replace it with a new one, ensuring it spins freely. Check for any debris or obstructions that could affect operation. Once all parts are secure, reassemble the cover. Regular maintenance of drive belts and wheels keeps your cleaner running smoothly and extends its lifespan.
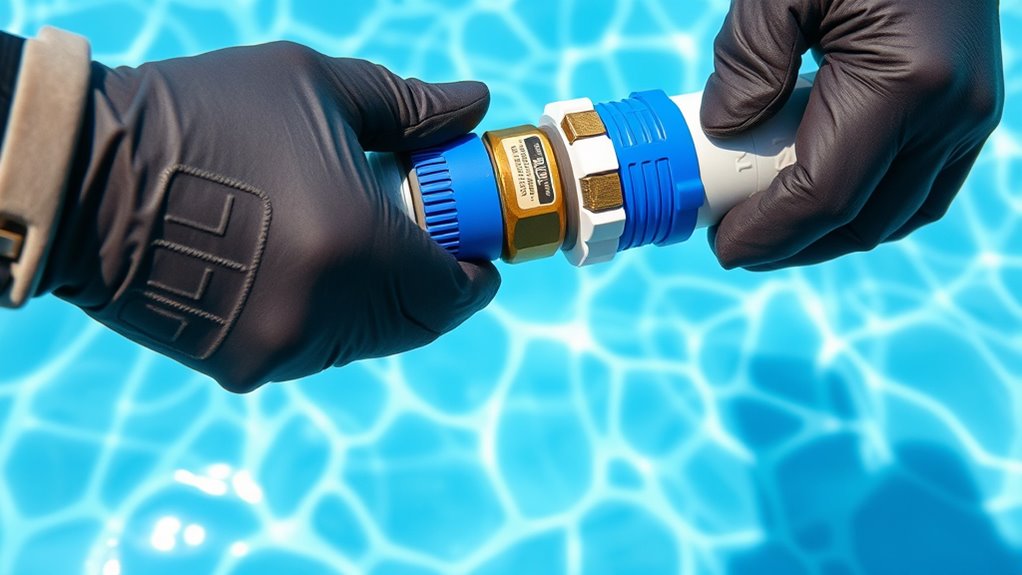
Upgrading the Skimmer or Intake Valves
Upgrading your skimmer or intake valves can substantially improve your pool cleaner’s efficiency and filtration. A skimmer upgrade ensures better water flow, capturing more debris and reducing strain on your cleaner. Replacing the intake valve can boost suction power, making cleaning more thorough and faster.
Here are three reasons why this upgrade matters:
- Enhanced Performance – Feel confident your pool stays spotless with superior suction.
- Energy Efficiency – Save on power by improving water flow with upgraded parts.
- Long-Term Durability – Minimize maintenance and avoid frequent breakdowns.
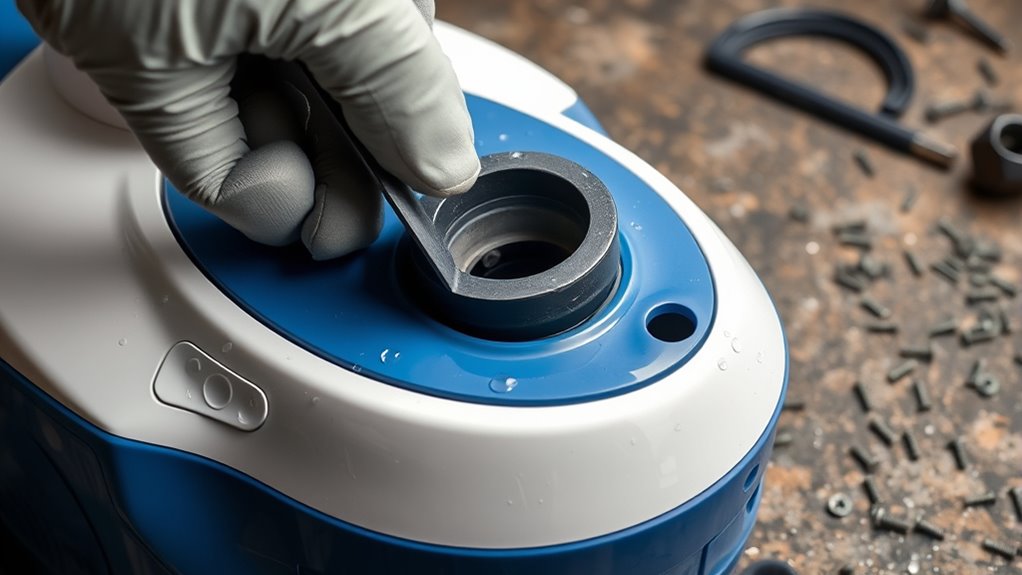
Repairing or Replacing the Suction Nozzle

A damaged or clogged suction nozzle can substantially reduce your pool cleaner’s effectiveness, causing incomplete debris removal and increased strain on the system. Regular suction nozzle maintenance helps prevent buildup and clogs that impair performance. To repair or replace the nozzle, first inspect it for cracks, blockages, or damage. If cleaning, remove debris with a brush or compressed air, ensuring no obstructions remain. When replacing, use nozzle replacement techniques such as removing screws or clips holding the old nozzle, then securely attaching the new one. Make sure it fits properly to maintain ideal suction and cleaning efficiency. Proper maintenance and timely replacement ensure your pool cleaner operates smoothly, saving you time and effort. Always follow manufacturer instructions for specific nozzle models.
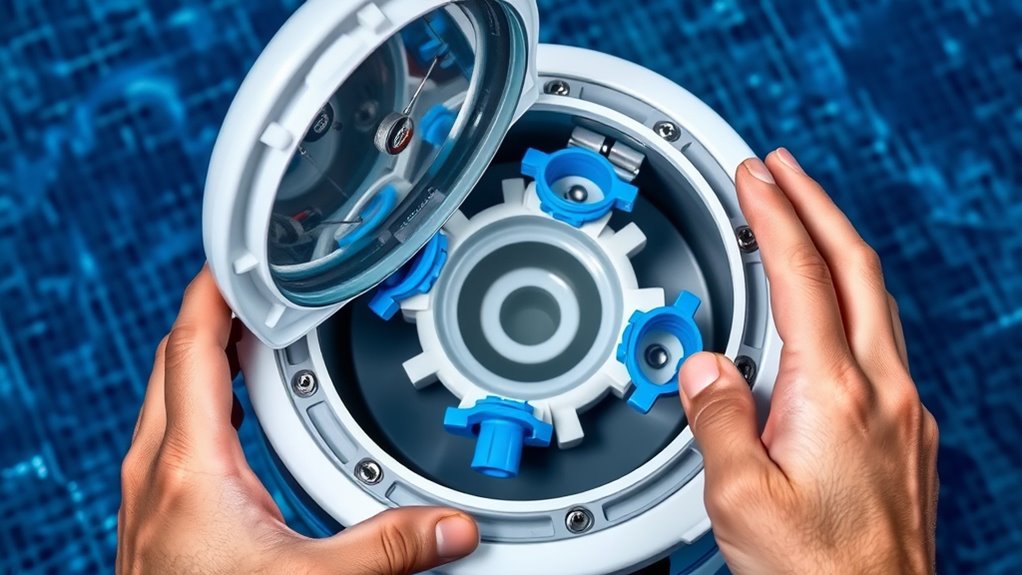
Maintaining and Replacing the Motor or Gears
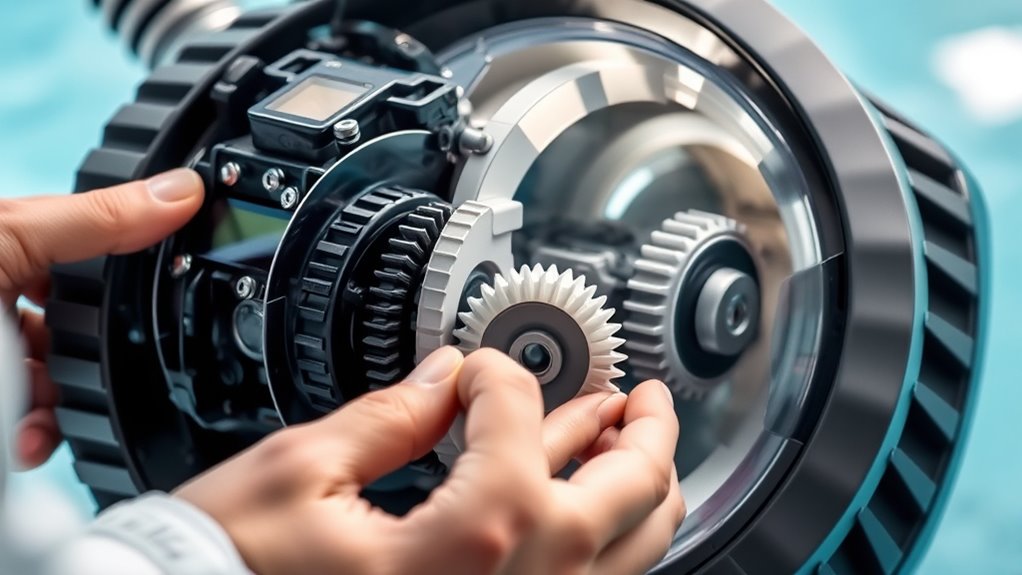
Maintaining and replacing the motor or gears is essential for ensuring your suction pool cleaner runs efficiently and reliably. When these parts falter, your cleaner struggles to do its job, making pool chemical maintenance and pool water testing more challenging. Regularly inspecting the motor and gears can prevent costly repairs and downtime.
Regular motor and gear checks keep your pool cleaner running smoothly and prevent costly repairs.
Here are three key steps to keep your parts in top shape:
- Listen for unusual noises or vibrations, signaling worn gears or motor issues.
- Check for corrosion or debris buildup that could hinder performance.
- Replace faulty gears or motors promptly to maintain ideal suction and cleaning efficiency.
Tips for Proper Reassembly and Testing
To guarantee your pool cleaner functions properly after reassembly, double-check that all parts are securely fitted and aligned according to the manufacturer’s instructions. Proper reassembly ensures effective cleaning and prevents damage. Before testing, review pool chemistry to confirm water balance, as improper chemistry can affect cleaner performance. When testing, observe the cleaner’s movement and suction; it should glide smoothly without wobbling or hesitation. During testing, adhere to safety precautions, such as unplugging the power source before handling parts and ensuring no obstructions in the cleaning path. If the cleaner doesn’t operate correctly, recheck connections and alignments. Regularly inspecting and testing your cleaner after reassembly minimizes issues and extends its lifespan, keeping your pool spotless and safe for swimmers.
Frequently Asked Questions
How Often Should I Replace Parts on My Suction Pool Cleaner?
You should follow a regular maintenance schedule to keep your suction pool cleaner working efficiently. Typically, parts like brushes, filters, and hoses have a limited lifespan and need replacement every few months, depending on usage. Keep an eye on signs of wear and tear, and replace parts promptly to avoid breakdowns. Regular maintenance guarantees your cleaner operates smoothly and extends its overall lifespan.
Can I Use Generic Parts Instead of Manufacturer-Specific Replacements?
Think of your pool cleaner as a finely tuned orchestra; using generic parts might seem tempting but can cause discord. You might save a buck, but compatibility issues could turn your cleaning symphony into a clattering mess. It’s best to stick with manufacturer-specific replacements, ensuring each piece fits perfectly and keeps your pool sparkling. Otherwise, you risk damaging your cleaner and prolonging your pool’s dirtier days.
What Are Signs My Pool Cleaner Needs a Part Replacement?
You’ll notice your pool cleaner needs a part replacement if it’s struggling to pick up debris, making unusual noises, or moving erratically. Regular pool cleaner maintenance helps spot these issues early. For replacement tips, check for visible damage or wear, and don’t wait too long to replace malfunctioning parts. Staying attentive guarantees your cleaner works efficiently, saving you time and effort in maintaining a sparkling pool.
Are There Safety Precautions to Consider During Part Replacement?
Think of replacing pool cleaner parts like handling delicate machinery—safety first. Always unplug the cleaner before starting, ensuring electrical safety. Wear gloves when handling chemicals or parts to avoid skin irritation. I once skipped disconnecting the power and got a shock—lesson learned! Be cautious, follow manufacturer instructions, and handle chemicals responsibly. Your safety depends on respecting these precautions, making the process smooth and accident-free.
How Long Does a Typical Part Replacement Process Take?
When replacing parts on your suction pool cleaner, the process typically takes 15 to 30 minutes, depending on the part and your experience. Follow maintenance tips and troubleshooting steps to guarantee a smooth replacement. Turn off the pool and unplug the device before starting. Gather tools beforehand, work carefully, and double-check connections. Proper preparation minimizes downtime, making the task efficient and safe.
Conclusion
Regularly replacing worn parts on your suction pool cleaner can extend its lifespan and keep your pool sparkling. Did you know that properly maintained cleaners operate up to 30% more efficiently? By following these simple replacement tips, you’ll save money and enjoy cleaner water with less effort. Stay attentive to signs of wear, and don’t hesitate to swap out parts promptly. Your pool will thank you for the extra care, giving you more time to relax and enjoy it.