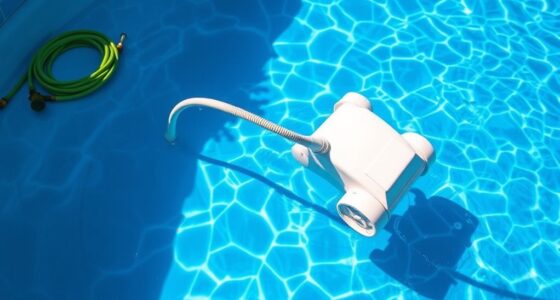

To replace worn parts on your robotic pool cleaner, first look for signs like irregular movement, strange noises, or debris buildup. Gather the correct replacement parts and tools, such as brushes or filters, based on your model. Carefully disassemble the affected components, then install the new parts making sure they fit properly. Test your cleaner to guarantee it works smoothly. Keep going for detailed steps to help your pool cleaner perform at its best.
Key Takeaways
- Identify signs of wear such as irregular movement, rust, noise, or debris buildup to determine if parts need replacement.
- Gather compatible replacement parts like brushes or filters using the owner’s manual for reference.
- Unplug the cleaner, then carefully disassemble components to access worn parts, noting wiring and screw positions.
- Install new parts ensuring proper alignment, secure fitting, and sealing to prevent leaks or malfunctions.
- Test the cleaner’s operation, check for smooth movement, adequate power, and coverage to confirm successful replacement.

Sepetrel 17.5" Pool Brush Head for Cleaning Walls,Heavy Duty Inground/Above Ground Swimming Pool Scrub Brushes with Premium Strong Bristle & Reinforced Aluminium Back
The brush features a reinforced aluminum alloy metal structure that is not only sturdy and durable but also…
As an affiliate, we earn on qualifying purchases.
As an affiliate, we earn on qualifying purchases.
Identifying Signs of Wear and Tear
Since your robotic pool cleaner operates regularly, it’s important to recognize early signs of wear and tear. One key indicator is irregular movement or decreased cleaning efficiency, which may signal issues with the chain lubrication. Inspect the chain for rust, stiffness, or slack that suggests it needs lubrication or replacement. Additionally, perform regular motor inspections; listen for unusual noises or overheating, which can point to worn brushes or motor components. Visible signs like corrosion or debris buildup also hint at underlying problems. Catching these signs early helps prevent more extensive damage and costly repairs. Regularly checking the chain and motor ensures your cleaner continues to run smoothly, saving you time and maintaining ideal pool cleanliness. Recognizing and addressing love and relationships concepts like support and communication can be analogous to maintaining open lines for effective troubleshooting and care. Moreover, leveraging automation’s role in business intelligence, such as automated diagnostics, can help detect issues before they become serious.
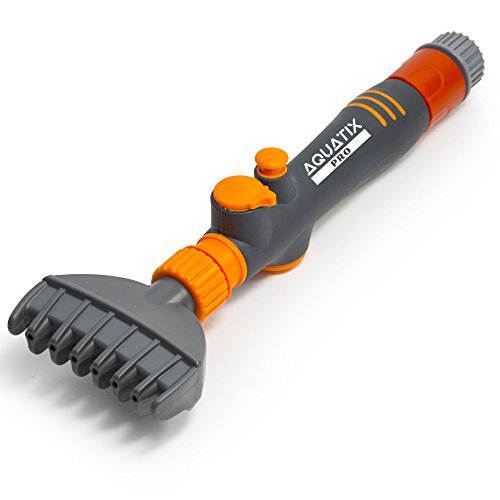
Aquatix Pro Premium Pool & Spa Filter Cartridge Cleaner, Removes Debris & Dirt from Pool Filters in Seconds, Heavy Duty & Durable Pool Cartridge Filter Cleaner, for a Clean Flow of Water Today! (1)
SAVE TIME: Pool cleaning can be a real chore! Aquatix Pro Premium Cartridge Cleaner removes debris and dirt…
As an affiliate, we earn on qualifying purchases.
As an affiliate, we earn on qualifying purchases.
Gathering Necessary Replacement Parts and Tools
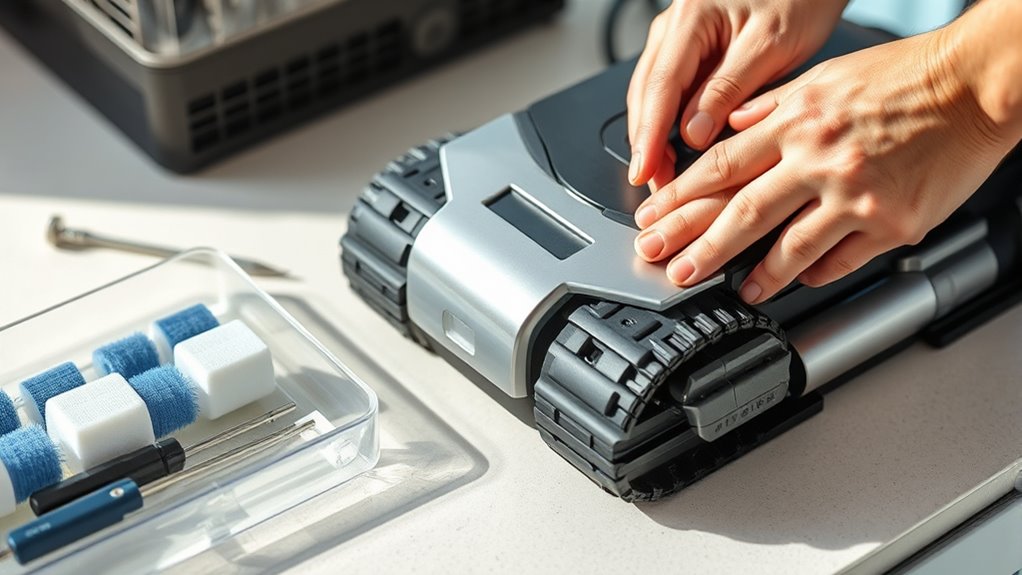
Before you start replacing worn parts, gather all the necessary components and tools to guarantee a smooth process. Ensure you have the correct replacement parts, such as brushes, filters, or the battery if needed, based on your model. Check your owner’s manual for specific parts required for water filtration or battery maintenance. You’ll also need basic tools like screwdrivers, pliers, and possibly a socket set. Having these ready saves time and prevents interruptions. Inspect your robot for any additional worn components that may need replacement. Confirm the new parts are compatible with your pool cleaner. Proper preparation allows you to work efficiently and reduces the risk of missing or damaging parts during the replacement process. Additionally, understanding financial aspects can help you budget for replacement parts and avoid unnecessary expenses. Considering manufacturer recommendations ensures that you select the right parts and maintain your robot’s warranty. For example, knowing the horsepower of electric dirt bikes can inform you about the power capacity needed for different equipment. Being aware of common wear points on your pool cleaner can also help you identify potential issues early. Moreover, examining performance data can guide you in choosing the most durable and efficient replacement parts.
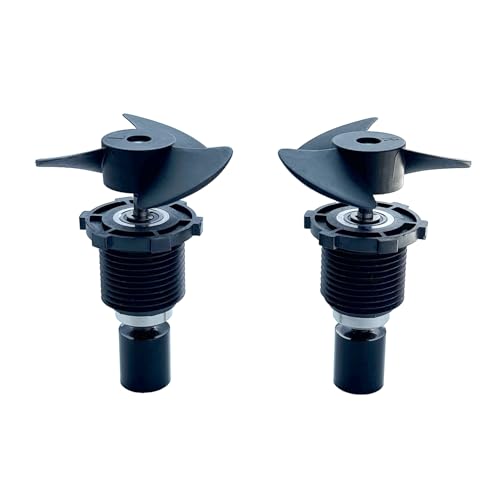
Betta Genuine Robotic Pool Skimmer Motor Rotor and Propeller Replacement Set
Genuine Betta Motor Rotor and Propeller Set – Official replacement motor rotors and Propeller for Betta Robotic Pool…
As an affiliate, we earn on qualifying purchases.
As an affiliate, we earn on qualifying purchases.
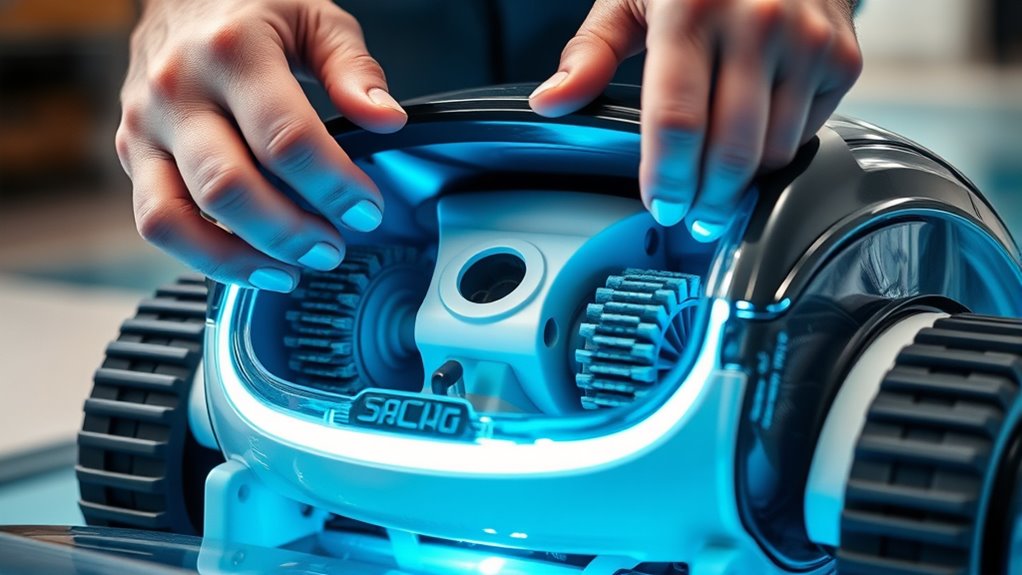
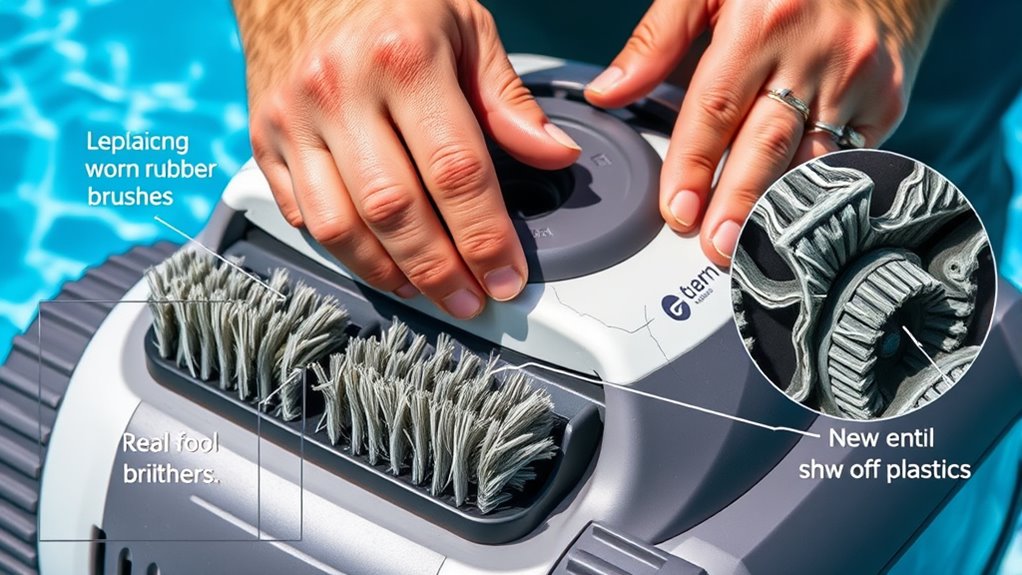
Removing and Disassembling the Affected Components
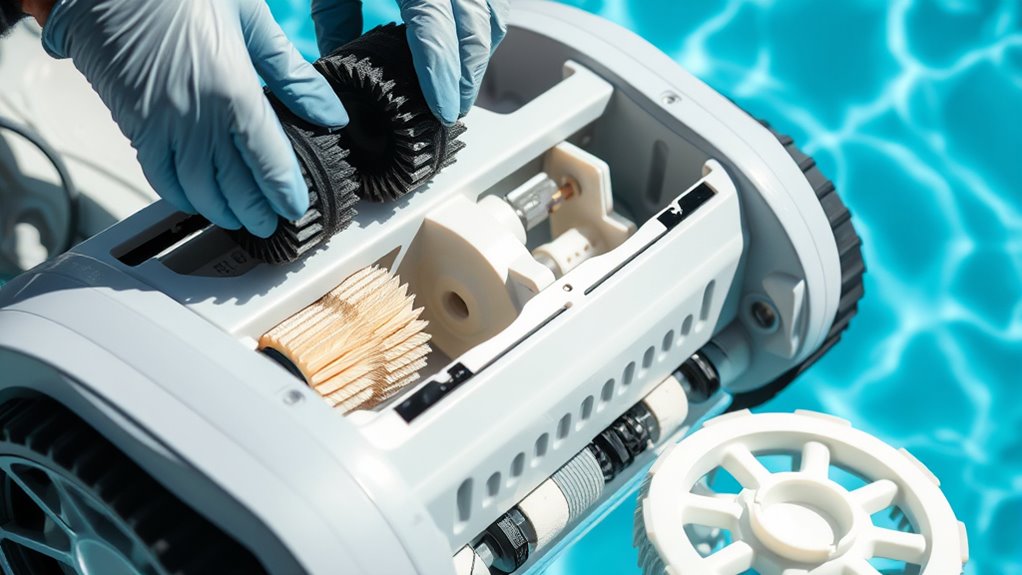
To effectively remove and disassemble the affected components, start by unplugging the robotic pool cleaner from its power source to guarantee safety. Begin with the brush assembly by loosening any screws or clips holding it in place, then carefully lift it away. Next, access the motor housing by removing any covers or panels securing it. Carefully disconnect any wiring attached to the motor, noting their positions for reassembly. Once disconnected, gently extract the motor housing from the main body of the cleaner. Handle all parts gently to avoid damage. Keep track of screws and small components, and ensure you remember how everything fits together. This process allows you to reach the worn parts effectively for replacement. Incorporating proper disassembly techniques and following manufacturer instructions can further streamline the process and improve efficiency. Additionally, understanding Volkswagen Tuning principles can help ensure modifications are done safely and effectively, which is useful when handling any mechanical components. Being familiar with product maintenance best practices can also help prevent future issues and prolong the lifespan of your robotic cleaner. Paying attention to component compatibility can ensure that replacements fit properly and function correctly.

Replacement for Zodiac Polaris R0543200 3900 Sport Robotic Swimming Pool Cleaner Rebuild Kit Tune-Up Kit Accessory Also for P39 Sport Pressure Inground Pool Cleaner Upgraded Silver
Great Compatibility — Perfectly fits for All Zodiac Polaris 3900 Sport Pool Cleaners and Polaris P39 Pool Cleaners….
As an affiliate, we earn on qualifying purchases.
As an affiliate, we earn on qualifying purchases.
Installing New Parts and Ensuring Proper Fit
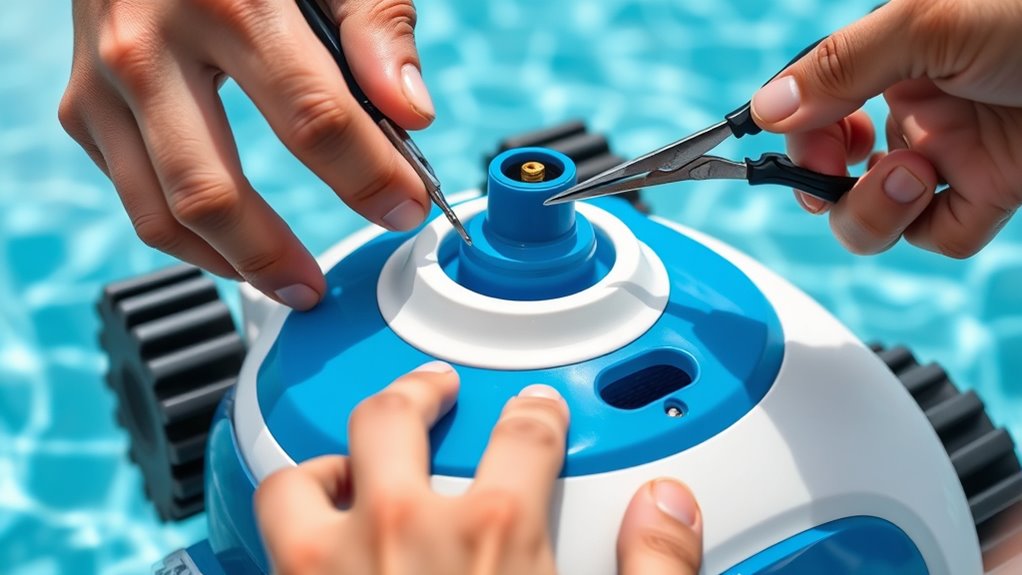
Once you’ve removed the worn parts, carefully position the new components in their designated spots, making certain they align correctly with the mounting points and connectors. Proper fit is vital for peak performance. Use your maintenance tips to double-check that all parts sit flush and securely attach. Misaligned parts can cause troubleshooting steps to fail, so take your time. If a part doesn’t seem to fit, don’t force it—recheck the orientation or compatibility. Confirm that any seals or gaskets are properly seated to prevent leaks. Properly inspecting seals and gaskets ensures your cleaner maintains optimal performance and prevents future issues. Here’s a quick reference:
| Step | Focus Area |
|---|---|
| 1 | Align parts with mounting points |
| 2 | Guarantee secure attachment |
| 3 | Check for proper sealing |
| 4 | Test fit before final assembly |
This approach guarantees your cleaner works efficiently and reduces future issues. Regular inspection of vacuum cleaner attachments ensures optimal performance and longevity.
Testing the Cleaner for Optimal Performance

After installing the new parts and confirming they fit properly, it’s time to test your robotic pool cleaner to guarantee it operates at peak performance. Begin by powering it on and observing its movement to ensure all components function smoothly. Check the battery maintenance routine—fully charge the battery and monitor its runtime to confirm ideal power levels. Additionally, verify that the software is up to date, as manufacturers often release updates that improve performance and fix bugs. Run the cleaner through a typical cycle, paying attention to coverage and suction. If you notice any irregularities, pause and troubleshoot accordingly. Regular testing helps identify issues early, ensuring your pool cleaner continues to run efficiently and effectively. Keep in mind that proper maintenance costs can extend the lifespan and efficiency of your system. Performing routine checks on component durability can also prevent unexpected breakdowns and costly repairs. Additionally, staying informed about regulatory changes affecting pool equipment can help you make timely upgrades or adjustments. Monitoring performance metrics regularly allows for early detection of potential issues before they develop into major problems. Incorporating preventative maintenance practices can further optimize your cleaner’s longevity and functionality.
Frequently Asked Questions
How Often Should I Inspect My Robotic Pool Cleaner for Wear?
You should perform regular inspection frequency, ideally once a month, to catch wear indicators early. Look for signs like frayed brushes, cracked wheels, or clogged filters. Regular checks help make certain your robotic pool cleaner works efficiently and lasts longer. By staying proactive, you avoid unexpected breakdowns. Make this a routine part of your pool maintenance, and you’ll keep your cleaner in top condition and swimming smoothly all season.
Are There Any Safety Precautions Before Starting the Replacement Process?
Before you start replacing worn parts, prioritize safety. Wear appropriate safety gear like gloves and eye protection to prevent injuries. Make sure the power is disconnected to maintain electrical safety, avoiding electric shock risks. Work in a dry area away from water, and follow manufacturer instructions carefully. Taking these precautions keeps you safe and helps the repair process go smoothly. Always double-check that the device is unplugged before handling any components.
Can I Replace Parts Myself or Should I Hire a Professional?
Back in the day, DIY repair was all the rage, but now you might wonder if you should take on replacing worn parts yourself or call for professional service. You can attempt basic repairs if you’re handy and follow instructions carefully, but for complex issues or if you’re unsure, hiring a professional is safer. It guarantees the job gets done right without risking damage or safety hazards, especially with robotic pool cleaners.
What Are Common Compatibility Issues With Replacement Parts?
When replacing parts, you might encounter compatibility errors or model mismatches. Double-check that the replacement parts match your pool cleaner’s specific make and model to prevent these issues. Sometimes, parts from different models aren’t compatible, which can cause malfunctions or damage. Always verify part numbers and consult your user manual or manufacturer to guarantee a proper fit, so your robotic pool cleaner works smoothly without unexpected problems.
How Do I Dispose of Old or Damaged Parts Responsibly?
When disposing of old or damaged parts, you should consider recycling programs available in your area. Many parts may be recyclable, reducing waste and environmental impact. If the parts contain hazardous waste, like chemicals or batteries, handle and dispose of them according to local regulations. Check with your community’s recycling center or hazardous waste disposal site to make certain you’re disposing of these parts responsibly and safely.
Conclusion
Just like a seasoned captain tending to their ship, you’ve kept your robotic pool cleaner sailing smoothly. By spotting wear early and giving it the right repairs, you guarantee it stays in top shape—ready to conquer the depths. Remember, a well-maintained cleaner is your loyal first mate, turning the chore of pool cleaning into a breeze. Keep up this diligent care, and your pool will shine brighter than a lighthouse guiding ships home.