
Start by gathering your tools, inspecting the pool area for hazards, and verifying the water level. Assemble the cleaner parts carefully and connect the hoses securely, making certain there are no leaks or kinks. If needed, install the booster pump near your filtration system, making sure all connections are tight and safe. Attach the hose to the cleaner and place it in the pool with the floating hose. Final testing and adjustments will guarantee ideal cleaning—continue for detailed steps.
Key Takeaways
- Gather tools, inspect the area, and ensure water level is appropriate before assembly.
- Assemble cleaner parts and connect hoses securely, ensuring watertight fittings.
- Install the booster pump near the filtration system, securing all electrical and hose connections.
- Attach the hose to the cleaner and position it in the pool, adjusting for full coverage.
- Test the system by turning on the pump, checking for leaks, and making flow adjustments as needed.

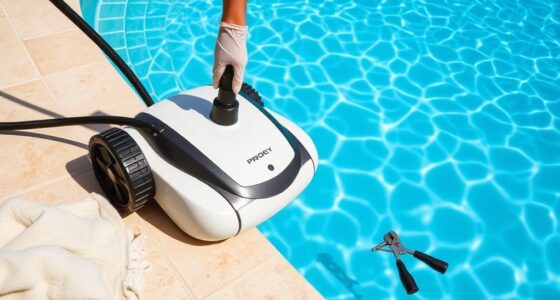
MAKHOON Upgrade Pool Pressure Side Sweeper: Professional Solution for Cleaning Your Swimming Pool (Four Wheels are Better Than Three) Need 1.5" Female Thread Pool Booster Pump Inlet, 4 Bar Pressure
Upgrade & Improvement: The hose and machine components are crafted from high-quality plastics, rigorously refined and upgraded for…
As an affiliate, we earn on qualifying purchases.
As an affiliate, we earn on qualifying purchases.
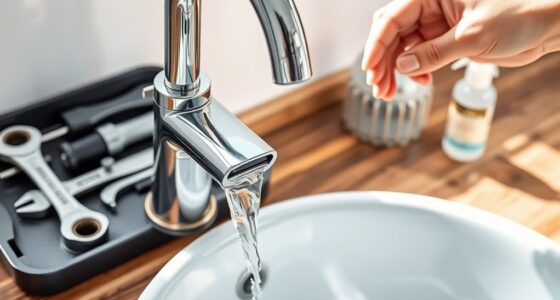
Gathering Necessary Tools and Preparing Your Pool Area
Before you begin installing your pool cleaner, it’s essential to gather all the necessary tools and prepare your pool area. Start by inspecting your pool’s surroundings to ensure a safe environment, free of obstacles or debris that could interfere with installation. Check that your pool’s water level is appropriate, as it impacts the cleaner’s effectiveness. Review your maintenance schedule to determine the best time for installation, ideally when the pool is clean and free of heavy debris. Gather tools like screwdrivers, hoses, and any adapters required by your cleaner model. Prioritize pool safety by wearing gloves and ensuring electrical outlets are protected from water. Proper preparation minimizes hazards and sets the stage for a smooth installation process. Additionally, consider essential oils for respiratory health that can help create a relaxing environment during your pool maintenance. Ensuring your pool area is well-organized and free of hazards aligns with industry best practices for safe and efficient setup. It’s also helpful to familiarize yourself with the pressure-side pool cleaner technology to understand its operation and maintenance needs. For added efficiency, you might want to explore portable camping equipment that can assist with outdoor poolside activities.

Aquastrong Pool Booster Pump, Pure Copper Motor, 3/4 HP, Dual Voltage 115V/230V, Low Noise, Wide Compatibility, Easy Installation for Pressure-Side Pool Cleaners Vac-Sweep 280, 380, 3900-Black
Easy Replacement & Wide Compatibility: Designed as a direct replacement for common booster pump setups and compatible with…
As an affiliate, we earn on qualifying purchases.
As an affiliate, we earn on qualifying purchases.
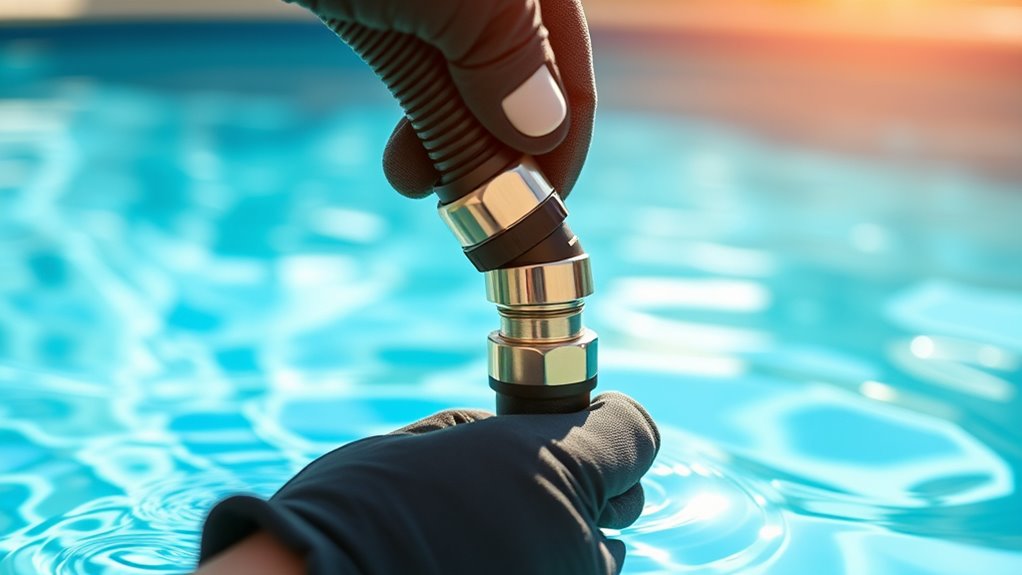
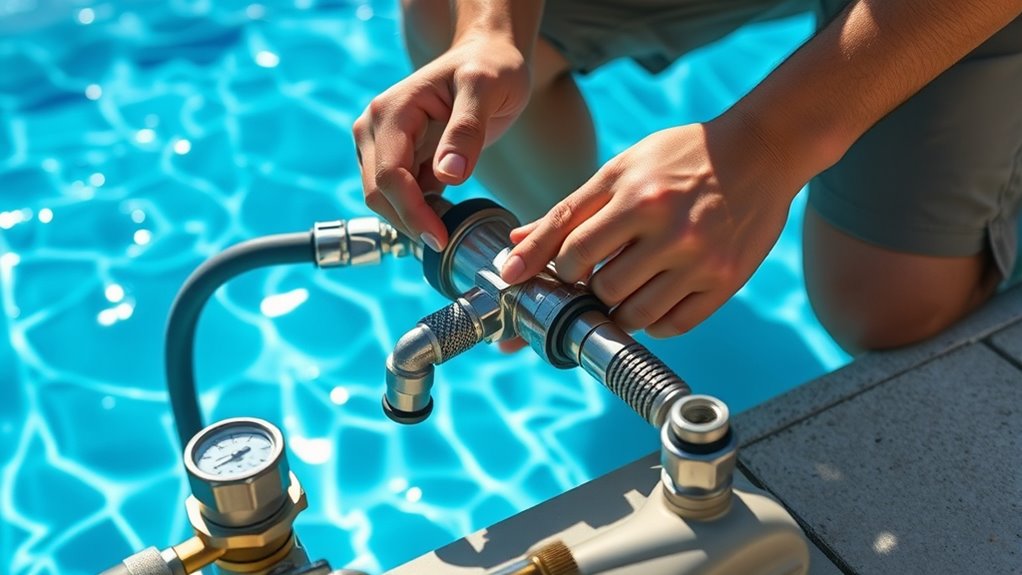
Assembling and Connecting the Cleaner Components
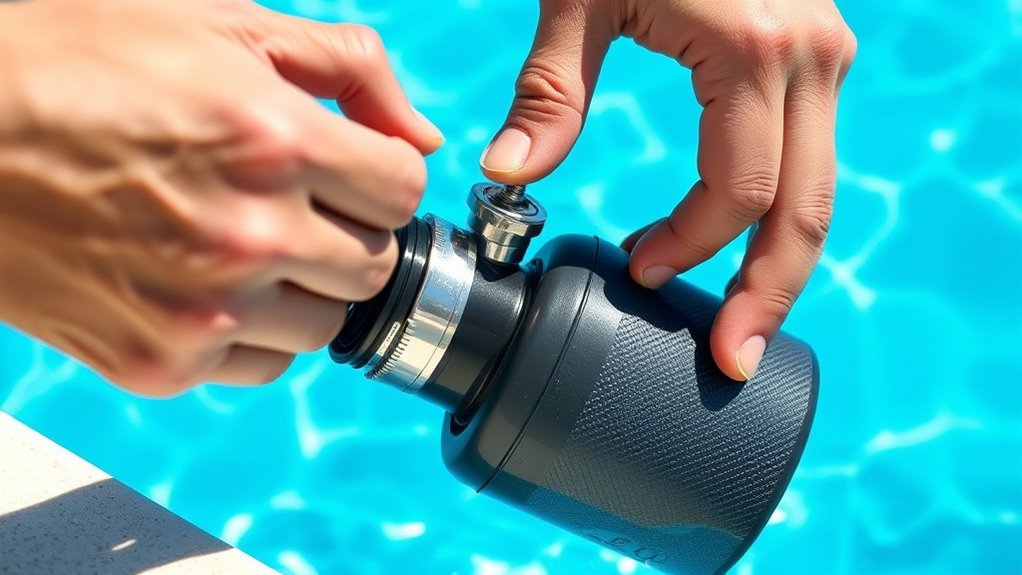
Once you have all the parts and tools ready, start by carefully assembling the cleaner components according to the manufacturer’s instructions. Begin with connecting the hose sections, guaranteeing the hose connection is secure and watertight. Make sure the hose is properly aligned to avoid leaks or disconnections during operation. Next, position the cleaner in the pool, considering the ideal cleaner placement for effective coverage. Attach the hose to the cleaner’s intake fitting firmly, double-checking that all connections are tight. If your cleaner has a swivel or joint, guarantee it moves freely to prevent tangling. Proper assembly and correct hose connection are vital for smooth operation. Additionally, ensuring the correct assembly techniques can help prevent operational issues and prolong the lifespan of your cleaner. For optimal performance, verify that the hose connections are fully tightened and secure. With everything assembled, you’re ready to move on to installing the booster pump if needed. Additionally, celebrity transformations can serve as an interesting analogy for how proper setup can lead to a flawless performance. Remember that understanding the proper hose alignment can significantly impact the efficiency of your pool cleaning. Moreover, applying Kia Tuning principles to your setup can optimize the performance of your cleaner, ensuring it operates at peak efficiency over time.

Intex Hose Conversion Adapter B Kit (Pair) Replacement Part Model Number 25009
Pair of 2
As an affiliate, we earn on qualifying purchases.
As an affiliate, we earn on qualifying purchases.
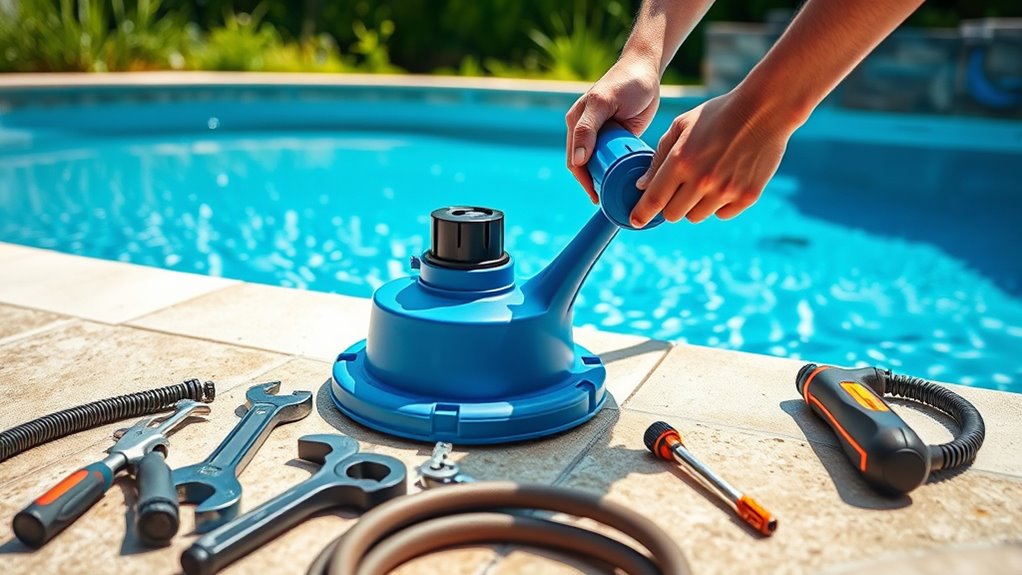
Installing the Booster Pump (If Required)
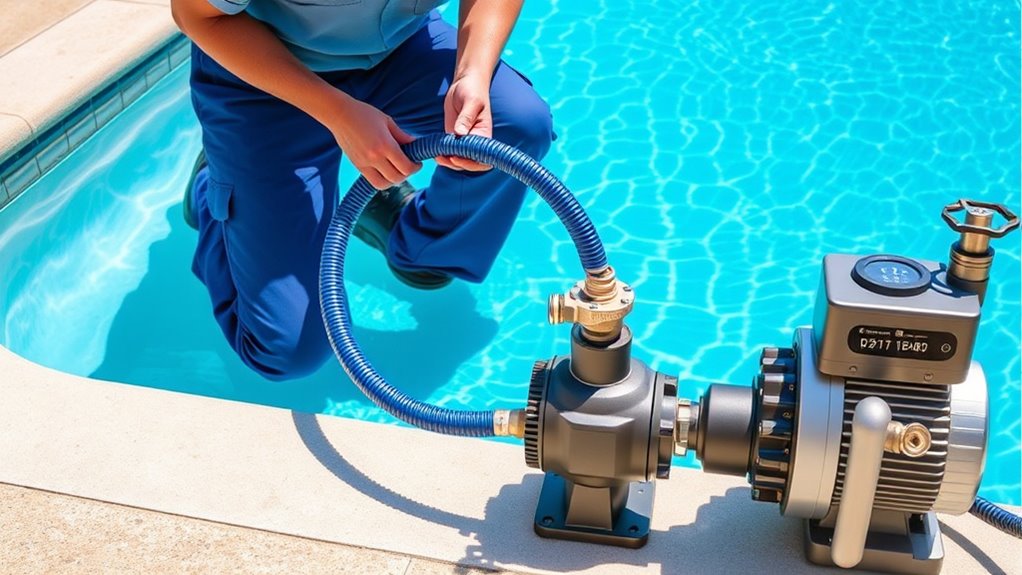
If your pool cleaner requires additional power for ideal operation, installing the booster pump is the next step. During booster pump installation, you’ll set up the pressure system to guarantee excellent cleaning. First, choose a suitable location close to the pool’s filtration system. Connect the pump to the dedicated outlet and ensure all fittings are tight. This setup enhances the pressure system setup, giving your cleaner the force it needs. Use the table below to compare key aspects of booster pump installation:
| Step | Equipment Needed | Important Tips |
|---|---|---|
| Mounting the Pump | Pump, mounting brackets | Secure firmly to reduce vibrations sound vibrations |
| Connecting Hoses | Hoses, clamps | Check for leaks |
| Power Supply | Electrical outlet, wiring | Follow manufacturer safety guidelines |
Proper booster pump installation ensures effective pressure delivery. Understanding sound vibrations can help optimize the performance of your pool equipment and maintenance routines. Additionally, consulting the installation instructions provided by the manufacturer can prevent common mistakes and ensure safety during setup.
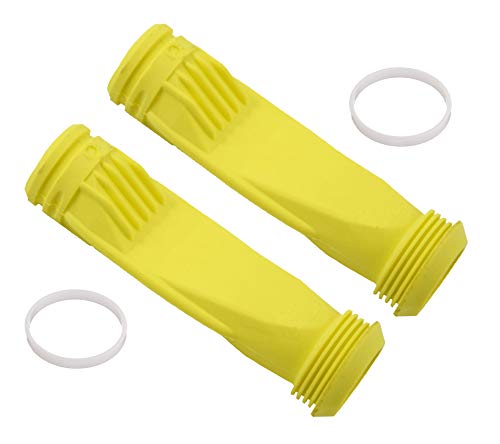
ATIE Pool Cleaner Long Life Diaphragm W69698 with Retaining Ring W81600 Replacement Compatible with Zodiac G3, G3 PRO, G4 Pool Cleaner Diaphragm W69698 (2 Pack)
Compatible with Zodiac G3, G3 PRO, G4 pool cleaners
As an affiliate, we earn on qualifying purchases.
As an affiliate, we earn on qualifying purchases.
Attaching the Hose and Positioning the Cleaner
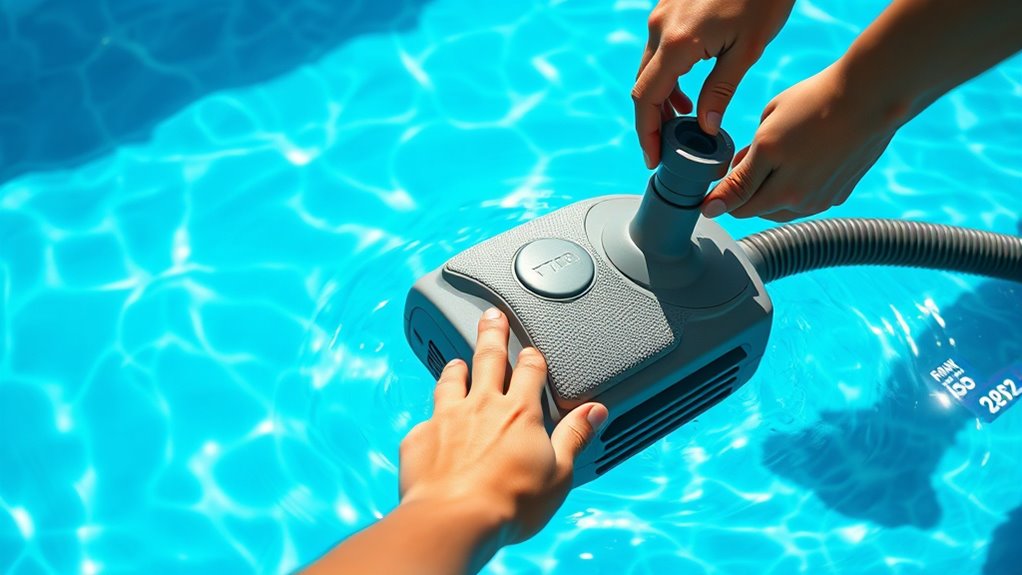
Attaching the hose and positioning the cleaner correctly are crucial steps to guarantee your pool cleaner works efficiently. First, confirm the hose length matches your pool’s size; too long or too short can hinder performance. Connect the hose sections securely, avoiding kinks or twists that could block water flow. Once assembled, attach the hose to the cleaner, making sure it fits tightly. To position the cleaner, place it in the pool with the hose floating freely, ensuring it’s not tangled or wrapped around ladders or skimmers. Proper cleaner positioning allows it to move smoothly across the pool surface, maximizing cleaning coverage. Adjust the hose if necessary, so the cleaner can reach all areas without getting stuck or hindered by obstructions. Regularly inspecting for proper hydration and ensuring the cleaner’s components are in good condition will help maintain optimal performance. Additionally, verifying the correct placement of the cleaner can prevent unnecessary strain on the hose and motor. Ensuring the cleaner’s water flow is unobstructed is essential for effective operation and longevity. Proper water flow regulation also helps to optimize cleaning efficiency and reduces wear on the equipment.
Testing the System and Final Adjustments
Before operating your pool cleaner, it’s vital to thoroughly test the system to guarantee everything functions correctly. Turn on the pump and observe the cleaner’s operation. Check for troubleshooting leaks around fittings, hoses, and connections—tighten any loose fittings as needed. Confirm the cleaner moves smoothly without hesitation or obstruction. Adjust the flow rate if the cleaner isn’t moving properly or if debris isn’t being collected efficiently. Increasing flow can improve coverage, while reducing it can prevent damage or excessive wear. Watch for consistent movement and proper suction. If issues persist, double-check hose connections and flow adjustments. Proper testing and final adjustments ensure your pressure-side cleaner operates efficiently, prolongs its lifespan, and keeps your pool spotless. Additionally, pressure-side cleaners are designed to optimize water flow for effective debris removal. It’s also important to consider water flow and system compatibility when making adjustments to maximize cleaning efficiency. Ensuring proper system compatibility can prevent potential malfunctions and improve overall performance. Regular inspection of the pool system components can help identify issues early and maintain optimal operation.
Frequently Asked Questions
How Often Should I Perform Maintenance on My Pressure-Side Cleaner?
You should perform maintenance on your pressure-side pool cleaner regularly to keep it running smoothly. Check the pool filter monthly and clean or replace it as needed to prevent debris buildup. Inspect the hose for wear or leaks and replace it if necessary, usually every season or when damage occurs. Regularly cleaning the cleaner and monitoring its parts will guarantee ideal performance and extend its lifespan.
Can I Use the Cleaner in an Above-Ground Pool?
You can use a pressure-side cleaner in an above-ground pool if it’s above-ground compatible. Check the manufacturer’s specifications, as above-ground compatibility varies. Pool size considerations are important; guarantee the cleaner’s flow rate matches your pool size for effective cleaning. Smaller pools might need less powerful cleaners, while larger pools could require more robust models. Always follow the instructions to avoid damaging your pool and guarantee the best cleaning performance.
What Are Common Signs of a Pressure-Side Cleaner Malfunction?
Think of your pressure-side cleaner as a trusted partner in your pool’s health. When it malfunctions, it’s like a car with a misfiring engine. Common signs include uneven cleaning, reduced suction, or strange noises. These issues can compromise pool safety and decrease energy efficiency. Regularly inspect hoses and fittings, and make certain of proper operation to keep your cleaner running smoothly, so your pool remains safe and pristine.
How Do I Troubleshoot Low Suction Issues?
If you’re facing low suction, start by checking the pool chemical balance, as improper levels can affect cleaner performance. Next, inspect for debris obstruction in the skimmer, pump basket, and hoses, which can block water flow. Clear out any debris, and ensure all connections are tight. Sometimes, low suction results from clogged filters or a dirty impeller, so clean or replace these components as needed to restore proper suction.
Is It Necessary to Store the Cleaner During Winter?
Winter storage warrants wise, well-planned seasonal maintenance for your pressure-side pool cleaner. You should absolutely store it during winter to prevent damage from freezing water and harsh weather. Proper winter storage keeps your cleaner clean, corrosion-free, and ready for use when swimming season starts. By dedicating time to seasonal maintenance, you prolong your cleaner’s lifespan and ensure smooth, simple start-up in the spring, saving you time and trouble later.
Conclusion
Once you’ve installed your pressure-side pool cleaner, think of it as tuning a fine instrument — each step aligning perfectly to produce harmony. I once watched a friend’s pool transform from murky to sparkling simply by following these steps. With patience and attention to detail, you’ll find your cleaner works smoothly, just like a well-played instrument. Before long, your pool will be pristine, and you’ll enjoy the invigorating clarity, like a symphony perfectly in tune.