
To make your room quieter, start by understanding how sound reflects and travels through surfaces. Identify noise sources like traffic or appliances and focus on sealing gaps around windows, doors, and outlets to block sound leaks. Use dense materials like drywall, mass-loaded vinyl, and acoustic panels, and consider adding insulation or decoupling walls to reduce impact noise. Proper installation and ongoing maintenance guarantee long-term silence—continue exploring for more effective soundproofing tips.
Key Takeaways
- Identify and target common sound leaks around doors, windows, and walls for effective sealing.
- Use dense, heavyweight materials like drywall or mass-loaded vinyl to block airborne noise.
- Install acoustic panels and foam to absorb sound reflections and reduce echo within the room.
- Seal gaps and cracks thoroughly to prevent sound from escaping or entering.
- Add insulation and resilient mounting systems to minimize impact and vibration noise transmission.

MAXTID Large Door Draft Stopper for Bottom of Doors 36” Under Door Sweep Noise Blocker Black Gap Stoppers Adjustable Doors Seal Sweep Guard Draft, Window Breeze Stoppers, Home Essentials Gadgets
- Large Foam Diameter: 2 inches for better coverage
- Effective Cold Air Block: Keeps warmth in during winter
- Noise and Light Reduction: Blocks out noise, light, and odors
As an affiliate, we earn on qualifying purchases.
As an affiliate, we earn on qualifying purchases.
Understanding How Sound Travels
Understanding how sound travels is essential to effective soundproofing. When sound waves move through a space, they can reflect off surfaces, causing sound wave reflection that amplifies noise or creates echoes. Recognizing this helps you identify where to add barriers or damping materials. Additionally, different sounds have varying frequencies, and knowing how those frequencies attenuate is vital. High-frequency sounds are easier to block, while low-frequency noises require more substantial solutions. By understanding these principles, you can design strategies that target specific sound behaviors, reducing unwanted noise. sound wave reflection impacts how noise propagates within a room, so addressing reflective surfaces can significantly improve soundproofing. Effective soundproofing depends on controlling both sound wave reflection and frequency attenuation, ultimately creating a quieter, more comfortable environment.
Identifying Common Noise Sources
Identifying common noise sources is a essential step in effective soundproofing because it allows you to target the most disruptive sounds in your space. Noise pollution can come from various origins, such as street traffic, loud neighbors, appliances, or even footsteps. By pinpointing these sources, you can better understand where sound escapes or enters your room. Pay attention to persistent sounds that bother you most, and note their timing and proximity. Recognizing these sources helps you develop a focused sound absorption strategy, which minimizes the impact of external noise. Knowing what causes the noise allows you to implement targeted measures, making your efforts more efficient and effective in creating a quieter, more comfortable environment. Additionally, understanding local divorce laws can be important if noise disputes involve legal considerations or neighbor conflicts.
Choosing the Right Soundproofing Materials
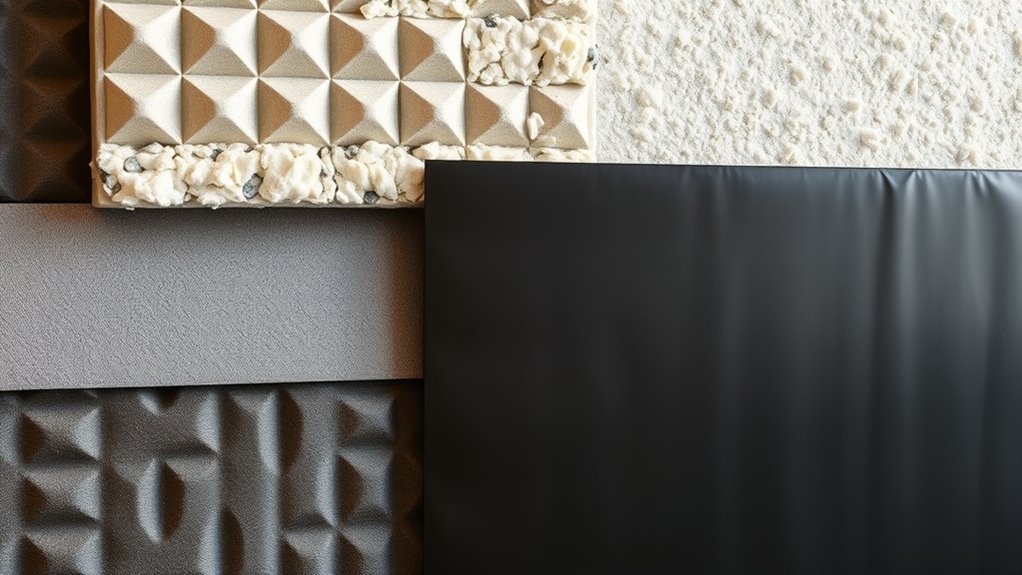
Choosing the right soundproofing materials is essential for effectively reducing noise in your space. Your goal is to select materials that absorb or block sound, depending on your needs. Acoustic treatment options include dense panels, mass-loaded vinyl, and foam insulation, each suited for different applications. For blocking sound transmission between rooms, consider heavy, dense materials like drywall or specialized barriers. If you want to dampen echo and improve sound quality indoors, acoustic panels and foam are effective. Think about the type of noise you’re dealing with—airborne or impact—and select materials accordingly. Proper selection guarantees you maximize your soundproofing efforts, creating a quieter, more comfortable environment. Always match your materials to your specific noise challenges for the best results. Additionally, understanding the Personality Traits of Covert Narcissists can help in identifying potential sources of disruptive noise or conflict in shared spaces.
Sealing Gaps and Cracks
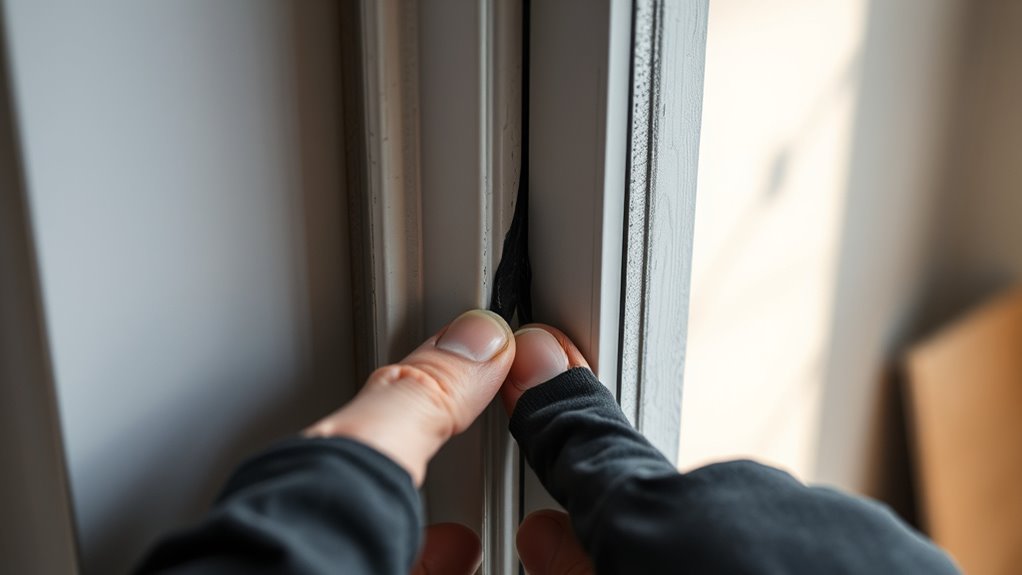
Start by identifying common gaps around windows, doors, and walls that let sound escape. Use sealants properly to close these openings, ensuring a tight barrier. Pay special attention to door frames, as they’re often overlooked but essential for effective soundproofing. Incorporating vertical storage solutions around the space can also help minimize clutter, which contributes to better sound absorption and a quieter environment.
Identify Common Gaps
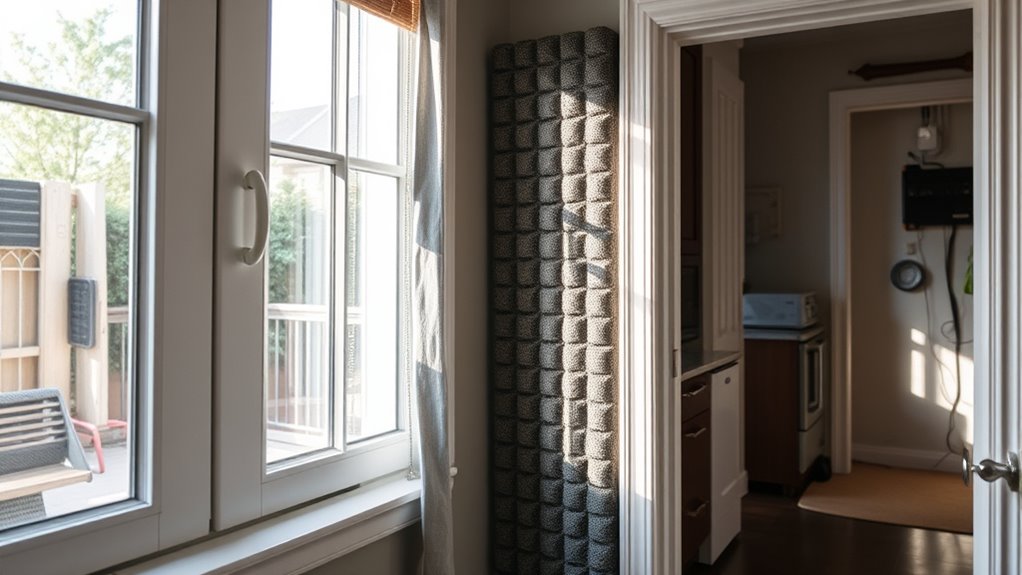
Many gaps and cracks around your home can silently undermine your soundproofing efforts, allowing sound to leak through unnoticed. To improve your results, start by identifying common problem areas, such as around windows, doors, electrical outlets, and baseboards. These gaps are often overlooked but can considerably affect soundproofing budgets, forcing you to spend more on solutions. Be aware of soundproofing regulations, which may specify minimum sealing standards for certain spaces. Use a flashlight and your hand to feel for drafts, and listen carefully for sound leaks. Mark these areas for sealing to ensure you’re targeting the most critical gaps. Recognizing where sound escapes helps you focus your efforts efficiently and avoid unnecessary expenses. Additionally, inspecting for Portable Camping Toilets and other outdoor gear can help ensure your home’s interior remains quiet even during outdoor activities.
Use Sealants Effectively
Are you making the most of your sealants to block sound leaks? Proper sealant application is key to crack sealing effectively. First, clean the surface thoroughly before applying; dust and debris reduce adhesion. Use a caulk gun to fill gaps completely, ensuring no air escapes. Smooth the sealant with a putty knife for a tight seal. Pay close attention to corners and joints, where sound often leaks through. Here’s a quick guide:
| Step | Tip | Result |
|---|---|---|
| 1 | Clean surface | Better adhesion |
| 2 | Apply evenly | Complete crack sealing |
| 3 | Smooth with tool | No gaps remain |
| 4 | Check for gaps | Prevent sound leaks |
| 5 | Allow to cure | Long-lasting seal |
Effective crack sealing with proper sealant application helps create a quieter, more soundproofed room. Additionally, understanding material properties can improve your sealing results and durability.
Focus on Door Frames
Wondering how to stop sound from sneaking through door frames? The key is door frame modifications combined with effective frame sealing techniques. Start by inspecting your door frame for gaps or cracks; these are common sound leaks. You can seal these gaps with weatherstripping or acoustic sealant to create a tight barrier. For larger spaces, consider adding door sweeps or adjusting the frame itself to fit snugly. Frame sealing techniques may also include installing acoustic caulk around the perimeter of the frame or using gasket tape for an extra seal. These simple modifications substantially reduce sound transmission and improve overall room quietness. Remember, sealing gaps at the door frame is a quick, cost-effective way to enhance your room’s soundproofing.
Installing Soundproof Doors and Windows
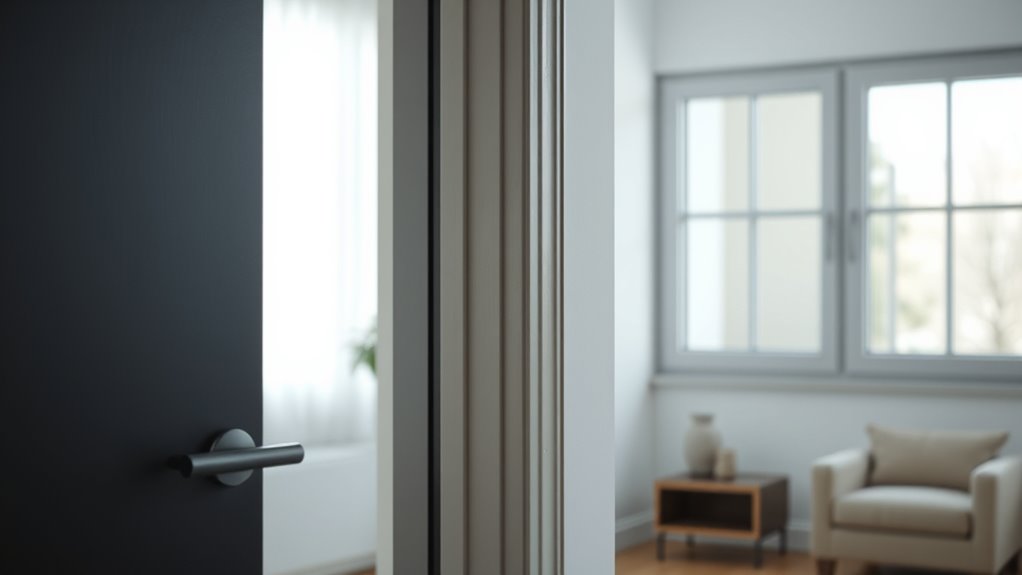
Installing soundproof doors and windows is a crucial step in reducing noise transmission, and proper installation guarantees they perform effectively. Start by reinforcing the door frame to confirm it provides a solid, airtight seal, preventing sound leaks. When choosing windows, consider the available glazing options; double or triple glazing considerably enhances soundproofing compared to single-pane designs. Make sure the door fits snugly within its frame, with weatherstripping applied to block gaps. For windows, opt for laminated glass or acoustic seals that minimize vibrations and airborne sound. Proper installation involves precise alignment and sealing to prevent sound leaks around edges. Taking these steps ensures your soundproof doors and windows deliver maximum noise reduction, creating a quieter, more comfortable space. Additionally, conducting an inspection of materials can help identify potential weak points in the soundproofing setup.
Using Mass-Loaded Vinyl and Acoustic Panels

Mass-loaded vinyl is a powerful tool that adds mass to walls, reducing sound transmission effectively. You should consider where to place acoustic panels for maximum impact, such as on walls facing noisy spaces or shared walls. Properly using these materials can make a noticeable difference in creating a quieter environment. For optimal results, combining soundproofing techniques can further enhance noise reduction efforts.
Mass-Loaded Vinyl Benefits
Combining mass-loaded vinyl with acoustic panels creates a powerful barrier against noise, making your space substantially quieter. Mass-loaded vinyl, or MLV, is highly effective at blocking sound due to its density, and when paired with acoustic panels, it enhances overall soundproofing. Many soundproofing myths suggest that expensive materials are the only way to achieve peace and quiet, but MLV proves otherwise—it’s affordable and versatile. Vinyl installation tips include ensuring a snug fit and avoiding gaps that can reduce effectiveness. Using MLV on walls or ceilings adds mass without taking up much space, boosting soundproofing performance. Proper installation techniques are crucial for maximizing MLV’s effectiveness, including sealing edges and overlaps to prevent sound leaks. Together with acoustic panels, MLV offers a practical, efficient solution for quieter rooms, especially when you understand its benefits and proper installation techniques.
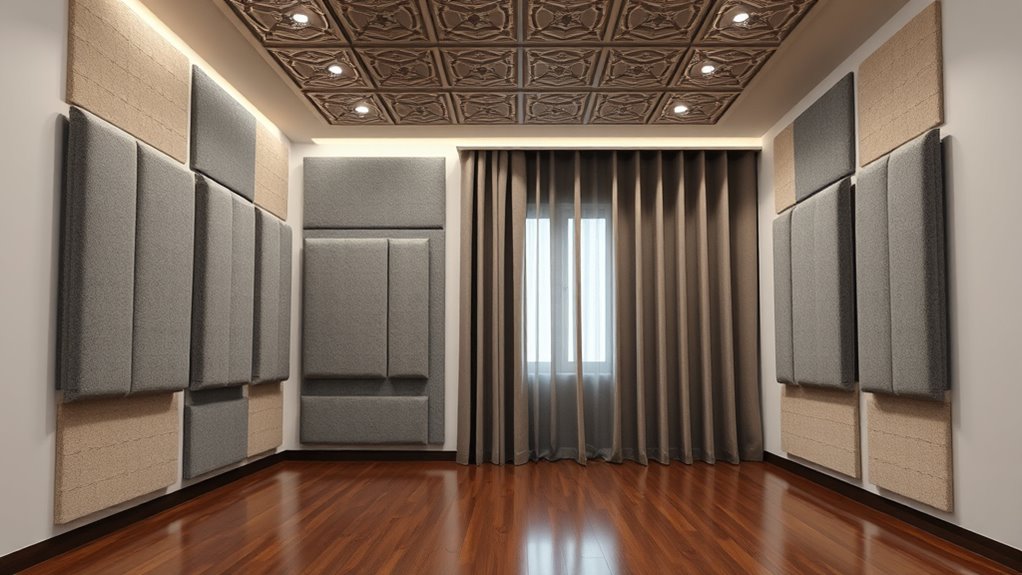
Acoustic Panel Placement
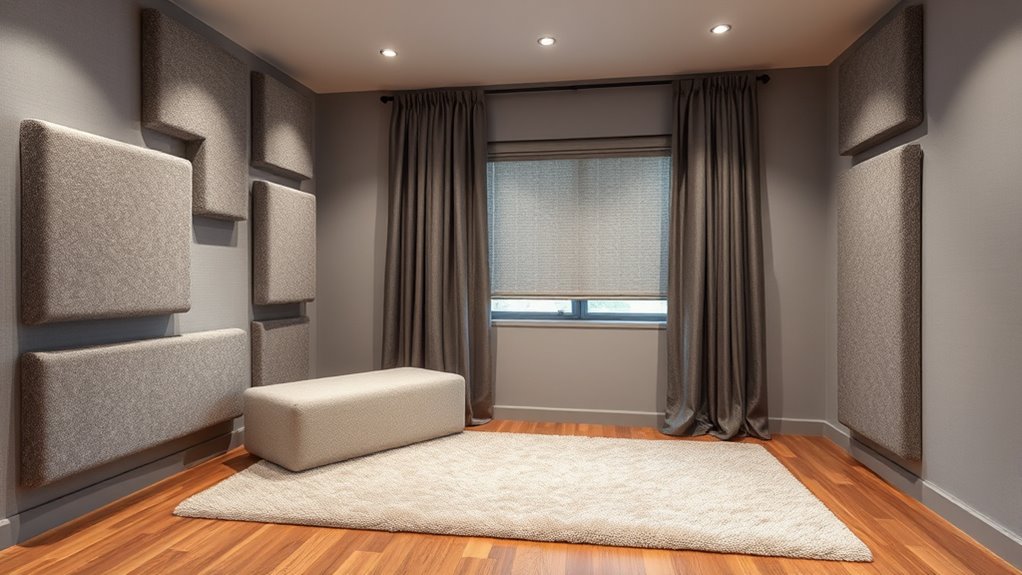
Wondering how to get the most out of your soundproofing efforts? Proper acoustic panel placement is key. Position panels on walls where sound reflections are strongest, typically opposite sound sources. Use mass-loaded vinyl behind or beneath panels to enhance sound absorption and block noise transmission. Incorporate decorative accents—such as stylish acoustic panels—that blend seamlessly with your room’s decor. Strategically placing panels not only improves sound absorption but also reduces echo and reverberation, creating a quieter space. Remember, uneven placement can diminish effectiveness, so aim for symmetry and balance. Combining mass-loaded vinyl with well-placed acoustic panels maximizes your soundproofing results, making your room more peaceful and comfortable. Understanding sound reflections helps optimize placement for better acoustic treatment. Thoughtful placement transforms functional soundproofing into a stylish, effective solution.
Adding Insulation to Walls and Ceilings
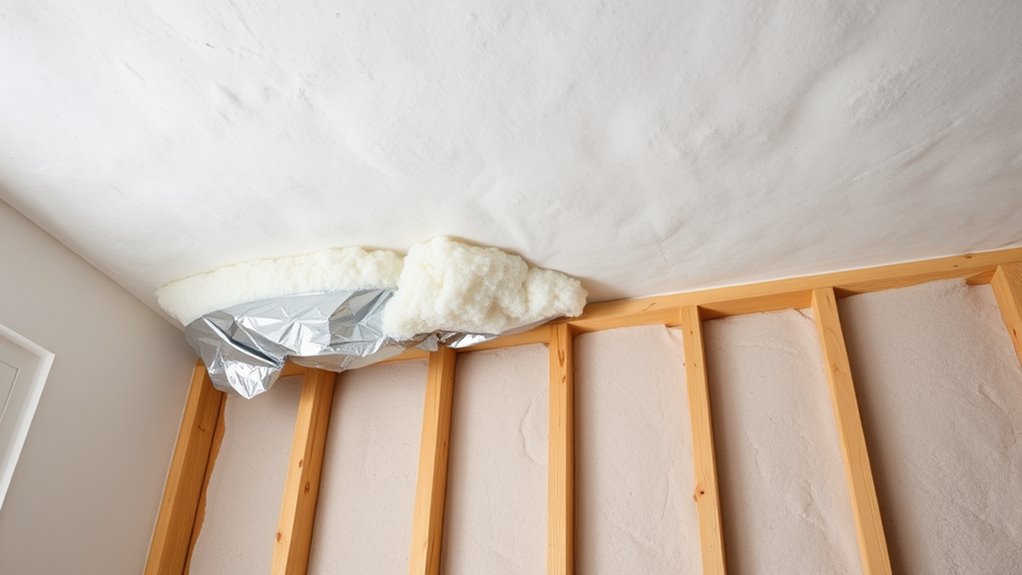
Adding insulation to your walls and ceilings is one of the most effective ways to reduce noise transmission between rooms. You have several insulation types to consider, such as fiberglass, mineral wool, and spray foam, each offering different soundproofing benefits. Proper installation techniques are essential; for example, fitting insulation snugly between studs without gaps prevents sound leaks. When installing, verify that materials are securely placed and sealed at edges to maximize sound absorption. Avoid compressed insulation, which diminishes effectiveness. Using the right insulation type combined with meticulous installation can considerably dampen airborne noise and improve overall room acoustics. This simple upgrade makes a noticeable difference in creating quieter, more private spaces.
Creating Decoupled Wall Structures

Creating decoupled wall structures is a highly effective way to minimize sound transmission between rooms. By using resilient wall systems, you create a separation that absorbs and reduces vibrations. One popular method is floating wall techniques, where the drywall is isolated from the studs with resilient clips or sound-isolating pads. This approach prevents sound vibrations from traveling directly through the wall framework. You can also add staggered or double stud walls, which further disrupt sound paths. These techniques help break the mechanical connection that transmits noise, resulting in quieter spaces. Implementing resilient wall systems with floating wall techniques requires careful planning but considerably boosts soundproofing performance. With these methods, you create a more peaceful, sound-controlled environment inside your rooms.
Managing Floor and Ceiling Noise

Managing floor and ceiling noise is essential for maintaining a quiet and comfortable space, especially in multi-story buildings. You can reduce noise transmission by addressing floor vibrations and ceiling impact directly. To minimize disturbances, consider these strategies:
- Install acoustic underlayments beneath flooring to dampen vibrations
- Use resilient channels to decouple ceilings from joists
- Add mass-loaded vinyl or drywall layers for sound absorption
- Seal gaps and cracks around electrical outlets and fixtures
- Choose soft flooring materials like carpets or rugs to absorb impact noise
These steps help prevent noise from traveling between floors and reduce the impact sounds that cause discomfort. By managing these elements effectively, you ensure a quieter environment and enhance overall soundproofing performance.
Tips for Maintaining a Quiet Environment

Once you’ve taken steps to reduce noise transmission between floors, maintaining a consistently quiet environment becomes easier. To do this, stay aware of common soundproofing myths that might lead you to ineffective solutions. Focus on improving room acoustics by adding soft furnishings, rugs, or acoustic panels to absorb sound rather than relying solely on heavy barriers. Regularly check for new noise leaks, like gaps under doors or around windows, and seal them promptly. Keep your space organized to prevent clutter, which can echo sound. Remember, creating a truly quiet room isn’t just about adding soundproofing materials; it’s about optimizing your room’s acoustics and addressing potential weak points consistently. This proactive approach ensures your environment remains peaceful over time.
Frequently Asked Questions
How Long Does Soundproofing Typically Take to Show Results?
Usually, you’ll see the effectiveness delay within a few days to a week after installation. The installation timeline varies depending on the soundproofing methods you choose, like adding insulation or sealing gaps. Keep in mind that full results might take up to two weeks, especially if you’re using mass-loaded vinyl or acoustic panels. Patience is key, as the soundproofing gradually reduces noise over time.
Can DIY Soundproofing Methods Be as Effective as Professional Installation?
Did you know that DIY soundproofing can reduce noise by up to 50%, but professional installation often achieves 80% or more? While DIY methods can be quite effective for minor noise issues, a professional comparison shows they might not block sound as thoroughly, especially in complex spaces. Your success depends on proper materials and techniques, but for best results, consulting a pro guarantees maximum noise reduction.
What Are the Most Cost-Effective Soundproofing Solutions for Small Budgets?
You can achieve budget-friendly solutions with DIY soundproofing by using inexpensive materials like weatherstripping, draft stoppers, and heavy curtains. Seal gaps around doors and windows to block noise effectively. Using furniture and rugs can also absorb sound. These DIY soundproofing methods are affordable and can substantially reduce noise, making your space quieter without breaking the bank. Focus on sealing and adding soft materials for the best results.
How Does Furniture Placement Affect Room Acoustics and Noise Levels?
Furniture arrangement considerably impacts room acoustics and noise levels. You can reduce echo and absorb sound by placing soft furniture like sofas, rugs, and curtains strategically. Positioning bookshelves and large furniture against shared walls helps block noise transmission, creating an acoustic impact that muffles sounds. Experiment with arranging furniture to break up sound waves, making your room quieter and more comfortable. Proper furniture placement is a simple way to improve acoustics without expensive soundproofing.
Are There Any Maintenance Tips to Ensure Long-Term Soundproofing Performance?
Did you know that proper maintenance can extend soundproofing effectiveness by up to 30%? To make certain long-term performance, regularly inspect panels for damage and seal gaps where sound leaks occur. Keep the area clean and check seals around windows and doors, replacing any worn or damaged materials promptly. Consistent upkeep prevents deterioration, maintaining a quieter space and maximizing your soundproofing investment over time.
Conclusion
Now that you understand how sound travels and the steps to block it, creating a quieter space is within your reach. While sealing gaps and adding insulation are practical fixes, embracing decoupled walls can transform your room into a haven of silence. Remember, noise isn’t just about sound waves—it’s about comfort and peace. With these techniques, you’ll enjoy serenity amidst the chaos, turning a noisy environment into a tranquil retreat, all by taking proactive, simple steps.