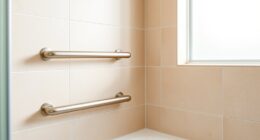

To install grab bars and safety rails, choose locations near high-risk areas like toilets or showers, making certain they’re mounted into wall studs for stability. Measure carefully at the recommended height, usually 33-36 inches from the floor, and mark drill points aligned with studs. Use a level to confirm proper positioning, drill pilot holes, and secure the bars with appropriate hardware or wall anchors if studs aren’t available. Finish by sealing edges and testing for stability to guarantee safety—if you want detailed steps, keep going.
Key Takeaways
- Locate wall studs using a stud finder and mark mounting points at 33-36 inches from the floor for optimal safety.
- Use a level to ensure precise horizontal or vertical alignment before drilling to prevent misplacement.
- Drill pilot holes into studs or use appropriate wall anchors rated for at least 250 pounds for secure mounting.
- Attach the grab bar firmly, then cover screws with matching plates and seal edges with waterproof caulk for durability.
- Test the installed grab bar by applying force to verify it supports at least 250 pounds before regular use.
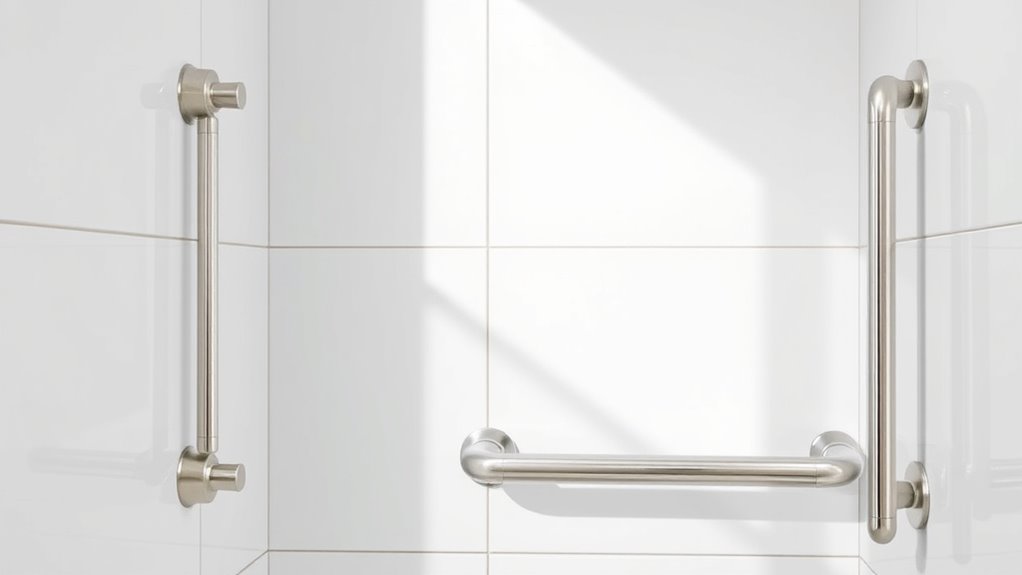
Choosing the Best Location for Your Grab Bars

To guarantee your grab bars provide maximum safety, it’s essential to select their placement carefully. Start by choosing a location that offers support near high-risk areas like toilets, showers, or tub walls. Use a stud finder to locate wall studs behind the installation surface, ensuring a secure mounting point. Properly positioning the grab bars at accessible height, typically 33-36 inches from the floor, makes them easier to reach and grip without stretching or straining. Avoid installing on surfaces that flex or are made of acrylic, as they don’t support weight reliably. The support from wall studs ensures a sturdy installation, providing confidence that the grab bars will withstand daily use. Ensuring the correct contrast ratio of your installation area helps improve visibility and safety, especially in dimly lit environments. Additionally, considering ergonomic design can enhance comfort and usability, making the grab bars even more effective. Thoughtful placement enhances safety and usability, reducing fall risks effectively. Incorporating climate control considerations, such as proper insulation and temperature regulation, can help maintain a comfortable environment around the safety features, further supporting user safety and comfort. Recognizing the importance of wall integrity can prevent installation failures and promote long-term safety. Furthermore, selecting appropriate materials that resist corrosion and deterioration can extend the lifespan of your grab bars and maintain safety standards over time.
Preparing the Wall Surface and Measuring for Placement
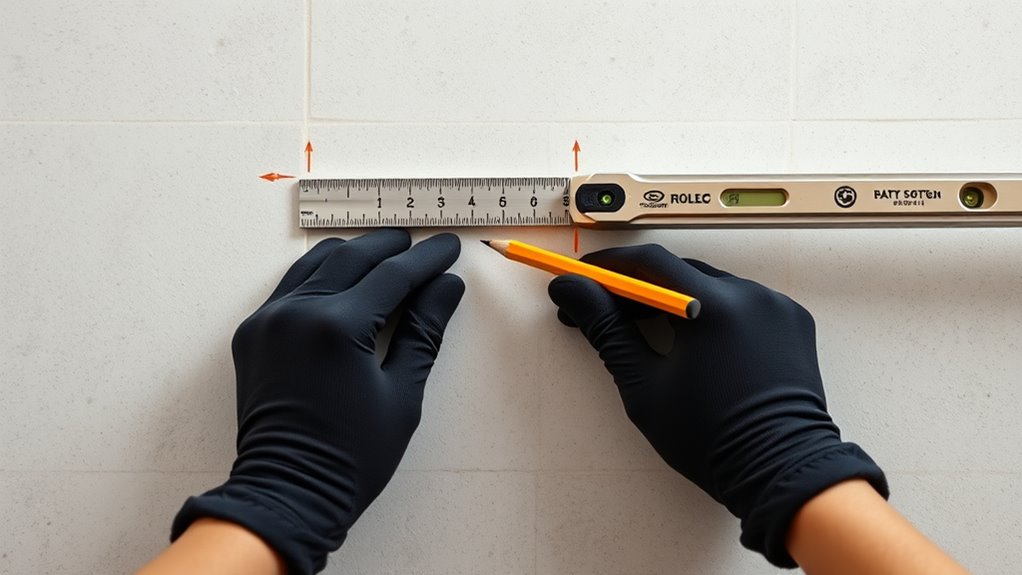
Before installing your grab bars, you need to prepare the wall surface and accurately measure for placement. Proper measuring and marking ensure stability and safety.
Use a stud finder to locate wall studs, which are typically spaced 16 or 24 inches apart, for secure mounting. Mark the desired height, usually 33 to 36 inches from the floor, with a pencil and a level to ensure accuracy.
Measure the length of the grab bar and mark the mounting hole locations, aligning them with studs whenever possible. If no studs are available, plan to use appropriate wall anchors for support.
Double-check all measurements and markings before you drill to prevent misalignment and ensure precise placement. Proper preparation makes installation safer and more effective.
Removing Existing Escutcheons and Preparing for Installation

Start by gently prying or tapping the escutcheon with a flat-head screwdriver to loosen it without damage. Make sure the wall behind is clear of debris so you can properly install the new hardware. Ensuring a secure and supportive father-daughter bond can also help in maintaining safety and confidence during bathroom upgrades. Once removed, check the wall’s condition to ensure it’s suitable for mounting your grab bar. Additionally, inspecting the wall for structural integrity helps prevent future issues with installation. Incorporating data privacy challenges considerations during planning can also ensure compliance with safety standards. Using the appropriate tools and techniques ensures your self-watering plant pots remain secure and durable over time. Being aware of headphone compatibility can be useful if you plan to listen to audio instructions or tutorials during the installation process.
Escutcheon Removal Techniques
Gently prying or tapping the escutcheon away from the wall is essential to avoid damaging the surrounding surfaces during removal. Use a flat-head screwdriver or a plastic pry tool to carefully lift or detach the escutcheon from its mounting plate. A careful approach ensures the integrity of the wall and the fixture, especially when considering property transformation into a retreat or wellness space. Follow manufacturer instructions to prevent damage during removal. Keep these tips in mind:
- Pry slowly to avoid damaging the wall or the escutcheon
- Check behind for debris, grout, or obstructions
- Clear debris to ensure proper reattachment
- Use gentle taps if needed to loosen stubborn mounting
- Reattach the escutcheon firmly, ensuring it snaps into place for a water-resistant finish
- Remember that proper removal and reinstallation can also facilitate the application of glycolic acid products for skin exfoliation, which can improve skin texture around fixtures and enhance overall bathroom aesthetics. Proper handling of fixtures is also important to prevent damage to surrounding surfaces during the removal process. Additionally, inspecting the wall for wear and tear prior to reinstallation can help maintain long-term fixture stability. Being aware of residency requirements and legal considerations can ensure a smooth installation process, especially if the project involves significant property modifications.
Ensuring Wall Compatibility
To guarantee a secure and lasting grab bar installation, you need to verify that the wall behind the existing escutcheon is suitable for mounting. Check wall compatibility by locating the studs behind the wall using a stud finder. A solid mounting surface, such as a wall stud, is essential for proper installation and wall support. If the escutcheon is sealed with caulk, carefully remove it without damaging the wall surface or tiles. Once exposed, ensure there are no obstructions or debris behind the wall that could interfere with anchoring devices. Secure attachment depends on anchoring the grab bar directly into a stud or using appropriate wall anchors designed for drywall or tile. Confirming wall support ensures your grab bar will be safe and effective, especially considering that wall support is crucial for safety in bathroom modifications. Additionally, inspecting for any existing damage or deterioration behind the wall can prevent future issues with the installation.
Drilling Pilot Holes and Securing Into Wall Studs

Before drilling, locate the wall studs with a stud finder and mark their centers at the chosen height for your grab bar. Properly drilling pilot holes is essential for a secure installation into wall studs. Here’s what to do: – Use a drill with a bit slightly smaller than your mounting screws. – Drill straight into the center of each marked stud. – Make sure the pilot holes are clean and free of debris. – Drive the screws into the pilot holes until snug, ensuring a firm hold. – Test the grab bar’s stability by applying downward pressure before use. Ensuring a firm hold is crucial for safety and long-term durability. Additionally, verifying the wall integrity helps prevent possible damage and ensures a safe, secure installation. Checking the wall material strength can further confirm that the wall can support the weight and stress placed on the grab bars over time. Incorporating proper installation techniques can also help maximize safety and stability during use. Being aware of security measures can also help prevent damage during installation and protect your home from potential security threats.
Using Wall Anchors When Studs Are Not Available

When wall studs are unavailable for securing your grab bar, wall anchors provide a reliable alternative. Using wall anchors like toggle bolts or plastic expansion anchors guarantees secure support for safety rails.
During installation, drill appropriately sized holes—usually 1/2-inch for toggle bolts—and insert the anchors before attaching the grab bar flange.
Select anchors rated for at least 250 pounds to match the weight capacity of standard grab bars, ensuring safety and stability.
Make sure the anchors are installed perpendicular to the wall surface and fully expanded or secured to prevent loosening over time.
After installation, verify the grab bar’s stability by applying force to confirm it’s firmly anchored without wobbling, guaranteeing reliable grab bar support when needed.
Attaching the Grab Bar and Ensuring Proper Alignment

Ensuring proper attachment of the grab bar starts with confirming it’s aligned correctly before drilling. Use a level to check that the bar is perfectly horizontal or vertical, guaranteeing proper alignment. Mark the drill holes precisely at the chosen mounting height, typically 33-36 inches from the floor. Proper installation techniques are crucial to ensure safety and durability. When doing the grab bar installation, verify whether wall studs are available; if so, secure directly into them. If not, use appropriate wall anchors for a secure attachment. Choose the correct drill bit size to avoid damaging tiles or drywall. Additionally, selecting the right materials for mounting hardware can significantly impact the stability and longevity of the grab bar. Employing high-quality hardware ensures the grab bar withstands regular use and weight. Consider the type of wall when choosing mounting methods, as different surfaces require specific approaches. Apply steady pressure when drilling and double-check the alignment before fastening. After installation, test the grab bar’s stability by applying force to ensure it’s securely mounted and ready for use.
Finishing the Installation With Cover Plates and Sealing

Once you’ve securely mounted the grab bar, the next step is to finish the installation by adding cover plates and sealing.
Slide the cover plates over the mounting flange to hide screws and create a neat, professional look. Make sure they’re properly aligned and snap into place securely.
To prevent water damage, apply a small bead of waterproof, mold-resistant caulk around the edges of each cover plate, sealing gaps and blocking moisture from entering behind the wall. Use a high-quality, moisture-resistant silicone caulk to enhance durability.
Before testing the grab bar’s stability, double-check that all components are tightly fitted and sealed. This final step ensures a clean, moisture-resistant finish that maintains the grab bar’s safety and longevity.
Testing Stability and Ensuring Safety After Installation
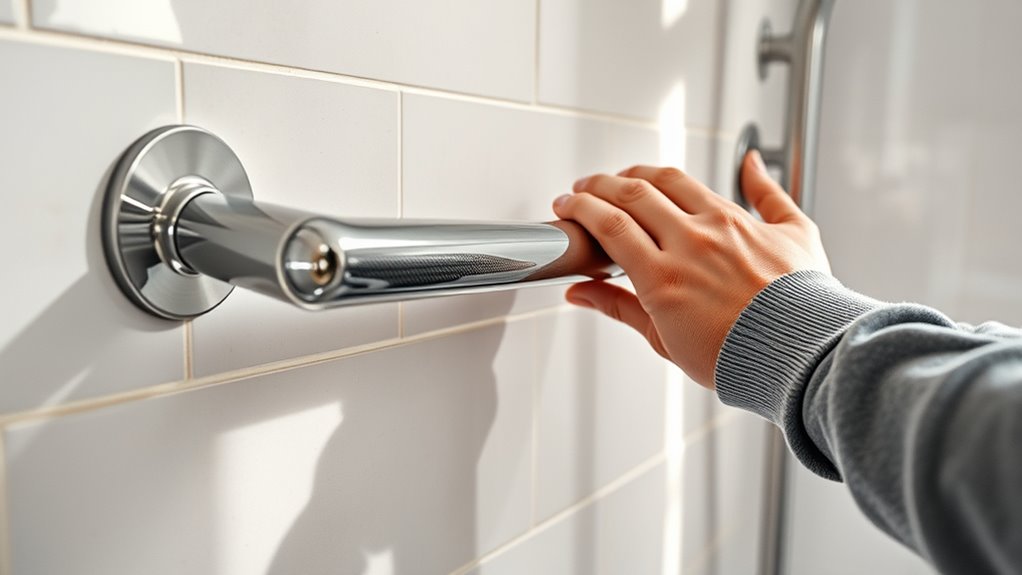
Once you’ve installed the grab bar, give it a firm test by applying steady pressure to verify it supports at least 250 pounds without any movement.
Regularly check all fasteners and screws to keep them tight, especially after initial use or if the wall shifts.
Conduct periodic stability tests by leaning against the bar and inspecting the surrounding wall for damage to keep safety guaranteed.
Verify Secure Mounting
After installing a grab bar, it’s vital to verify that it’s securely mounted to prevent accidents. Perform a thorough stability check by applying steady downward and lateral pressure to ensure the grab bar can support at least 250 pounds safely.
Check the mounting points for any movement or looseness. Make sure all fasteners are tight, and tighten loose screws or wall anchors as needed. Use a drill bit to confirm proper installation into studs or solid wall material.
Test the support capacity with a weight comparable to the maximum expected load before regular use. Regularly re-evaluate the grab bar’s stability, especially after cleaning or if the wall shows signs of wear. Maintaining secure mounting is essential for safety.
Perform Load Testing
How can you guarantee that a grab bar remains secure and safe for daily use? Perform load testing by applying steady downward and lateral force to ensure it can support at least 250 pounds without loosening. Use a bathroom scale or weight to gradually increase pressure, mimicking typical user support.
Conduct a dynamic load test by simulating movements like pulling or hanging, checking that the grab bar stays securely attached. Carefully inspect all fasteners and mounting hardware for signs of looseness, movement, or damage during testing.
This process confirms the stability of the grab bar and verifies that it provides reliable safety. Regularly re-test at least semi-annually to maintain confidence in its support, ensuring ongoing safety for users.
Frequently Asked Questions
Do Grab Bars Need to Be Installed in Studs?
You wonder if grab bars need to be installed in studs. To guarantee maximum safety and support, you should anchor grab bars into wall studs whenever possible.
Studs provide the strength needed to support at least 250 pounds, making the grab bars reliable during use. If studs aren’t available, use heavy-duty wall anchors rated for load-bearing to secure the grab bars safely and prevent accidents.
What Are Two Requirements When Installing Grab Rails in a Bathroom?
Imagine feeling confident and secure each time you step into your bathroom. To make that happen, you need two key things when installing grab rails.
First, guarantee they’re anchored into wall studs or strong wall anchors that can handle weight.
Second, position them between 33 and 36 inches above the floor, so they’re within easy reach and provide ideal safety.
These steps help protect you and promote independence.
What Is Required Structurally Where Grab Bars Are Installed?
When you install grab bars, you need a solid structural backing to support them. Make sure they’re anchored into wall studs or reinforced with suitable wall anchors rated for at least 250 pounds.
The wall behind the grab bar must be strong enough to handle the load without bending or cracking. Avoid mounting into drywall or tile alone; proper support is essential for safety and durability.
Does Medicare Pay for Installation of Grab Bars?
Ever wonder if Medicare covers installing grab bars? The answer isn’t straightforward. Usually, Medicare doesn’t pay for installation unless a healthcare provider prescribes the grab bars for a specific medical condition.
Even then, coverage is limited. You might find some help through Medicare Advantage plans, but it varies. To be sure, talk to your provider and review your plan’s details—coverage isn’t automatic, so check before proceeding.
Conclusion
Once you’ve installed your grab bars securely, remember that safety comes first—measure twice, cut once. Regularly check the stability to guarantee they stay strong where they belong. By taking your time and following each step carefully, you’ll create a safer space for yourself or loved ones. As the saying goes, “A stitch in time saves nine,” so don’t rush—proper installation now means peace of mind later.