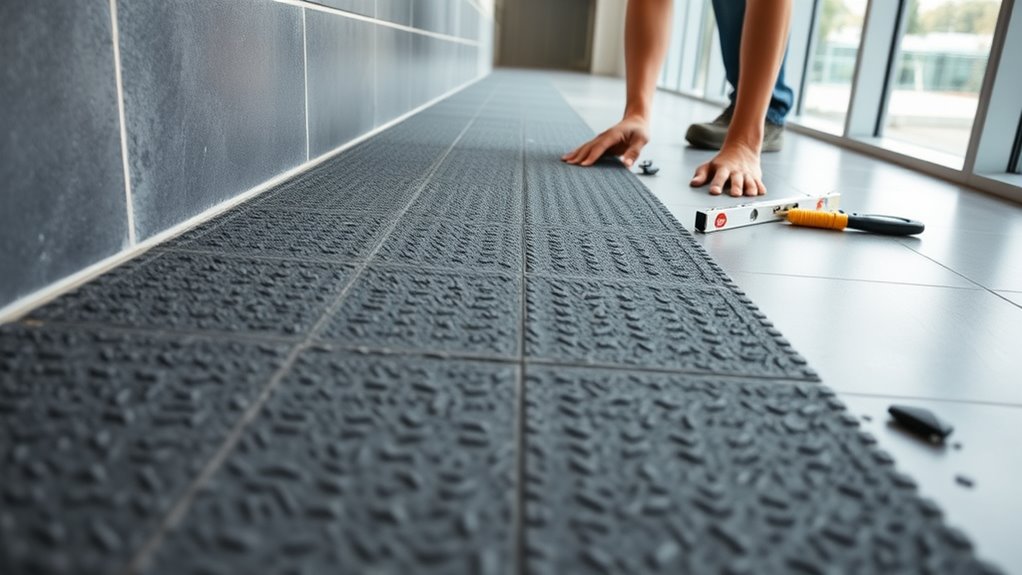
To install non-slip flooring effectively, start by thoroughly cleaning and preparing the surface to guarantee proper adhesion. Use a reliable patterning method, like marking and cutting foam or rubber sheets with precision, and secure them with weights to prevent wrinkles. Apply adhesive evenly, pressing the flooring firmly in place, and follow temperature guidelines for ideal bonding. For best results, keep a close eye on adjustments and ensure proper curing. If you keep going, you’ll find detailed tips to achieve a flawless finish.
Key Takeaways
- Thoroughly clean and dry the surface, then apply isopropyl alcohol to ensure optimal adhesion.
- Use anti-skid fiberglass or textured backing as a guide for accurate layout and cutting.
- Secure pattern materials with weights, and mark precise cut lines with a Sharpie before cutting.
- Apply adhesive evenly, pressing foam firmly into place and using rollers or weights for consistent bonding.
- Remove wrinkles or bubbles by reapplying or smoothing from the center outward, and allow adhesive to cure fully.
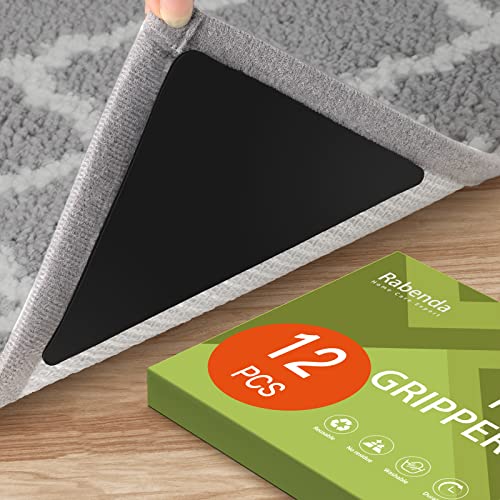
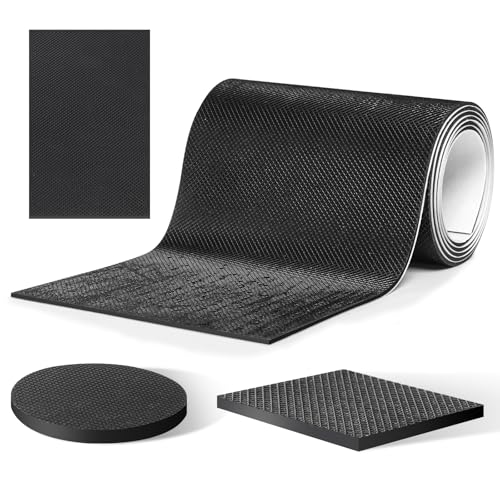
Rabenda 12 Pcs Rug Tape, Non Slip Rug Pads Grippers for Hardwood Floors and Tiles, Reusable Carpet Tape for Area Rugs, Double-Sided Adhesive Rug Stickers Keep Corners Flat (Black)
Advantaged Triangle Design: The Triangle Design grippers for area rugs and hardwood floors will maximum increase the contact…
As an affiliate, we earn on qualifying purchases.
As an affiliate, we earn on qualifying purchases.
Preparing the Surface for Installation
To guarantee a secure and durable flooring installation, start by thoroughly cleaning the surface with mild soap and water, then rinse and wipe it down with isopropyl alcohol to remove dirt, grease, and debris. A clean surface ensures better adhesion and stability. Additionally, consider reviewing cookie management options if you are accessing online resources for your project to maintain privacy and control over your browsing experience. Next, use an anti-skid fiberglass surface as a guide to accurately mark the layout, helping you create a consistent pattern. Apply strapping tape and double-sided seamstick tape to the surface to form a stable base for patterning. Secure the Durascrim pattern material with weights to prevent shifting during tracing and cutting. Proper surface preparation is essential for heat pump efficiency and longevity. Incorporating toilet flush mechanisms during installation can help prevent future moisture issues. Ensuring the surface is free of dust and residues improves adhesion and overall stability. Finally, mark the perimeter and orientation of the pattern with a sharpie, which will make cutting and placement more precise later. This preparation guarantees a secure pattern and a solid foundation for your flooring project.
CHUNZEXI Non Slip Furniture Pads, Self Adhesive Rubber Pads with Anti Skid Stickers, Cuttable Rubber Sheet for Furniture and Appliances (4” × 40”)
Made of durable rubber with strong adhesive backing, these non slip pads stay firmly in place for long-lasting…
As an affiliate, we earn on qualifying purchases.
As an affiliate, we earn on qualifying purchases.
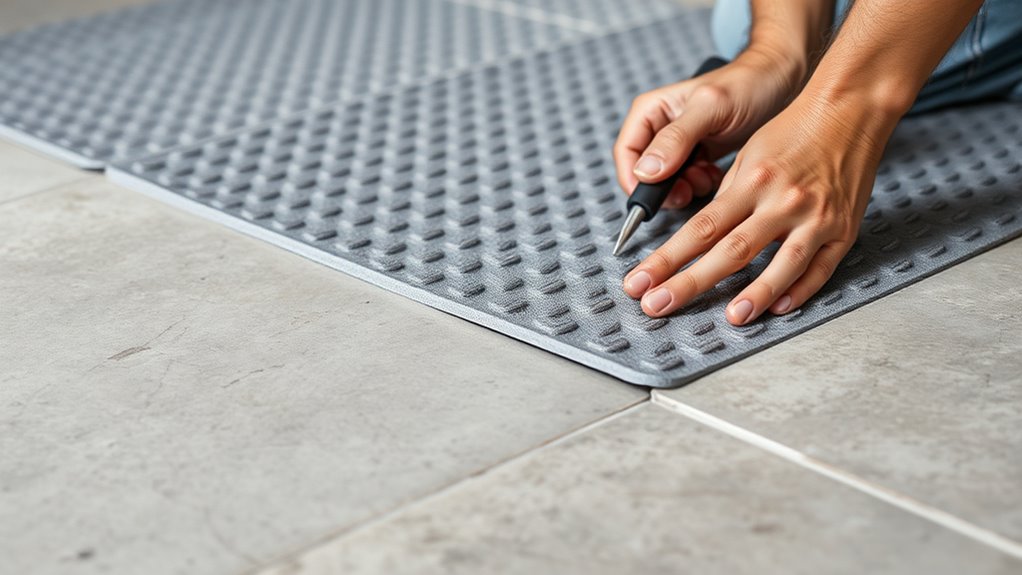
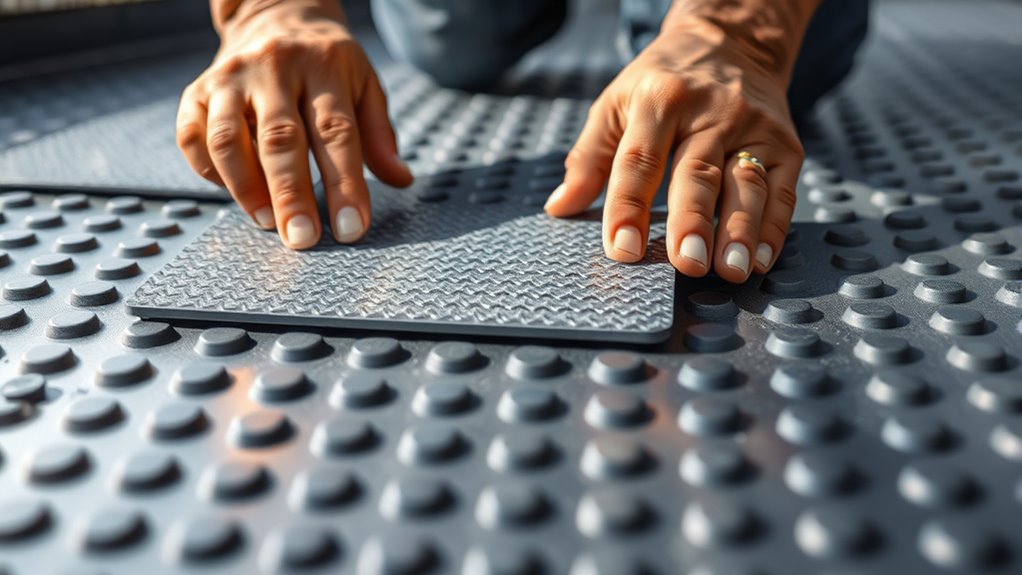
Patterning and Securing the Foam Material

Once the surface is prepared and marked, position the Durascrim pattern material carefully over the area, guaranteeing it aligns with your markings. To give us a smooth application, follow these steps: 1. Use weights to secure the foam, preventing wrinkles and bubbles during patterning, especially if the temperature is around 70-75 degrees Fahrenheit, which makes it easy to install. 2. Mark the perimeter and orientation with a Sharpie for precise cutting and placement. 3. Gently remove the transfer paper in segments to avoid distortion or wrinkles. 4. Trim excess material from the edges to prevent wind disturbance and ensure a clean fit. Having two people helps lay the pattern flat and maintain proper alignment, making the process easier and more accurate. Proper surface preparation is essential to ensure the non-slip flooring adheres correctly and remains durable over time, especially when considering the shelf life of adhesives and materials used. Additionally, understanding the adhesion properties of the materials can help in achieving a longer-lasting installation. Knowing the material compatibility can also improve the overall bond strength and prevent future issues, similar to how electric bikes maintain performance through proper maintenance and care.

NAACOO Laminate/Vinyl Flooring Tools, Tapping Block for Vinyl Plank Flooring-Double Sided with Notches,10In Contour Gauge, Pull Bar, 40Pcs Floor Spacers,Rubber Mallet. Universal Floor Installation kit
🏆【NAACOO UNIVERSAL FLOOR KIT】 5 IN 1 Portable KIT–Tapping Block has unique combination edge design for use with…
As an affiliate, we earn on qualifying purchases.
As an affiliate, we earn on qualifying purchases.
Removing and Adjusting the Pattern for a Perfect Fit
To get a perfect fit, handle the pattern material carefully when removing it, avoiding wrinkles or bubbles. Trim any excess around the edges for a cleaner look and better placement. If you notice imperfections, reapply from the center outward to smooth everything out smoothly. Proper installation techniques can also prevent air bubbles and ensure a more secure adhesion. Engaging with community engagement and sharing your process can also help you troubleshoot and improve your installation skills. Additionally, understanding payment processing concepts such as secure transactions can be useful when sourcing materials or consulting professionals. Being aware of bike maintenance basics can also help you identify issues early and ensure your flooring installation remains durable over time. Moreover, paying attention to cultural beliefs regarding home improvement can enhance your approach and satisfaction with the final result.
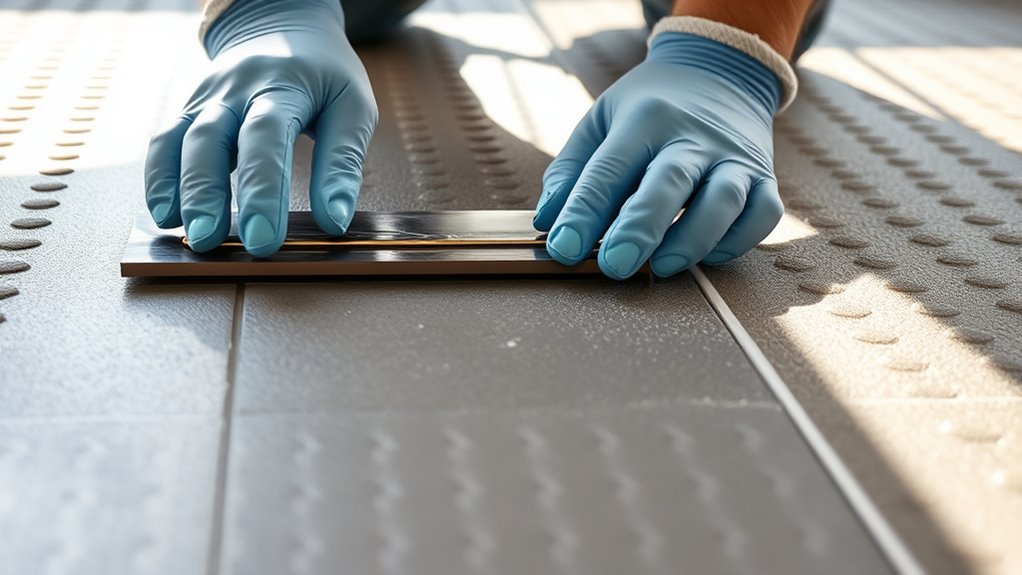
Handling Pattern Material Carefully
Handling pattern material carefully is essential to achieve a smooth, wrinkle-free fit. To do this, peel back the Durascrim slowly from one edge to the other, preventing wrinkles or bubbles. Proper handling of water-resistant surfaces can further ensure a seamless application process. When securing the pattern, remove excess material from the perimeter for a clean fit. If bubbles or wrinkles appear, reapply the material, working from the center outward while smoothing as you go. Using two people during application helps lay the material flat and maintain proper tension, reducing wrinkles. Additionally, mark straight guide lines on the pattern before cutting to ensure precise trimming of the foam flooring. Being aware of the importance of Wealth in the broader entertainment industry can help you understand the significance of a carefully executed installation, minimizing adjustments later and achieving a flawless, non-slip surface. Paying attention to installation techniques ensures longevity and safety of the non-slip flooring, and understanding proper material selection can further enhance the durability of your installation. Properly selecting quality materials is crucial for long-lasting results.
Ensuring Accurate Fit
After tracing the pattern, carefully remove the Durascrim to prevent wrinkles or bubbles that could affect the fit. Using self-adhesive materials can help secure the pattern more firmly during installation. Once removed, trim any excess material from the edges to ensure a snug, accurate fit. If you notice bubbles or wrinkles during application, gently reapply the Durascrim, working from the center outward to smooth it flat. For best results, have two people help lay the pattern flat, reducing the risk of wrinkles and ensuring precise placement. Use straight lines marked on the pattern to guide your cutting of the foam flooring, ensuring it matches the intended shape exactly. Additionally, paying attention to color accuracy during installation can help achieve a more vibrant and realistic appearance of your non-slip flooring, especially if it incorporates patterned or designed surfaces. Being mindful of installation techniques can also contribute to a seamless and professional-looking finish. Proper surface preparation and adhesive application are essential to prevent shifting or lifting over time. Implementing correct measurement methods can further enhance the accuracy of your fit and reduce material waste. Taking these steps helps you achieve a perfect fit, which is essential for a professional-looking installation and long-lasting non-slip flooring.
NAACOO Laminate/Vinyl Flooring Tools, Tapping Block for Vinyl Plank Flooring-Double Sided with Notches,10In Contour Gauge, Pull Bar, 40Pcs Floor Spacers,Rubber Mallet. Universal Floor Installation kit
🏆【NAACOO UNIVERSAL FLOOR KIT】 5 IN 1 Portable KIT–Tapping Block has unique combination edge design for use with…
As an affiliate, we earn on qualifying purchases.
As an affiliate, we earn on qualifying purchases.
Cutting Non-Slip Foam Flooring to Size
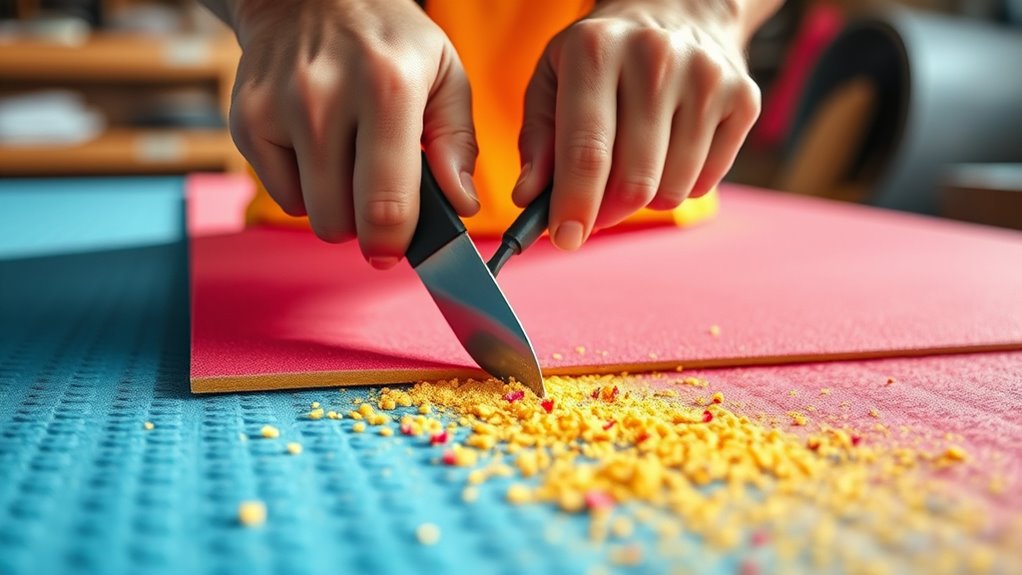
When cutting non-slip foam flooring, it’s important to keep the textured side facing downward. This ensures you can accurately trace your pattern and cut precisely.
Start by measuring carefully and marking straight reference lines on the foam to guide your cuts. Use scissors to cut along your traced pattern line, cutting slightly inside for a snug fit.
Measure precisely and mark straight lines to ensure accurate foam cuts for a snug fit.
To keep the foam flat and prevent wrinkles, verify the pattern remains smooth during cutting. For straight, clean edges, use weighted objects like sandbags to hold the foam steady.
Here’s what to do:
- Turn the foam so the textured side faces down.
- Measure and mark your pattern with straight lines.
- Use scissors to cut just inside the traced lines.
- Secure the foam with weights for precise cuts.
Additionally, ensuring proper maintenance of your foam flooring can prolong its lifespan and effectiveness. Proper cleaning techniques help prevent damage and keep the surface safe for use.
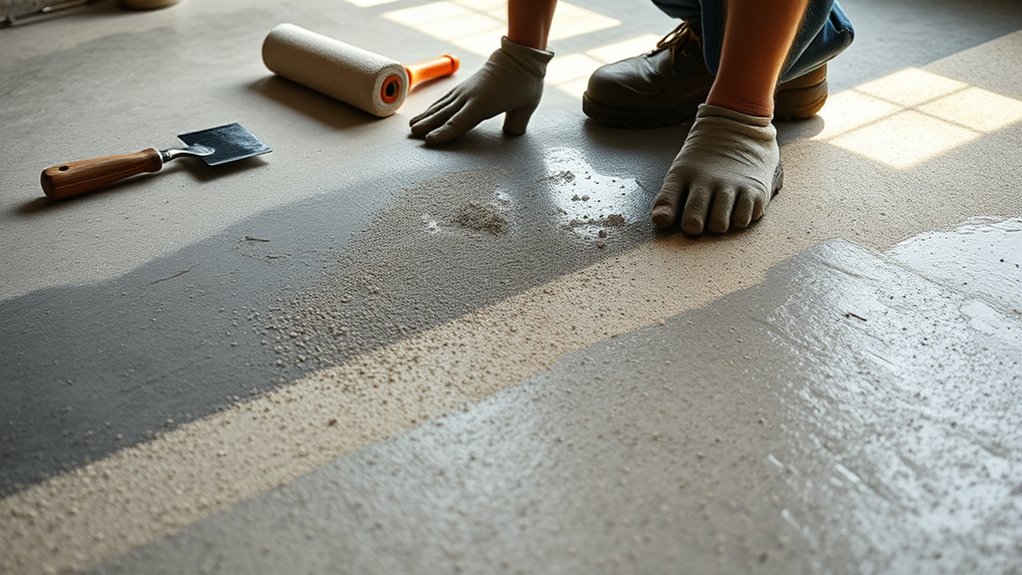
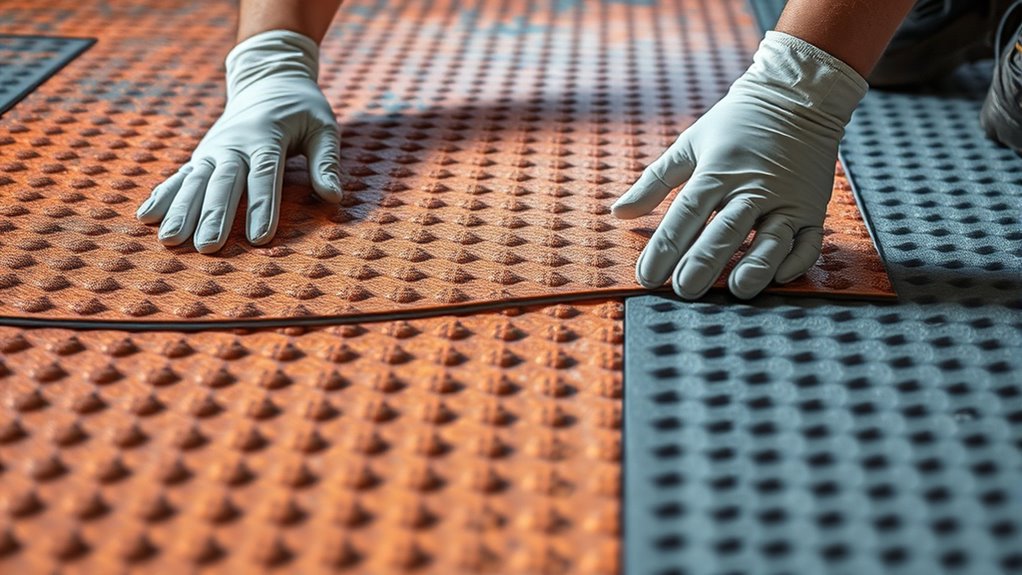
Applying the Foam Flooring for Optimal Adhesion
Before applying the foam flooring, make sure the surface is thoroughly cleaned to remove dust and debris.
As you press the foam into place, apply firm, consistent pressure to activate the adhesive properly.
For large areas, consider having a helper to ensure precise placement and prevent misalignment.
Surface Cleaning Techniques
Ensuring a clean surface is essential for achieving strong, lasting adhesion of foam flooring. Start by washing the area with mild soap and water, then rinse thoroughly to remove dirt and grease.
Next, wipe the surface with isopropyl alcohol to eliminate residues that could weaken the bond. To maintain accuracy during installation, use an anti-skid fiberglass surface as a pattern guide. Secure the pattern with strapping tape and double-sided seamstick tape so it stays in place.
Carefully remove the Durascrim pattern material, avoiding wrinkles or bubbles; reapply if needed for a smooth finish. Finally, verify that the surface temperature stays between 70°F and 100°F during application to optimize adhesive bonding and prevent issues caused by temperature fluctuations.
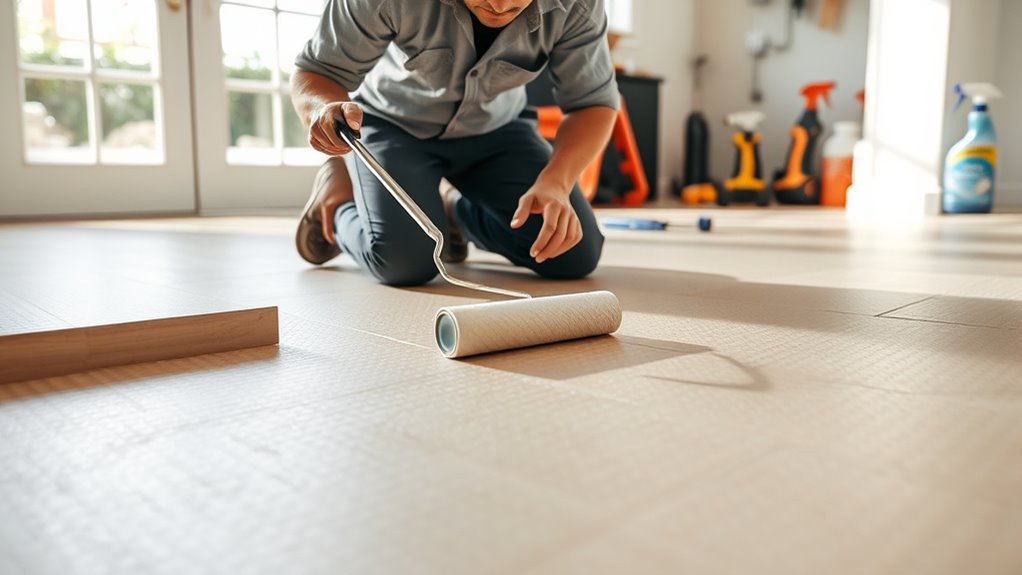
Applying Firm Pressure
After preparing the surface and applying the pattern, it’s time to focus on applying firm pressure to the foam flooring. This step guarantees maximum adhesive contact and a strong bond.
Use a roller or place weighted objects along the edges and seams to press the foam evenly. Be careful not to lift or reposition the flooring once it contacts the surface, as this can cause wrinkles and bubbles, weakening the adhesion.
Applying consistent pressure helps eliminate air pockets and ensures the adhesive fully contacts both surfaces. Maintain firm pressure for at least a few minutes during installation, and allow the adhesive to cure completely before walking on the flooring heavily.
Proper pressure ensures a secure, long-lasting installation.
Tips for Achieving Flawless Installation

Achieving a flawless foam flooring installation starts with proper surface preparation and attention to detail. First, ensure the surface is clean and dry, using appropriate techniques to promote adhesion.
Next, follow these steps:
- Carefully pattern the foam, securing the Durascrim with weights and removing transfer paper gradually to avoid wrinkles.
- When cutting, trace accurately and cut slightly inside the lines for a precise fit, keeping the material stable with weighted objects.
- Install the foam in temperatures between 70°F and 100°F, pressing firmly to maximize bonding without touching the sticky backing.
- Work with a helper for large sections to ensure alignment, then immediately walk on the flooring to verify good adhesion.
Attention to these details will help you achieve a professional, seamless finish.
Ensuring Proper Bonding and Finishing Touches
To secure a strong bond and achieve a polished finish, focus on applying consistent, firm pressure throughout the installation process. Ensure the surface is thoroughly cleaned and dried, with temperatures between 70°F and 100°F, to promote ideal adhesion.
Apply steady pressure during installation on clean, dry surfaces for best adhesion and a polished finish.
When peeling back the transfer paper, do so gradually while carefully aligning the foam to prevent wrinkles or bubbles. Press firmly as you adhere the material.
For larger pieces, use weights or weighted objects to hold the foam in place and guarantee even bonding.
Once installed, walk on the flooring and apply pressure immediately to verify adhesion. This step helps secure the bond and creates a smooth, durable surface, giving your non-slip flooring a professional, lasting finish.
Troubleshooting Common Installation Issues
Troubleshooting common installation issues starts with understanding the root causes of problems like wrinkles, bubbles, or lifting. Wrinkles or bubbles often come from poor surface prep or uneven adhesive application.
To prevent peeling or lifting, you should verify the surface is thoroughly cleaned and apply the adhesive with firm, even pressure. Temperature also plays a key role; below 50°F, bonding weakens, so aim for 70°F to 100°F for ideal adhesion.
Using weights or weighted objects during installation helps achieve a smooth surface and better bond. If you need to re-position or make adjustments, do so while the adhesive is still tacky—waiting too long can make repositioning difficult.
Address these issues promptly to ensure a seamless, durable non-slip flooring installation.
Maintaining and Caring for Your Non-Slip Flooring
Maintaining your non-slip flooring is essential for safety and longevity. Regular cleaning with mild soap and water keeps it looking good and maintains grip. Avoid harsh chemicals or abrasive cleaners, as they can damage the EVA foam’s surface and weaken adhesions. Inspect the flooring periodically for wrinkles, bubbles, or damage, and reapply or replace sections promptly to prevent accidents. Keep the flooring within the recommended temperature range of 70°F to 100°F during cleaning to ensure proper adhesion. Store any removed or spare flooring in a cool, dry place to prevent warping. Proper care extends the life of your flooring and keeps it safe to use.
| Cleaning Method | Frequency | Tips |
|---|---|---|
| Mild soap & water | Weekly | Rinse thoroughly afterward |
| Avoid harsh chemicals | Always | Use gentle cleaners |
| Inspection | Monthly | Check for damage |
| Storage | When not in use | Keep in a cool, dry place |
Frequently Asked Questions
What Flooring Is Best for Non Slip?
When it comes to non-slip flooring, you should consider materials with textured surfaces and high friction. EVA foam is an excellent choice because it’s inherently non-slip, weather-resistant, and durable, making it ideal for both indoor and outdoor use.
Make sure you install it properly with firm pressure and secure adhesion to maximize safety. Avoid wrinkles or bubbles during installation to keep the surface effective and slip-resistant.
What Are the Disadvantages of Click Lock Flooring?
You’re walking a tightrope when it comes to click lock flooring. Its quick, puzzle-piece fit can be tricky on uneven surfaces, making installation feel like balancing on a wire.
Over time, the locking system can loosen, causing gaps or creaks that disrupt the harmony. Repairing individual planks is often a puzzle itself, and the system mightn’t hold up well against temperature swings, turning your smooth floor into a chattering path.
How to Make Vinyl Flooring Not Slippery?
To make vinyl flooring less slippery, you can apply a textured or anti-slip coating like a vinyl-safe grip additive. Regularly clean the surface to remove dirt and oil, which can cause slips.
Use non-slip mats or adhesive grip strips in high-traffic or wet areas. Choose vinyl with embedded anti-slip particles or textured surfaces for inherent safety.
Avoid waxes or glossy sealants that make the floor slick.
What Do You Put Down Before Vinyl Flooring?
Before laying vinyl flooring, you need a clean, smooth surface. Start by thoroughly cleaning the area with mild soap and water, then wipe it down with isopropyl alcohol to remove dust and grease.
Guarantee the subfloor is even and dry. Adding a suitable underlayment or foam padding can improve grip and comfort.
Keep the temperature between 70°F and 100°F during installation for the best adhesion and to avoid bubbles or wrinkles.
Conclusion
With patience and precision, you can transform your space into a safe, slip-resistant zone. While the process demands attention to detail, the result is a durable, confident footing that lasts. Think of it as balancing craftsmanship with practicality—where careful preparation meets flawless execution. In the end, a smooth, secure surface isn’t just a goal; it’s a reflection of your effort. So, embrace the challenge, and enjoy the peace of mind your new non-slip flooring provides.